Shop made jigs make it easy to cut small pieces on your scroll saw
By Gary MacKay
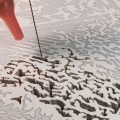
There are times when the hole around the blade on your scroll saw is big enough to interfere with your cutting. To avoid small pieces falling down through the hole or to support delicate fretwork, add an auxiliary table on top of your saw table. Once you have added your auxiliary table to your scroll saw, scroll a cute and simple animal doorstopper.
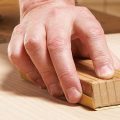
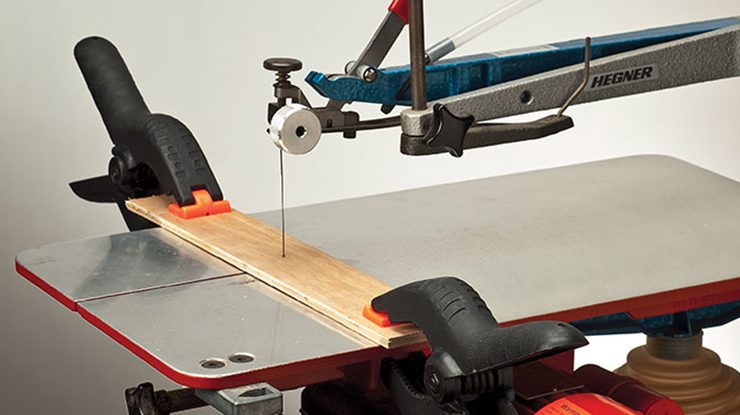
Simple Auxiliary TableThis simple auxiliary table works best with small projects. Cut a 1/8″ (3mm)-thick by 2″ (51mm)-wide strip of plywood to the width of your saw table (from side to side). Drill a 1/16″ (2mm)-dia. hole in the center of the strip. To create a smoother work surface, cover the plywood with clear packaging tape before drilling. Feed the scroll saw blade through the hole and secure the strip to the saw table with spring clamps. |
Larger Auxiliary TableFor larger projects, cut a piece of 3/4″ (19mm)-thick plywood large enough to fit over your saw table. I attach scrap laminate countertop material to the plywood with contact cement. The laminate countertop material can be cut with tin snips. Drill a 1/8″ (3mm)-dia. hole in the center of the plywood for the blade, feed the blade through the hole, and lock the auxiliary table in place with spring clamps. This larger auxiliary table also doubles the life of your blades. As the blade moves through the wood, only a small section of the blade’s teeth actually comes in contact with the stock. This table raises your project 3/4″ (19mm) higher than the table, giving you access to the blade’s unused teeth. The auxiliary table does not work with reverse-tooth blades because the teeth on the bottom of the blade no longer reach the project. |
|
|
Materials • Baltic birch plywood, 1/8″ (3mm) thick: simple table, • Clear packaging tape, 2″ (51mm)-wide (optional) • Plywood, 3/4″ (19mm) thick: large table, 15″ x 15″ (38.1cm x 38.1cm) • Scrap laminate countertop material (optional, large table) • Contact cement (optional to attach laminate to plywood, large table)
*Note: The plywood and laminate should be 2″ (51mm) longer and wider than the dimensions of your scroll |
Tools • Drill with bits: 1/16″ (2mm)- and 1/8″ (6mm)-dia. • Spring clamps |
| About the Author |
|
Gary MacKay of Myrtle Beach, S.C., is the author of Box Making Projects for the Scroll Saw, available from foxchapelpublishing.com. |
 |
Purchase our spring issue!
Click for Spring Issue
For more articles like these, subscribe to Scroll Saw Woodworking & Crafts magazine. SubscribePlus! Get mini magazines in your e-mail between printed issues with Short Cuts, our e-mail newsletter. |