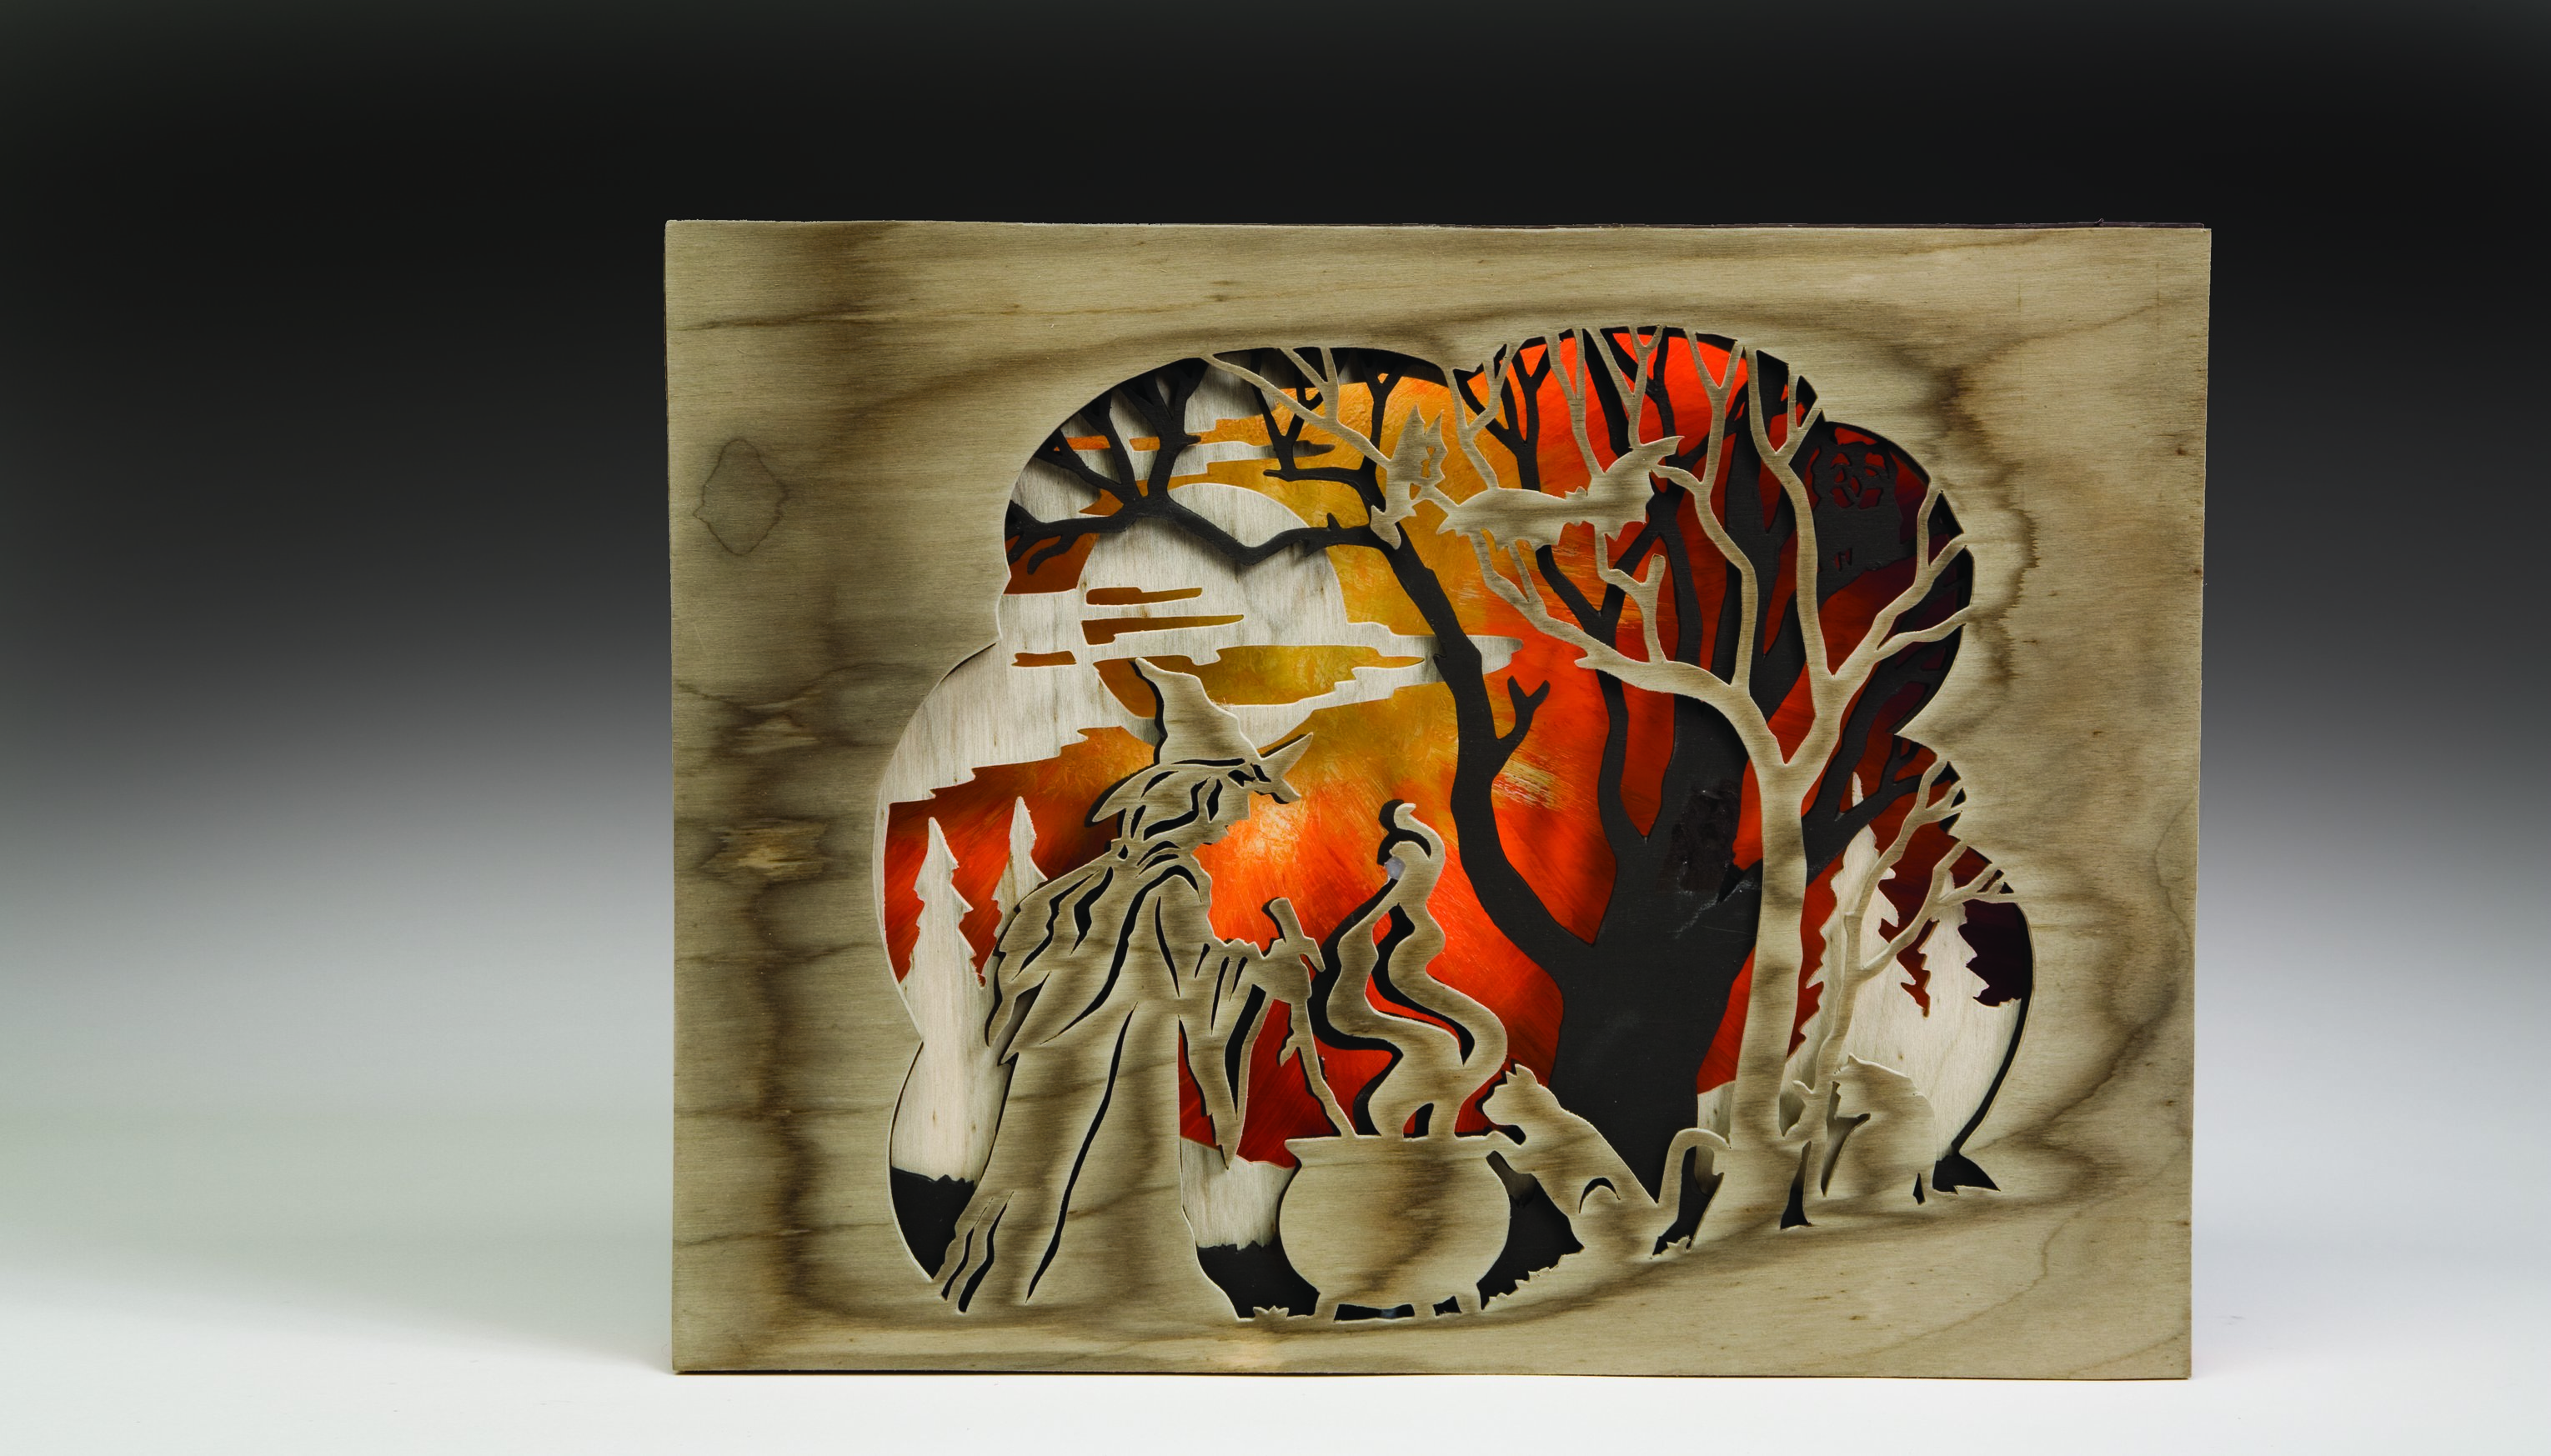
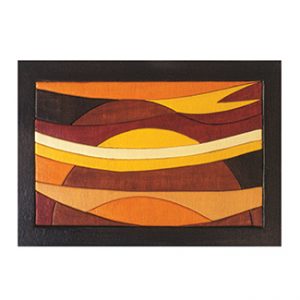
 Use inexpensive wood and a little paint to create a scenic landscape
By Frank Droege
Because the pieces easily fit back together, this project is a breeze to cut and paint. You can complete the landscape scene in an afternoon.
Cutting the Scene
Cut the wood blank and backing board to size. Attach the pattern to the segmentation blank, and drill a blade-entry hole in one corner. Insert the blade and cut all of the pieces inside the frame. Sand off any fuzzies, and carefully round the sharp corners with sandpaper.
Painting and Finishing the Scene
Paint each segment with acrylic paint. You can use my color palette or create your own. Thin the paint slightly with water so you can see the wood grain through the paint. Paint the top and sides of each piece, but do not paint the bottom. When the paint is dry, glue and clamp the frame to the backing board. Then, glue the segments in place inside the frame. After the glue dries, paint the backing board to match the frame. When the paint is dry, apply a clear spray finish to the completed project. Attach a D-ring hanger to the back.
Materials:
- Poplar, basswood, or aspen, 1/4″ (6mm) to 1/2″ (13mm) thick: segmentation 8″ x 10″ (203mm x 254mm)
- Baltic birch plywood, 1/8″ (3mm) thick: backing board 8″ x 10″ (203m x 254mm)
- Adhesive: spray or glue stick
- Sandpaper: 220 grit
- Acrylic paint: black, white, bright yellow, red, orange, mustard yellow
- Glue: wood
- Finish: clear spray
- Hanger: D-ring
Tools:
- Scroll saw blades: #3 reverse-tooth
- Drill with bit: 1/16″ (2mm) dia.
- Clamps
- Screwdriver (to attach D-ring hanger)
CLICK HERE to download the pattern for the Sunset Segmentation.
About the Author
In addition to designing scroll saw patterns, the late Frank Droege won numerous awards as a traditional painter. Frank studied under George Vail from the Haddonfield Art League and Max Gottlieb at the Fleisher Art Memorial in Philadelphia, Pa.