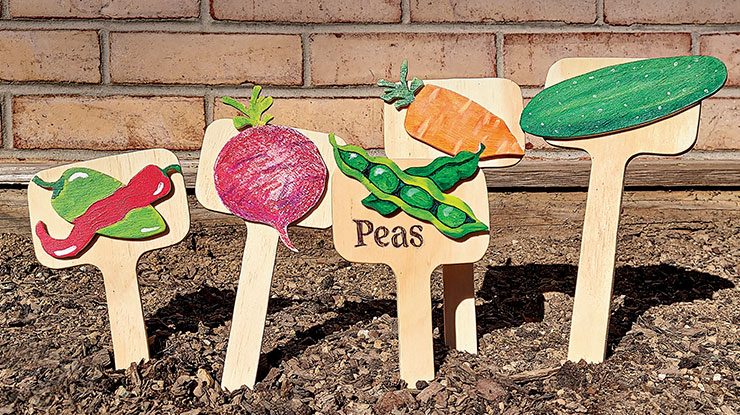
This versatile project keeps your garden organized and beautiful
By Jon Deck
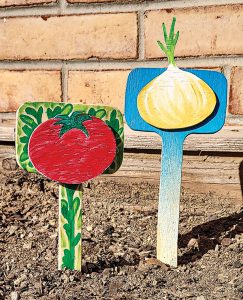
Every gardener knows the anticipation of beholding a garden bursting with colorful produce. However, this sight occurs for a brief time between emergence and harvest. For most of the season, the garden shows only greenery in various stages from shoots to mature plants. These garden markers herald the bounty to come in vibrant fashion. For most, the backyard garden is a family effort. And this project takes that energy into the workshop. The shapes of the stakes and vegetable cutouts are simple to cut—great for kids and novice scrollers.
Getting StartedCut the plywood to 8 1/2″ by 11″ (21.6cm by 27.9cm) panels. I recommend stack cutting to produce multiple stakes and vegetable cutouts. Group the stacks and tightly bind them together on all sides with packaging tape. Cover the face of the stacks with painter’s tape and apply the patterns with spray adhesive. Cut out the pieces. Avoid cutting through the edges of the stack. |
Making the Garden StakesWhen they’re cut, everyone can color the veggies. The patterns are colored as suggestions, but anything goes. Decorate the cutouts with crayons, markers, and paints with brushes or an airbrush. Just be sure to coat both sides with weather-resistant clear varnish to protect your finished artwork. Glue the colored cutouts onto the basic stakes with a waterproof wood glue. Center the cutout, or glue it a little higher if you prefer to label the stake with the name of the plant. A woodburner with a skew tip works well here. |
TIPSBright Colors Coat the cutouts with flat white primer or gesso to ensure the pigments applied don’t lose their brilliance. More Color You can also paint the basic stakes, stain them, or leave them natural. Don’t forget to varnish both the stakes and cutouts. |
 |
|
Materials • Exterior plywood, 1/4″ (6mm) thick: stakes, 24″ (61cm) square • Plywood, 1/8″ (3mm) thick: cutouts, 8 1/2″ x 11″ (21.6cm x 27.9cm) • Glue: wood, waterproof • Tape: packaging and painter’s • Spray adhesive • Primer: flat white latex or gesso • Art supplies: crayons, markers, paints • Spar urethane, such as Helmsman® |
Tools • Scroll saw with blade: #2 modified geometry • Drill with 1/8″ (3mm)-dia. bit • Paintbrushes: assorted • Airbrush (optional) • Woodburner with skew tip (optional) |
| About the Author |
|
A lifelong designer and woodcrafter, Jon Deck has been the art director of Scrollsaw Woodworking & Crafts magazine for over 20 years. Contact him at jon@foxchapelpublishing.com. |
 |
Purchase our spring issue!
Click for Spring Issue
For more articles like these, subscribe to Scroll Saw Woodworking & Crafts magazine. SubscribePlus! Get mini magazines in your e-mail between printed issues with Short Cuts, our e-mail newsletter. |