By Patrick Spielman
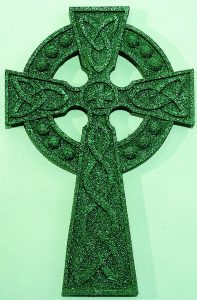
Though it looks like a very complex project, this Celtic cross is surprisingly easy to make. It incorporates some overlay work, a special spray finish, and a little bit of woodburning. The project is so enjoyable that I recommend making at least two crosses at the same time, so that you’ll have one to give and one to keep.
Enlarge the pattern 125 percent. Using temporary bond spray adhesive, apply the pattern to the top layer, and stack the overlay and backer pieces together.
Drill 16 holes through both of the stacked pieces. Use a drill and a 3/8″-diameter bit. There are 12 holes for screw-hole buttons and four holes in larger openings for blade-threading.
Saw out the four inside openings. Once the cutting is complete, separate the backer and overlay pieces.
Stack-cut the overlay pieces and border(s).
Glue the outside border pieces to the backers.
Glue in the screw-hole buttons. Use carpenter’s wood glue.
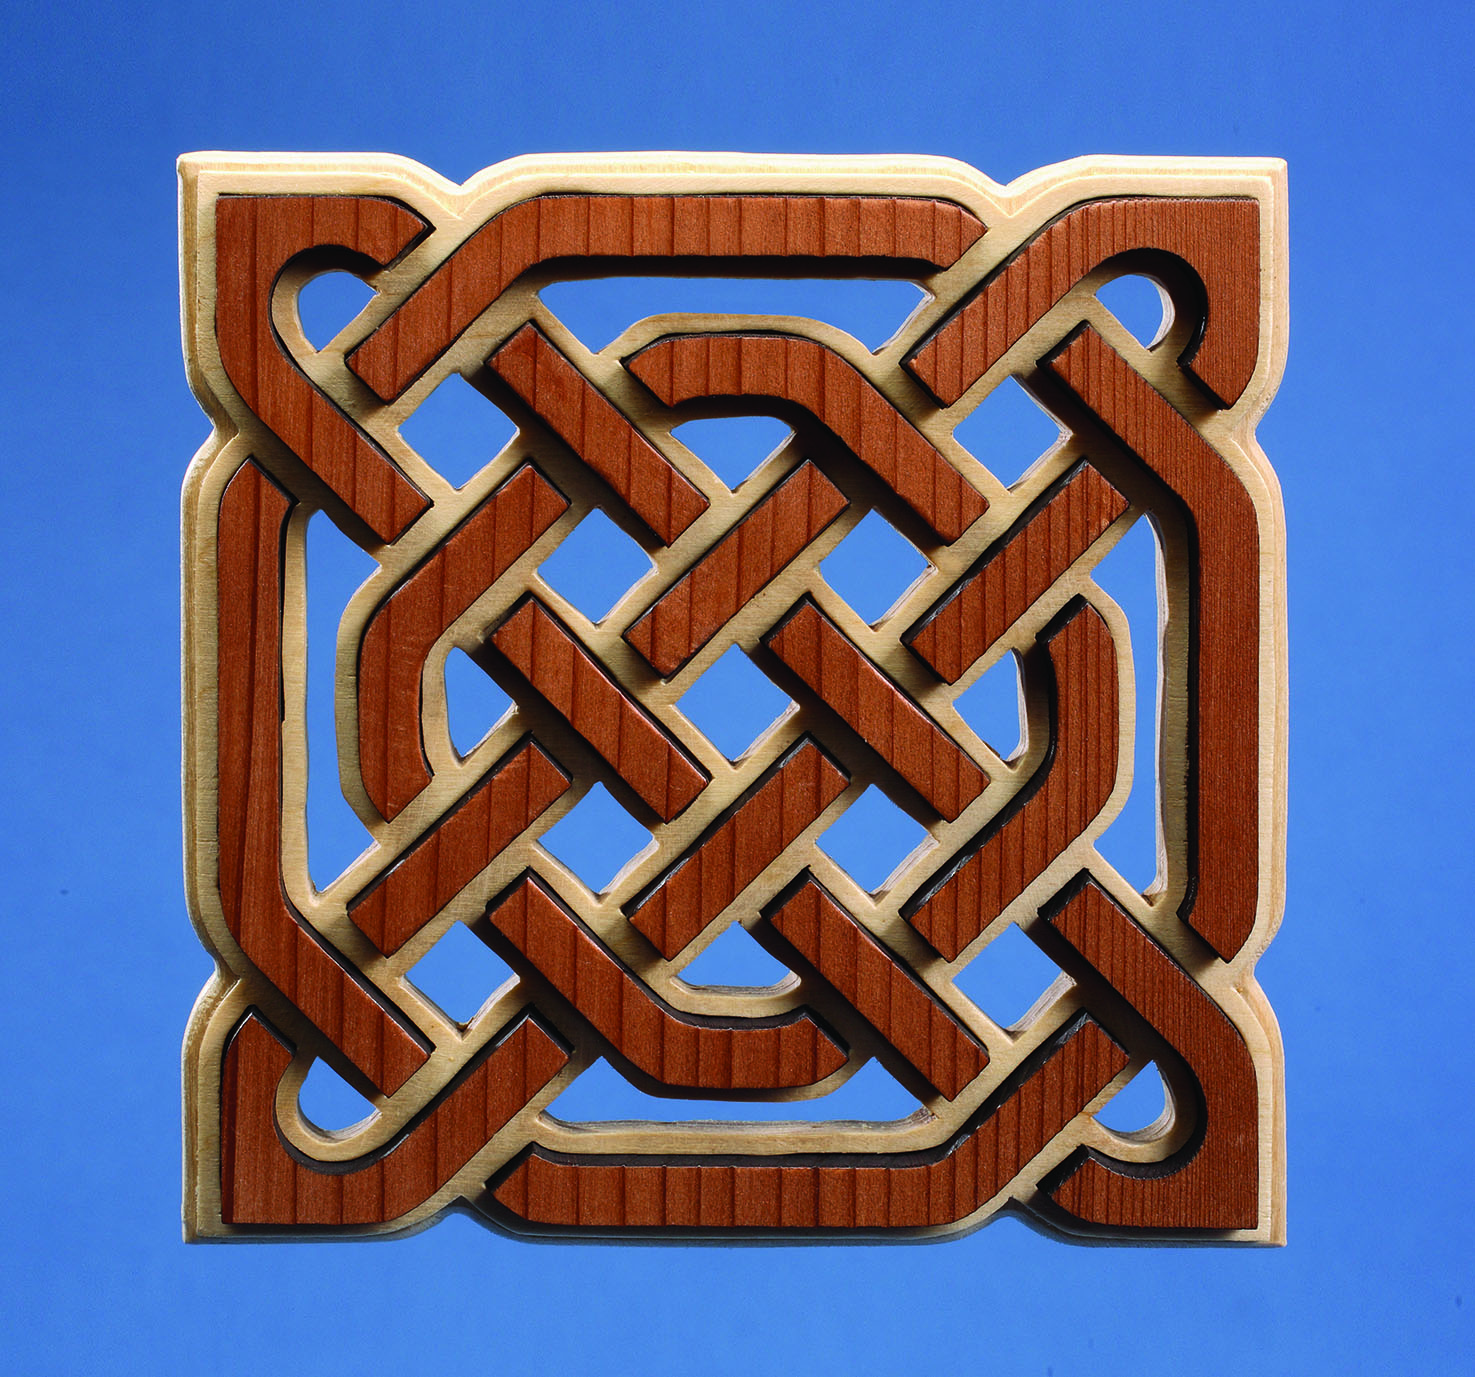
Carve and reduce surfaces to simulate the interlacing of Celtic knot overlay pieces. Use a woodburning tool or a rotary tool. First make a separation line terminating the curved portions of the borders.
Taper the thickness of the overlays. This simulates the interlacing or the “over and under” effect of the Celtic knot.
Glue all of the overlays in place.
Apply the textured stone finish or the finish of your choice. Attach a sawtooth hanger to the back of the piece.
Materials:
Plywood, 1/4″ x 7″ x 10 1/2″ (6mm x 178mm x 13mm) (backer)
Plywood, 1/8″ x 7″ x 10 1/2″ (3mm x 178mm x 13mm) (border and overlay pieces)
Buttons, screw-hole: 3/8″ (10mm)-diameter (12 each)
Aerosol finish, textured stone
Spray adhesive, temporary bond
Glue, wood
Tools:
Blade, skip tooth: #5
Drill with 3/8″ (10mm)-diameter bit
Woodburning tool or rotary tool
Click below to view the Celtic cross pattern.