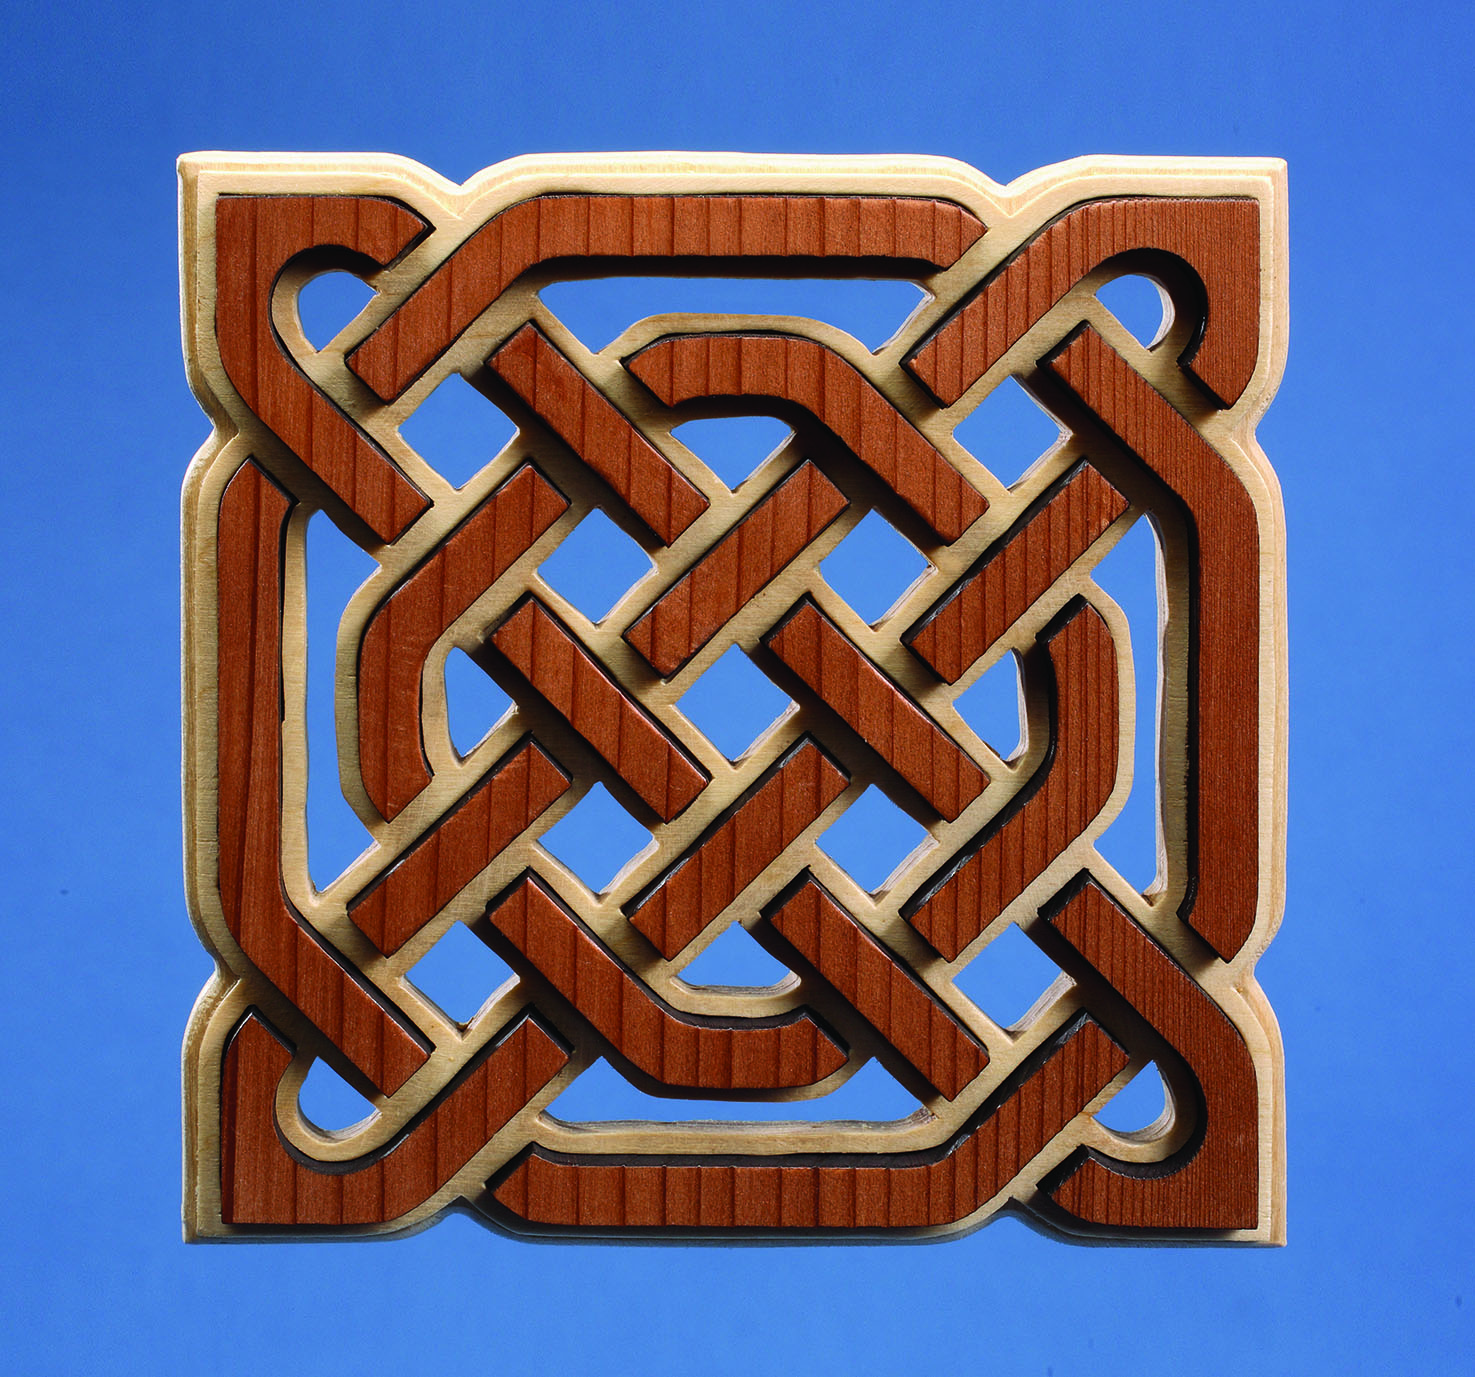
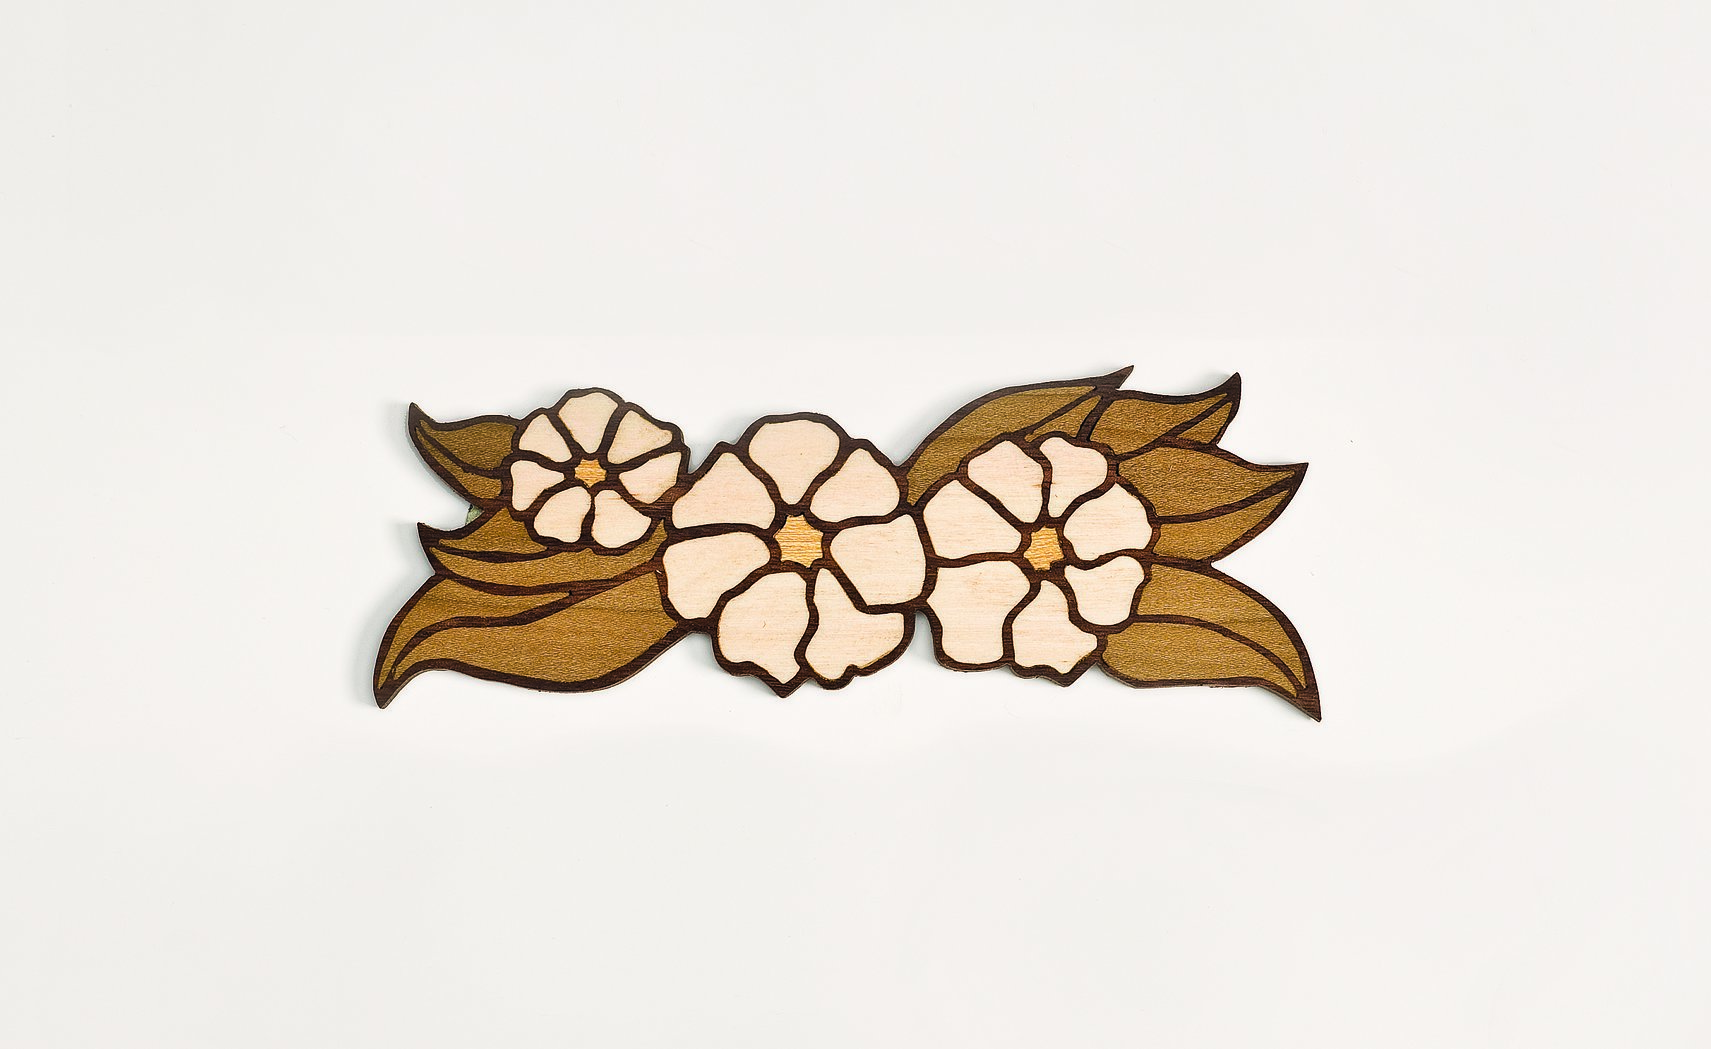
Combine contrasting woods to create beautiful inlay magnets
by Jim Collins
Process photos by Marci Bileau
This article was first published in issue 34 of Scroll Saw Woodworking & Crafts.
Inlay techniques produce impressive projects, but the process is as simple as stack cutting fretwork. These small designs can be completed in one day and make beautiful magnets or pins. Once you master the techniques, you’ll have the confidence to tackle more complex projects, such as box lids and plaques.
To create inlay designs, stack cut two pieces of contrasting wood with the table set at an angle. I tilt the left side of my saw table down and cut counterclockwise, but the same effect can be achieved by tilting the right side of the saw table down and cutting clockwise. Experiment with the table angle until you get a good fit. I created a simple saying to help me adjust the table: “If it’s too tight, tilt to the right. Too loose, tilt left.”
The actual cutting doesn’t take much longer than fretwork, although some of the rules are different. You have to make sharp turns without coming at an angle from two different sides. Wherever the blade goes, that is the design line. Never back up!
I transfer the pattern to the wood using carbon paper or transfer paper. They are not overly complicated designs, so it isn’t time consuming to trace. When transferring the design, leave room outside of the pattern for test cuts.
Inlay: Preparing to Cut
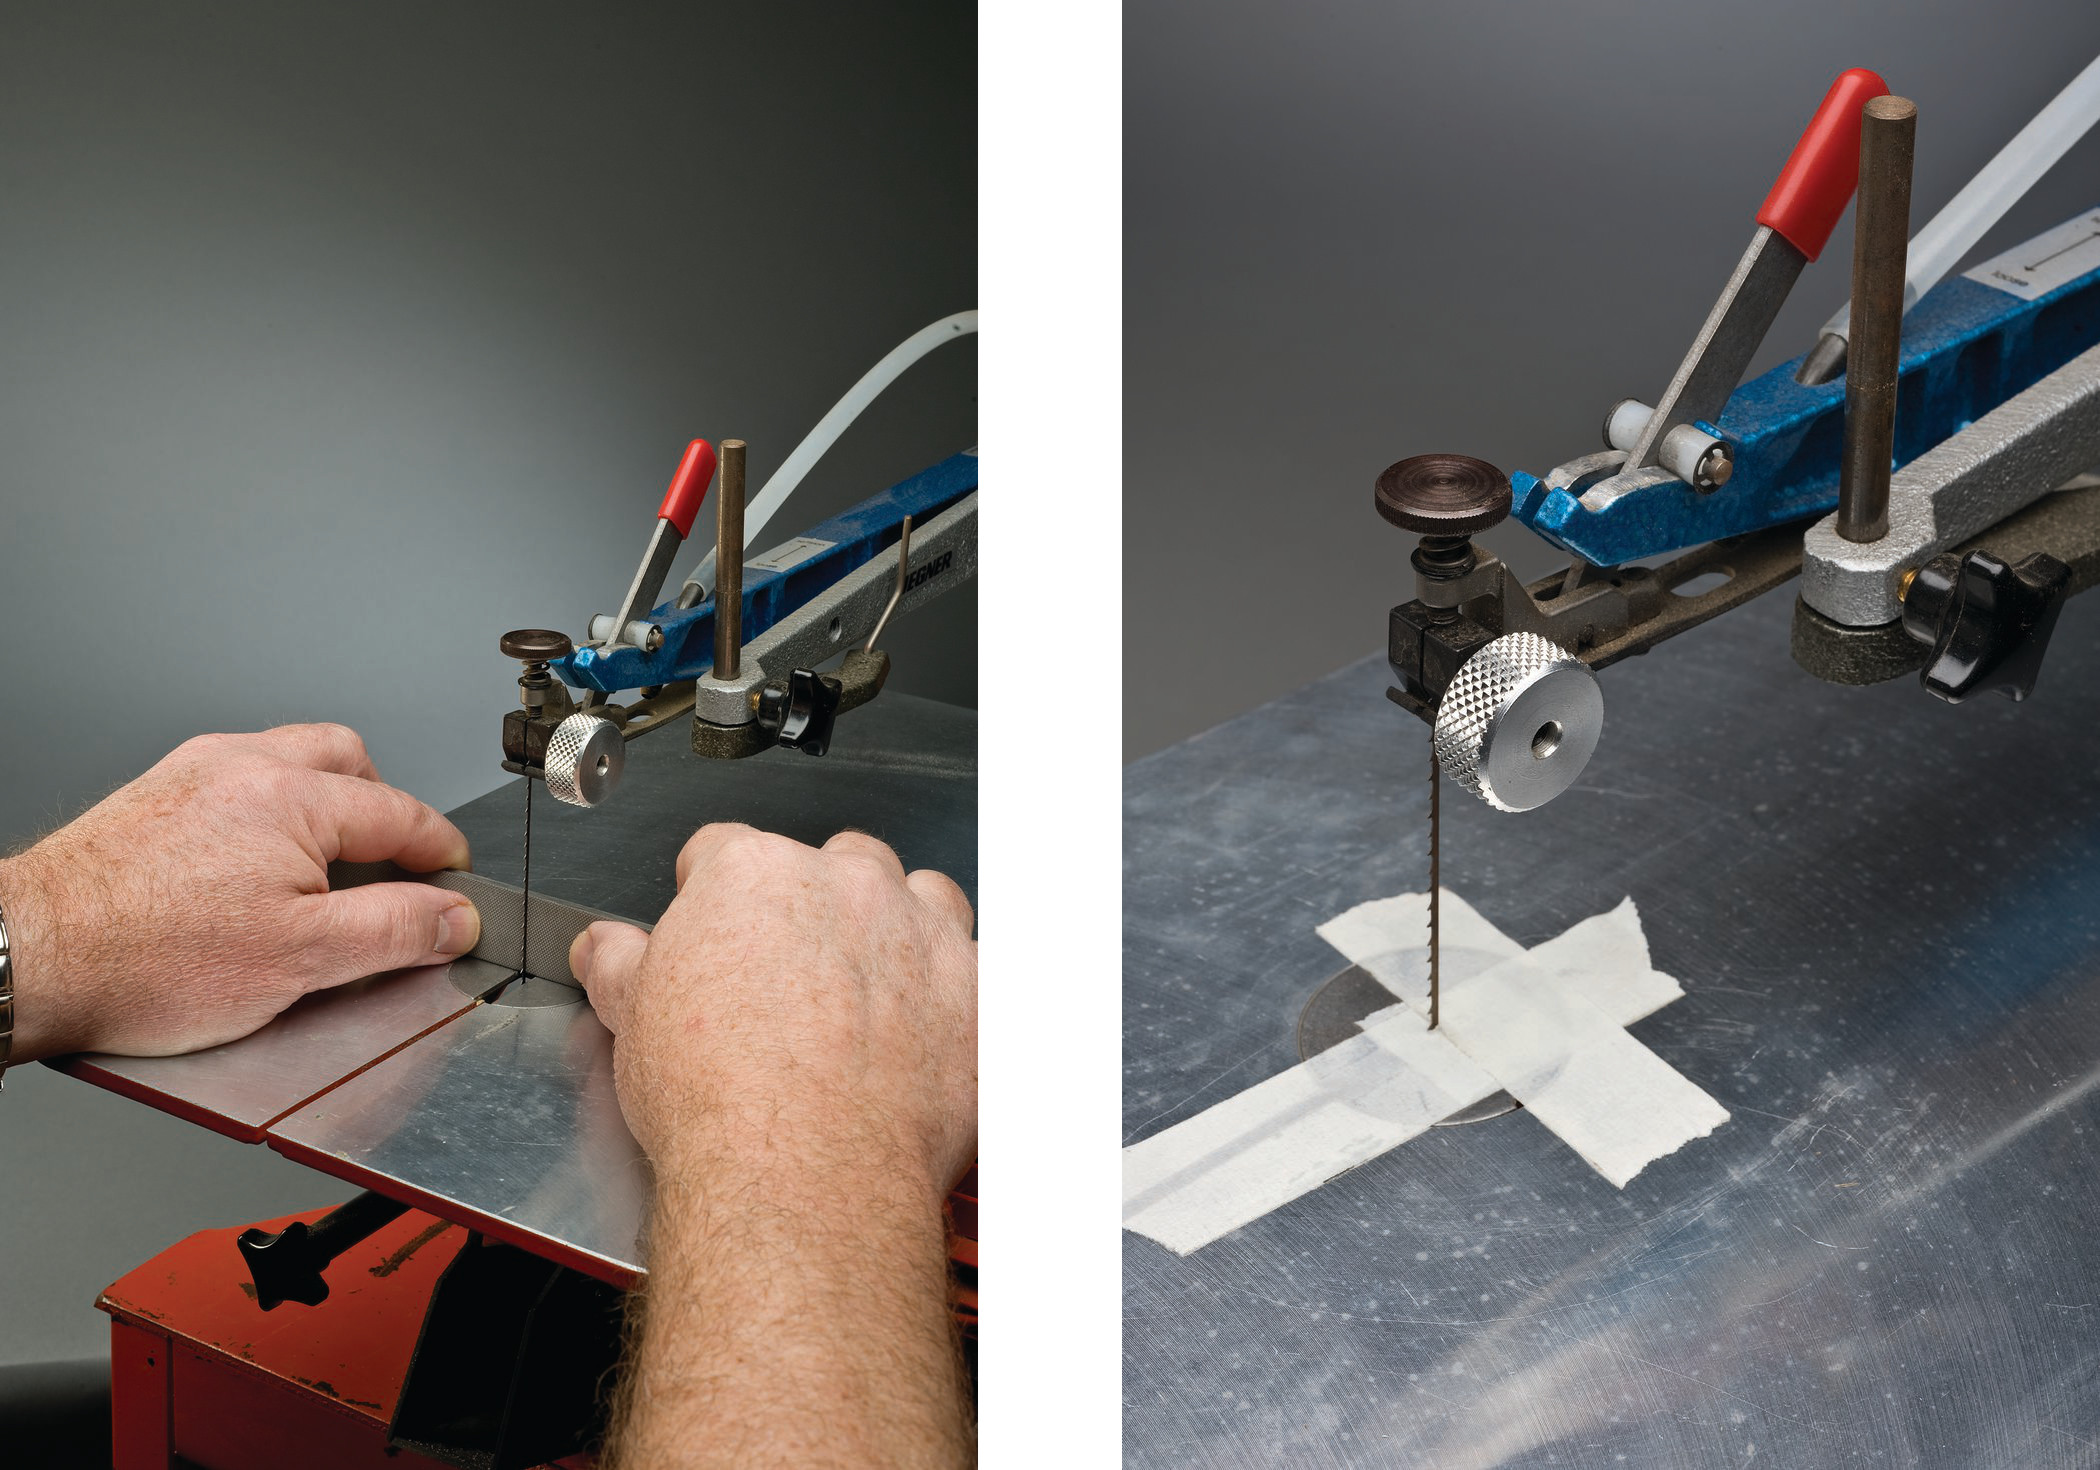
1. Prepare the blade and saw table. File the back of the blade with a metal file to make tight turns easier. Add a zero-clearance table insert to your saw table. This can be as simple as masking tape or a business card taped to the table.
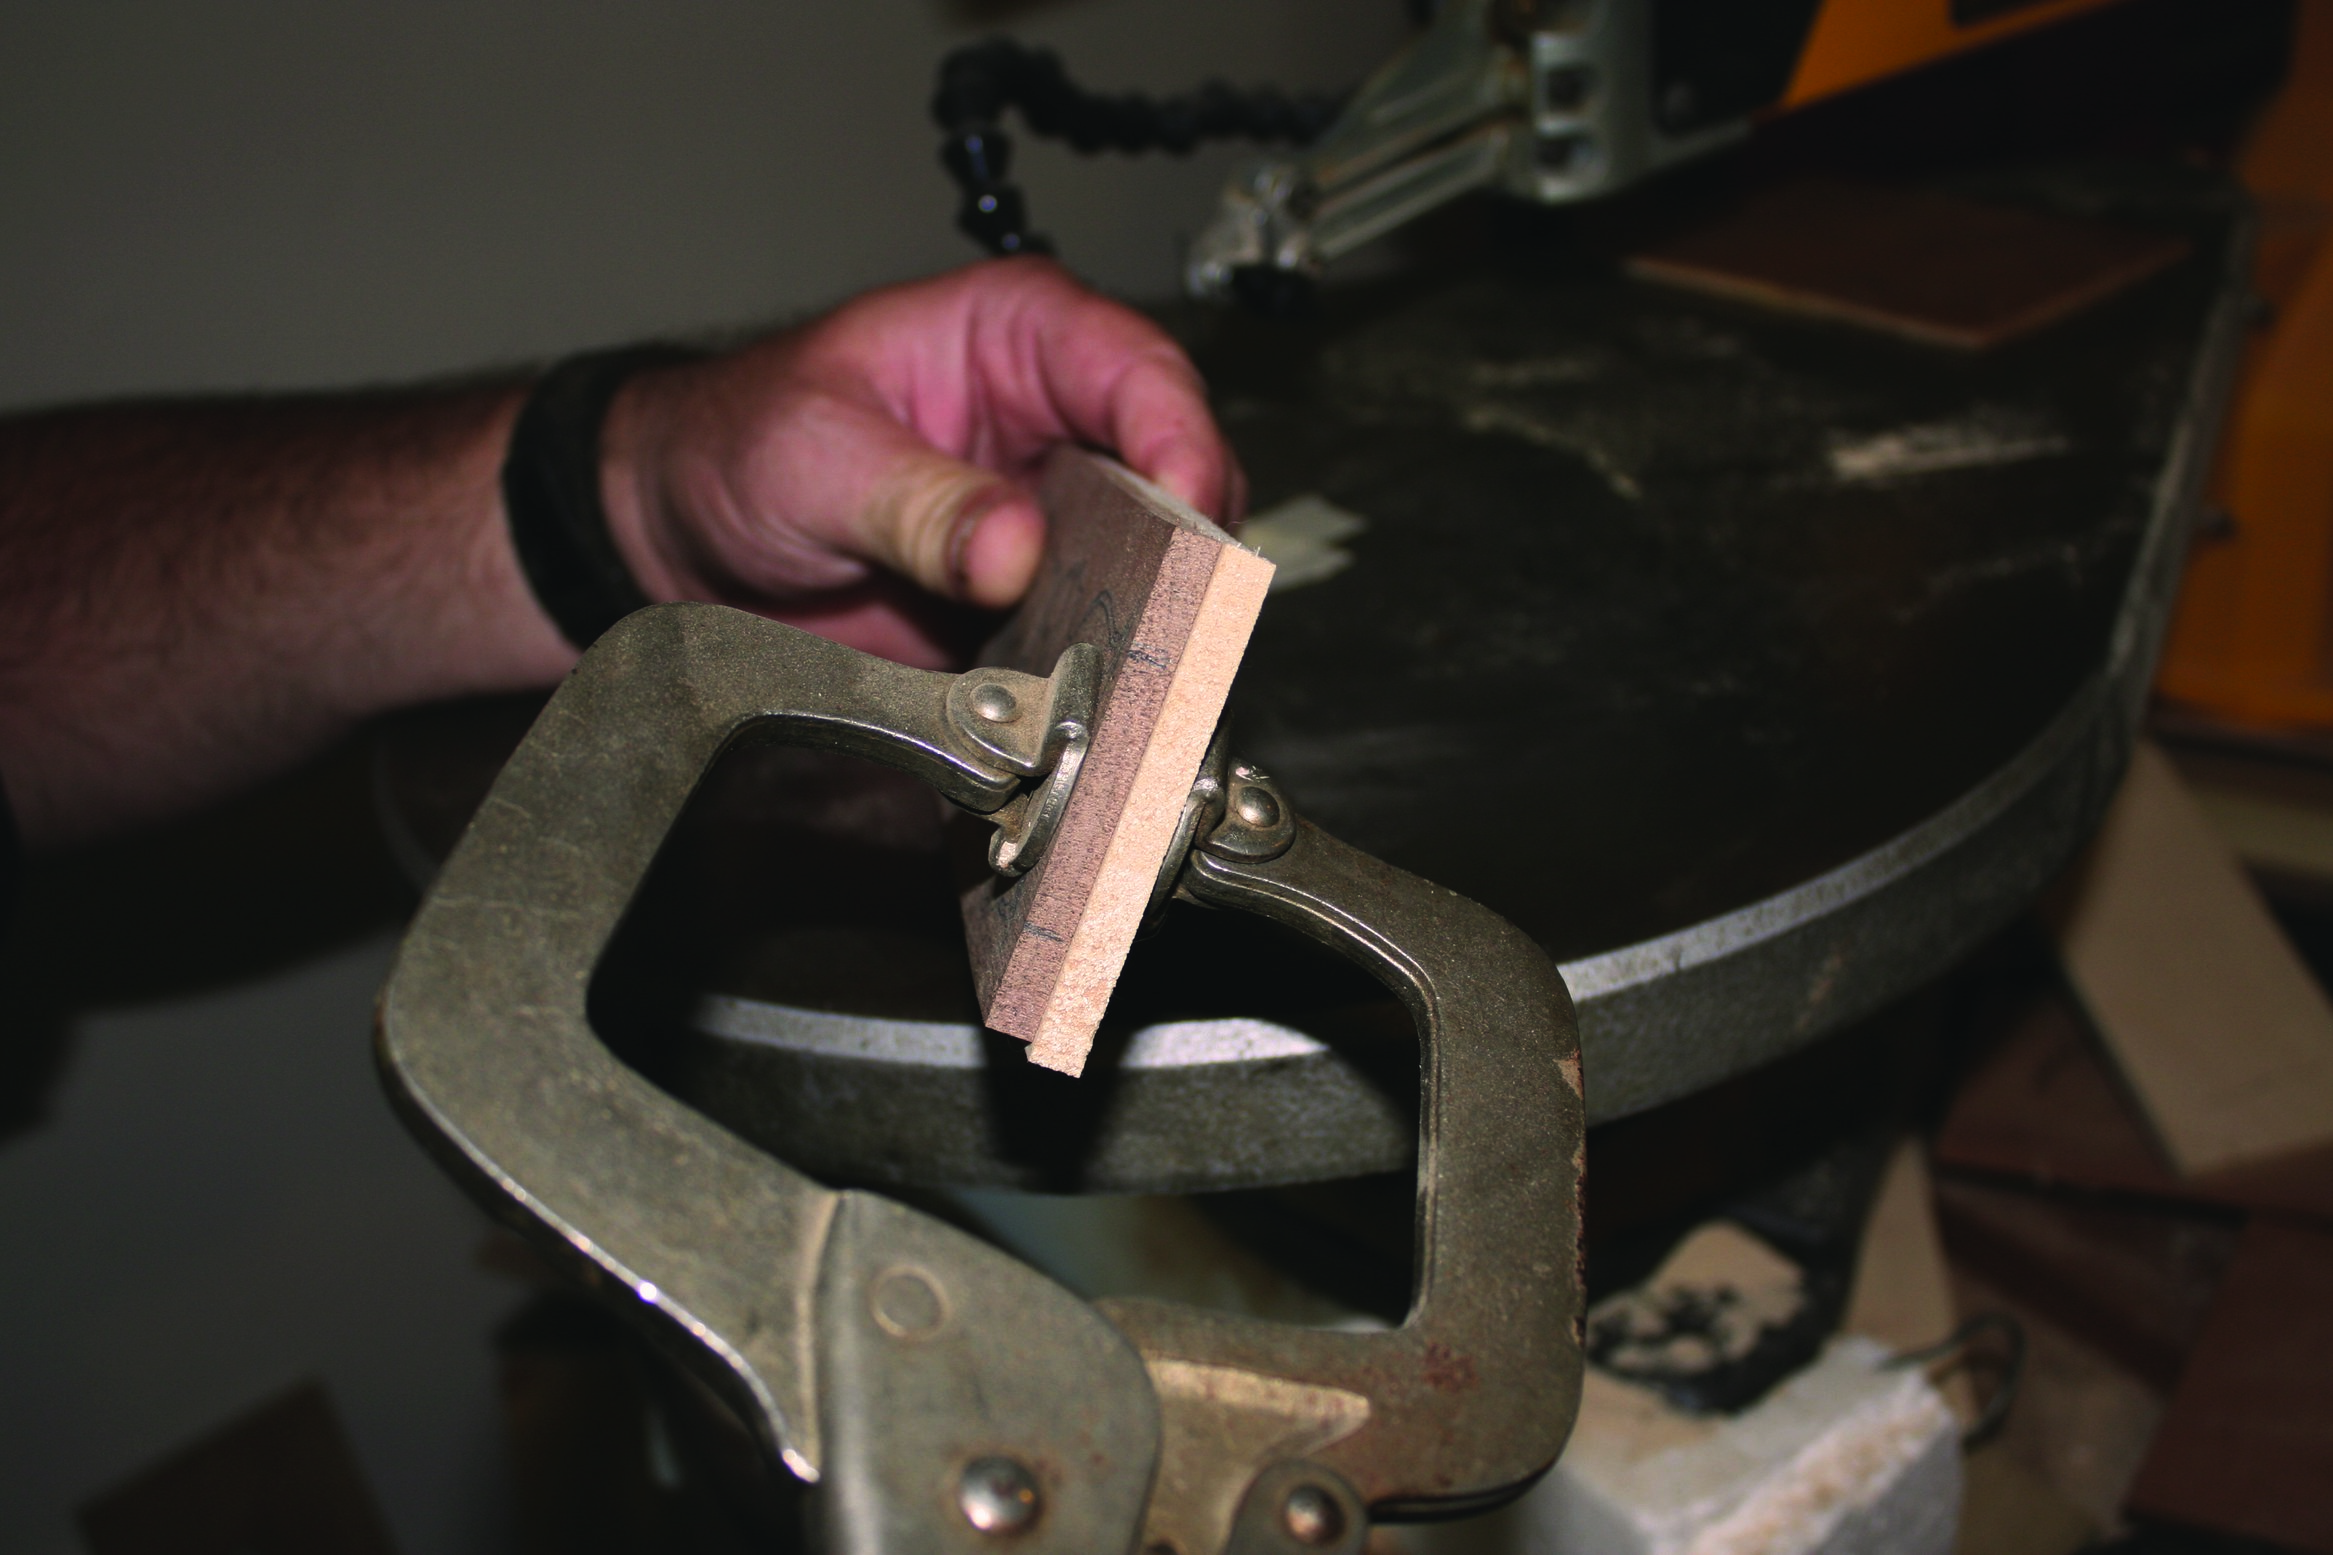
2. Create the stack. Trace the pattern onto the walnut. Attach the aspen to the bottom of the walnut using double-sided tape. Mark the location of the tape to make it easier to separate the stack later. Use a locking C-clamp to ensure a good tape bond.
3. Set the table angle. Tilt the left side of your saw table down 21/2° to 3°. Cut counterclockwise and make an oval test cut in the scrap wood outside the pattern lines. Test the fit of the aspen into the walnut. You want the aspen to stick up above the walnut about 1/32″. Adjust the table angle as needed.

4. Drill blade-entry holes. Hide the blade-entry holes by drilling at an angle along straight sections of the lines. The bit enters on the inlay side of the pattern line on the top piece of wood and exits on the waste side of the inlay section on the bottom stock. A slightly steeper angle is better than not enough.
Inlay: Cutting the Pieces
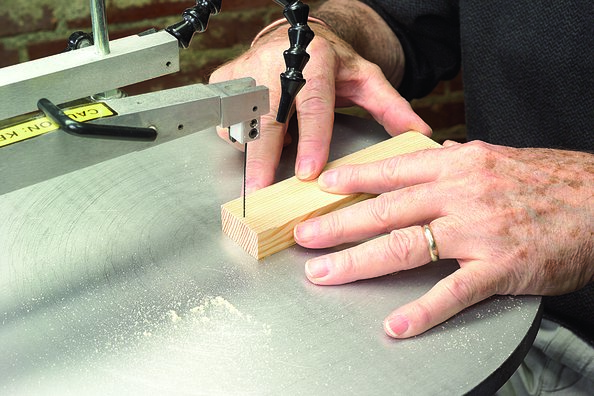
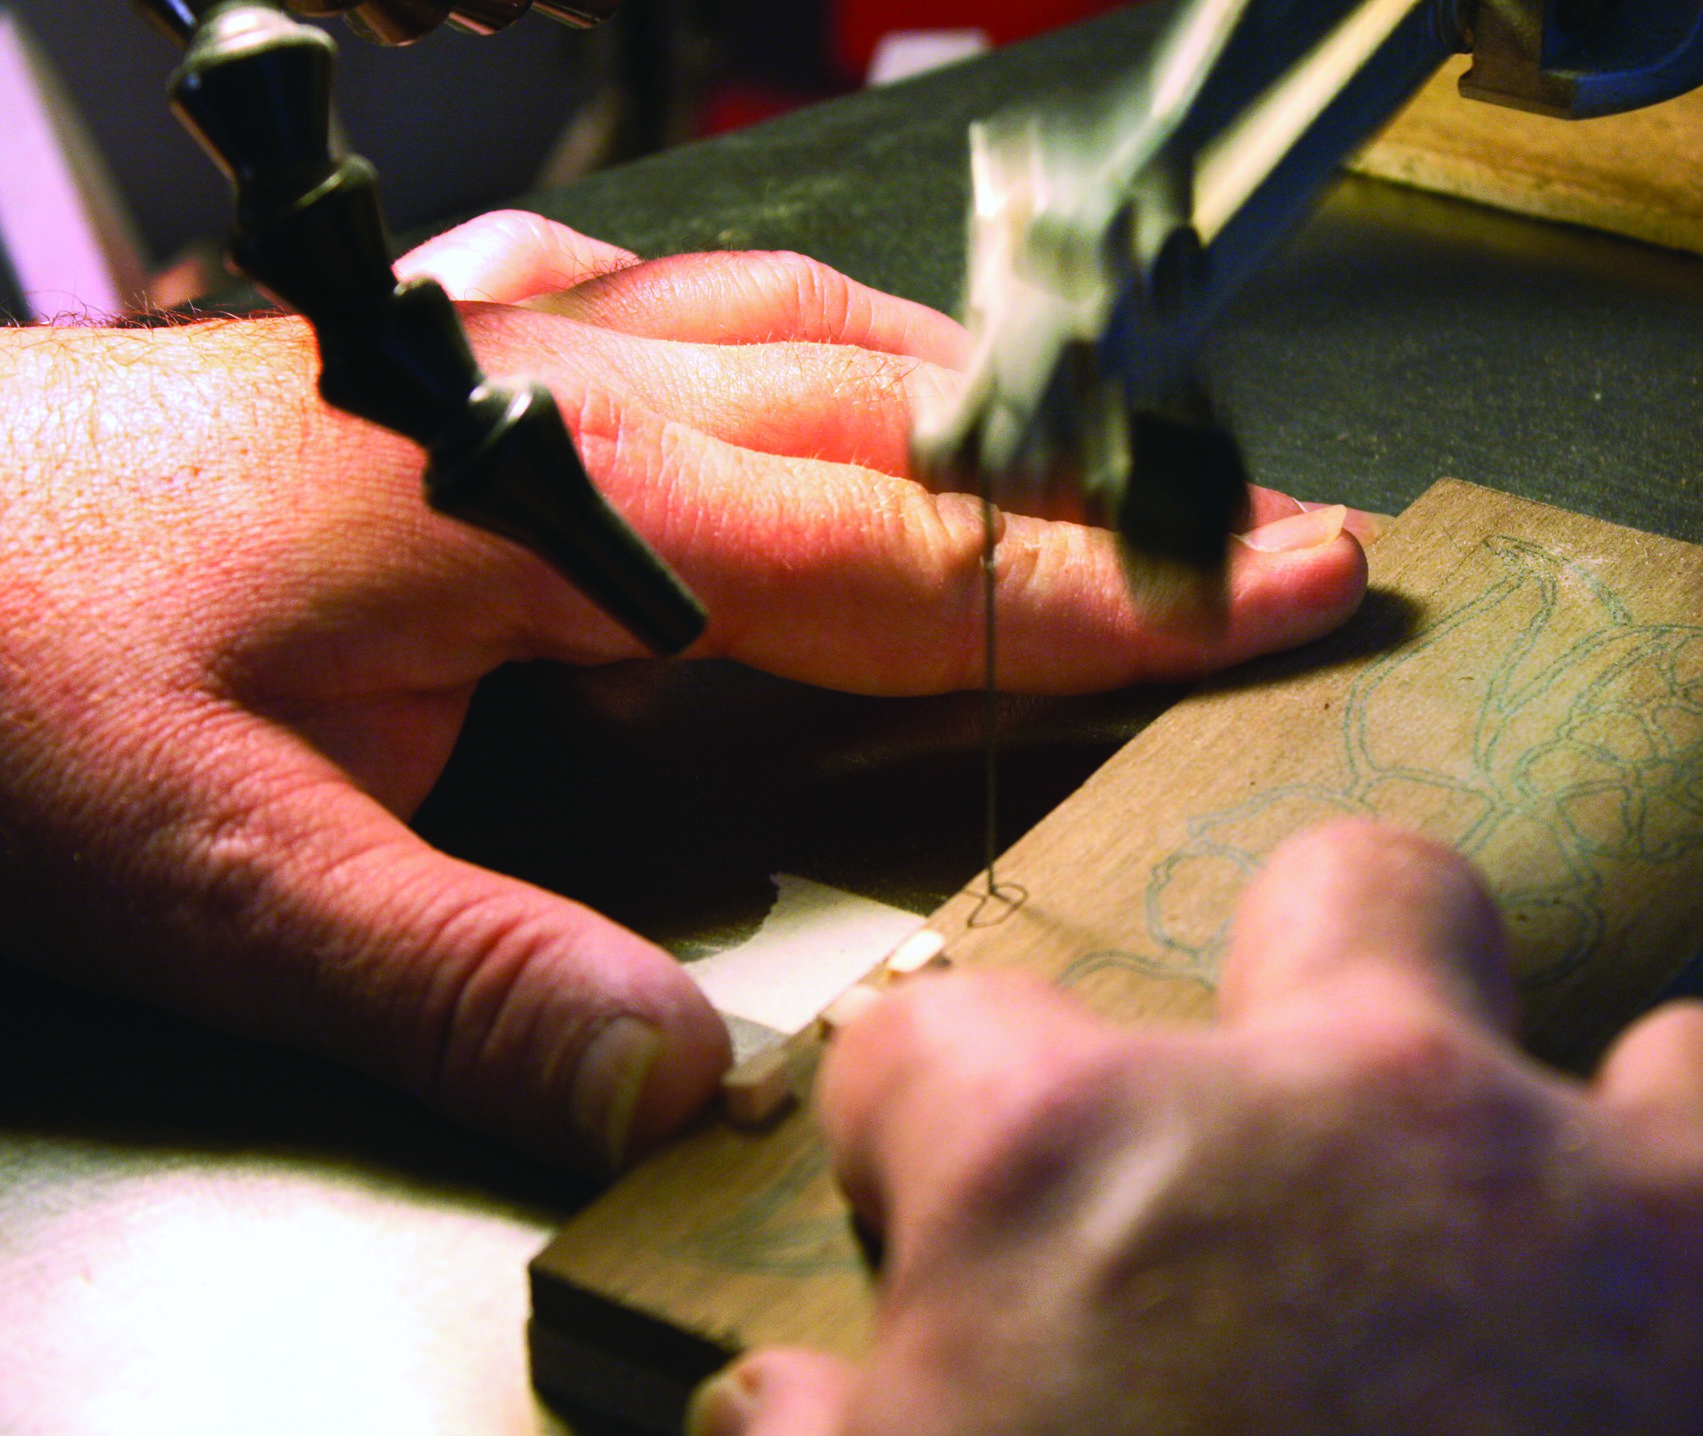
5. Cut the first inlays. Turn the wood clockwise so the saw blade cuts counterclockwise. As you approach the blade-entry hole to finish the cut, concentrate more on meeting the previous cut than following the line.

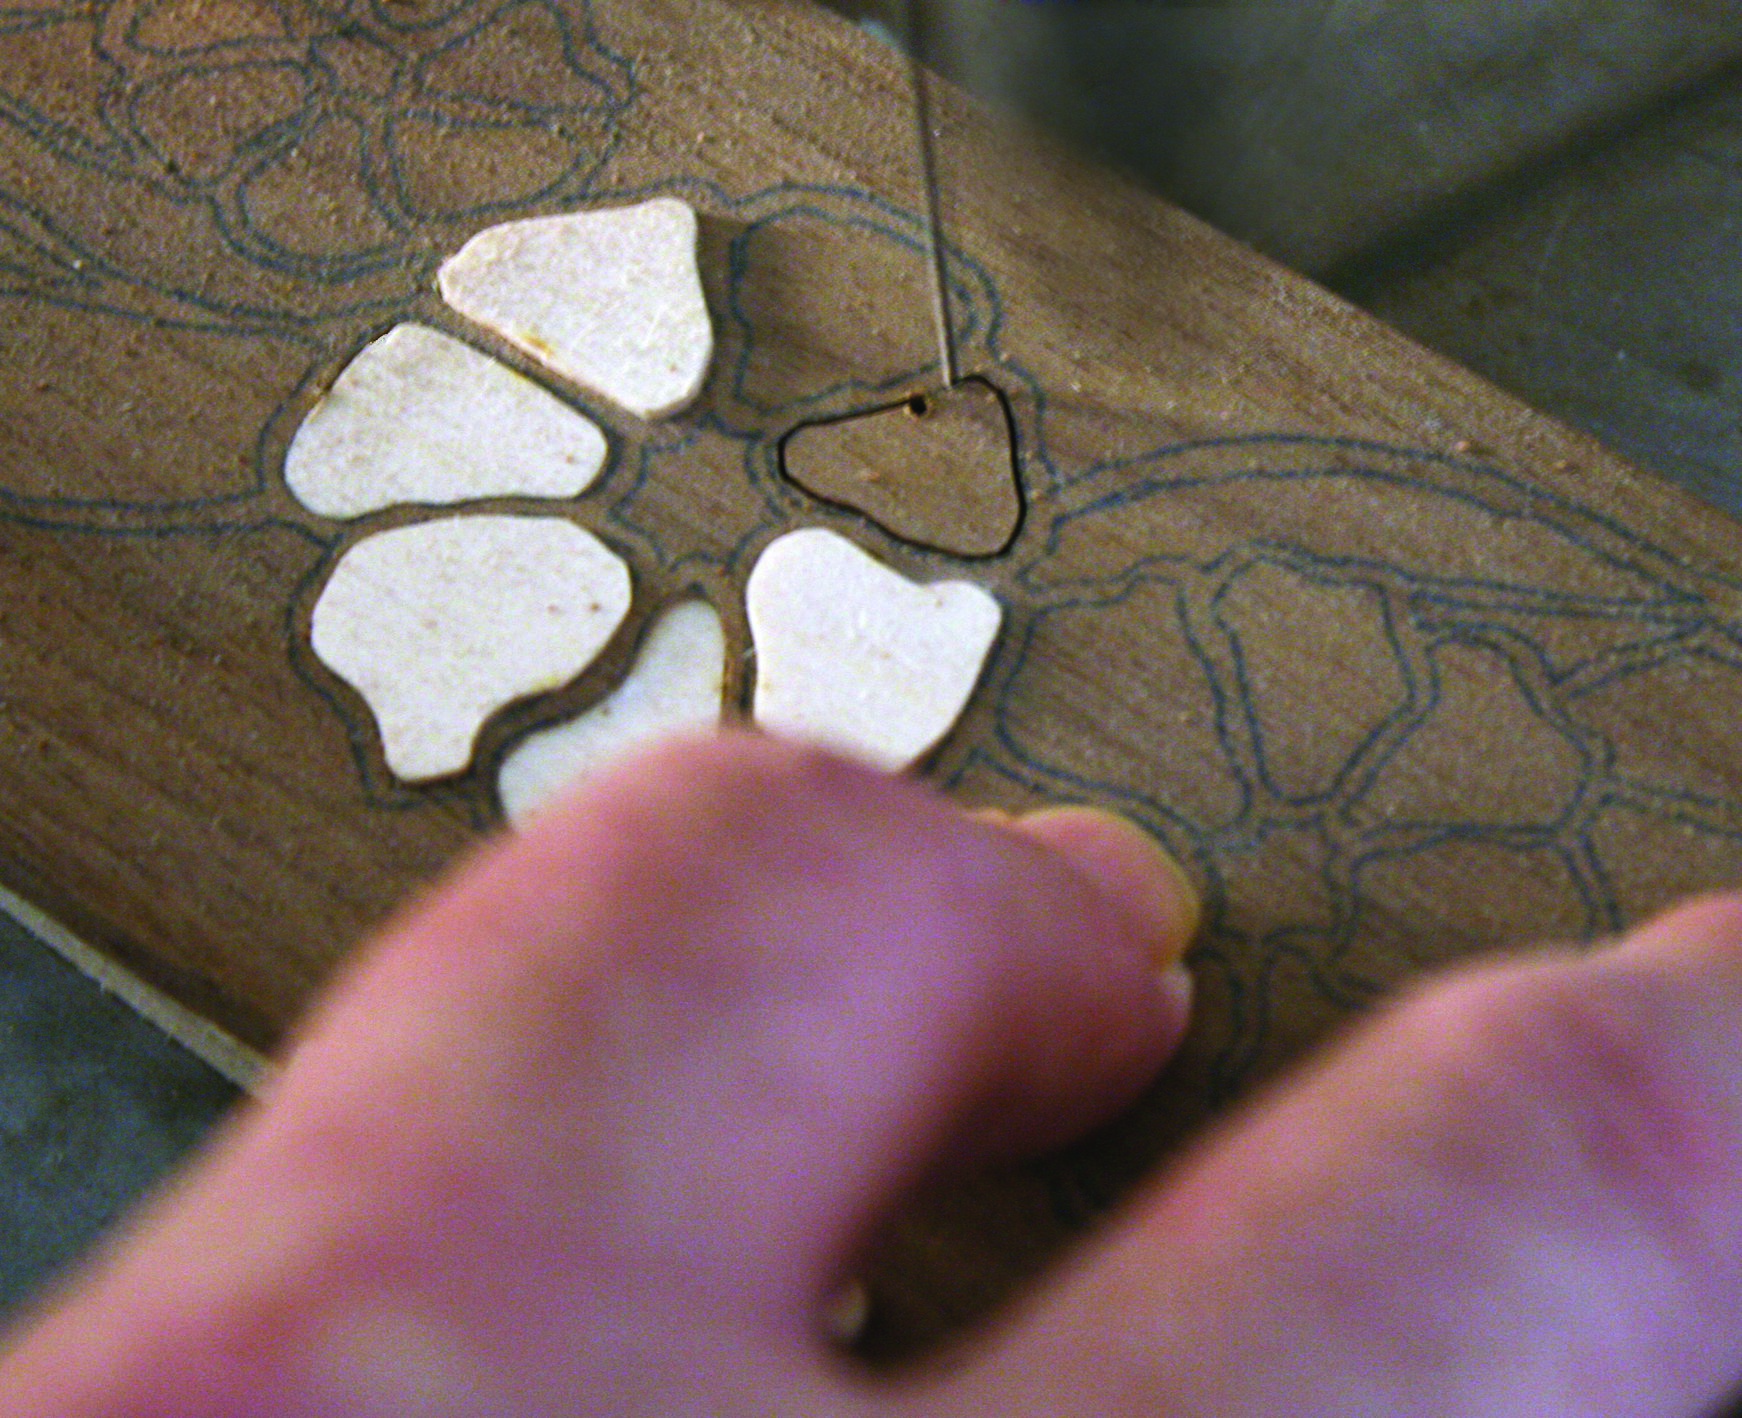
6. Remove the burr from the inlay piece. Remove the pieces through the bottom. Use a flat needle file to remove the burr created when you drilled the blade-entry holes. Use the scrap walnut to push the aspen inlay up from the bottom.
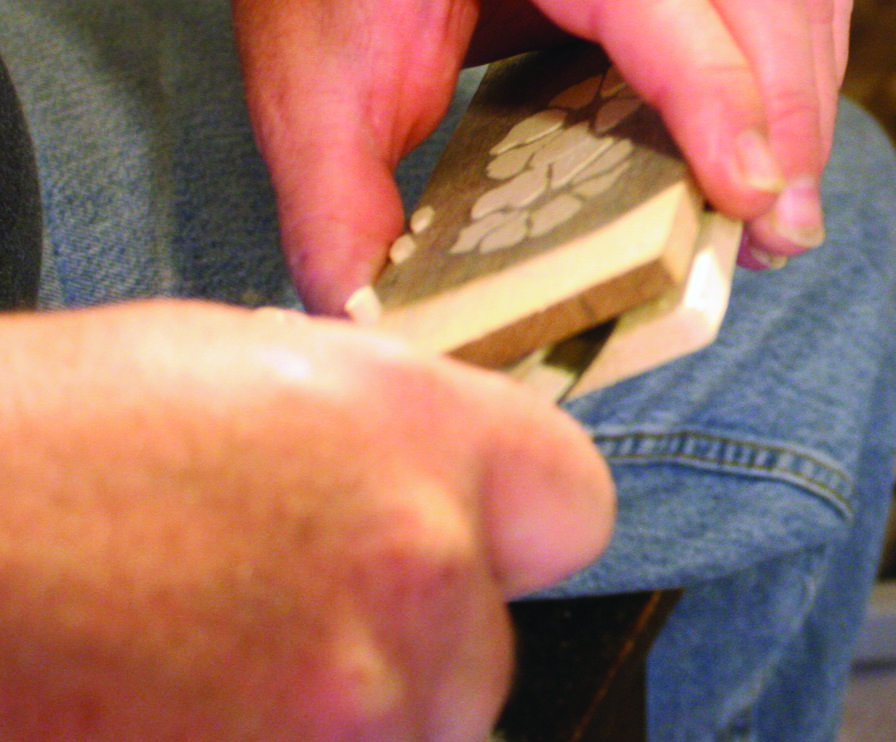
7. Prepare for the second inlay color. Separate the stack using a bench knife. Sand the back of the walnut so you have a flat surface to attach the stock for the next inlay color. Attach the poplar to the bottom of the walnut using double-sided tape.
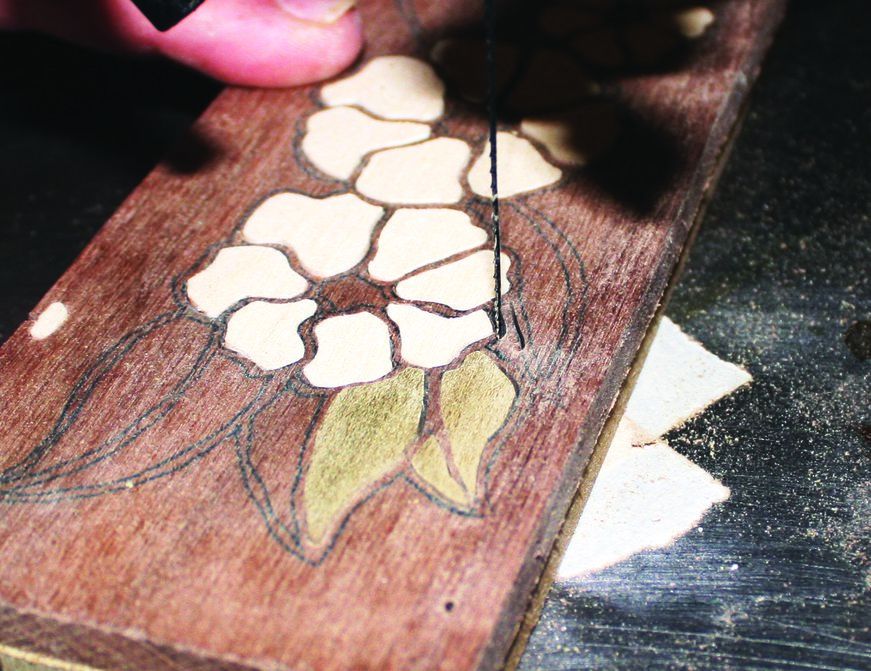
8. Cut the leaf inlays. Use the techniques explained above to drill blade-entry holes and cut the inlays for the leaves. Be careful when cutting the fine detail lines inside the leaves. Push the poplar inlays into the walnut stock.
Inlay: Assembling the Project
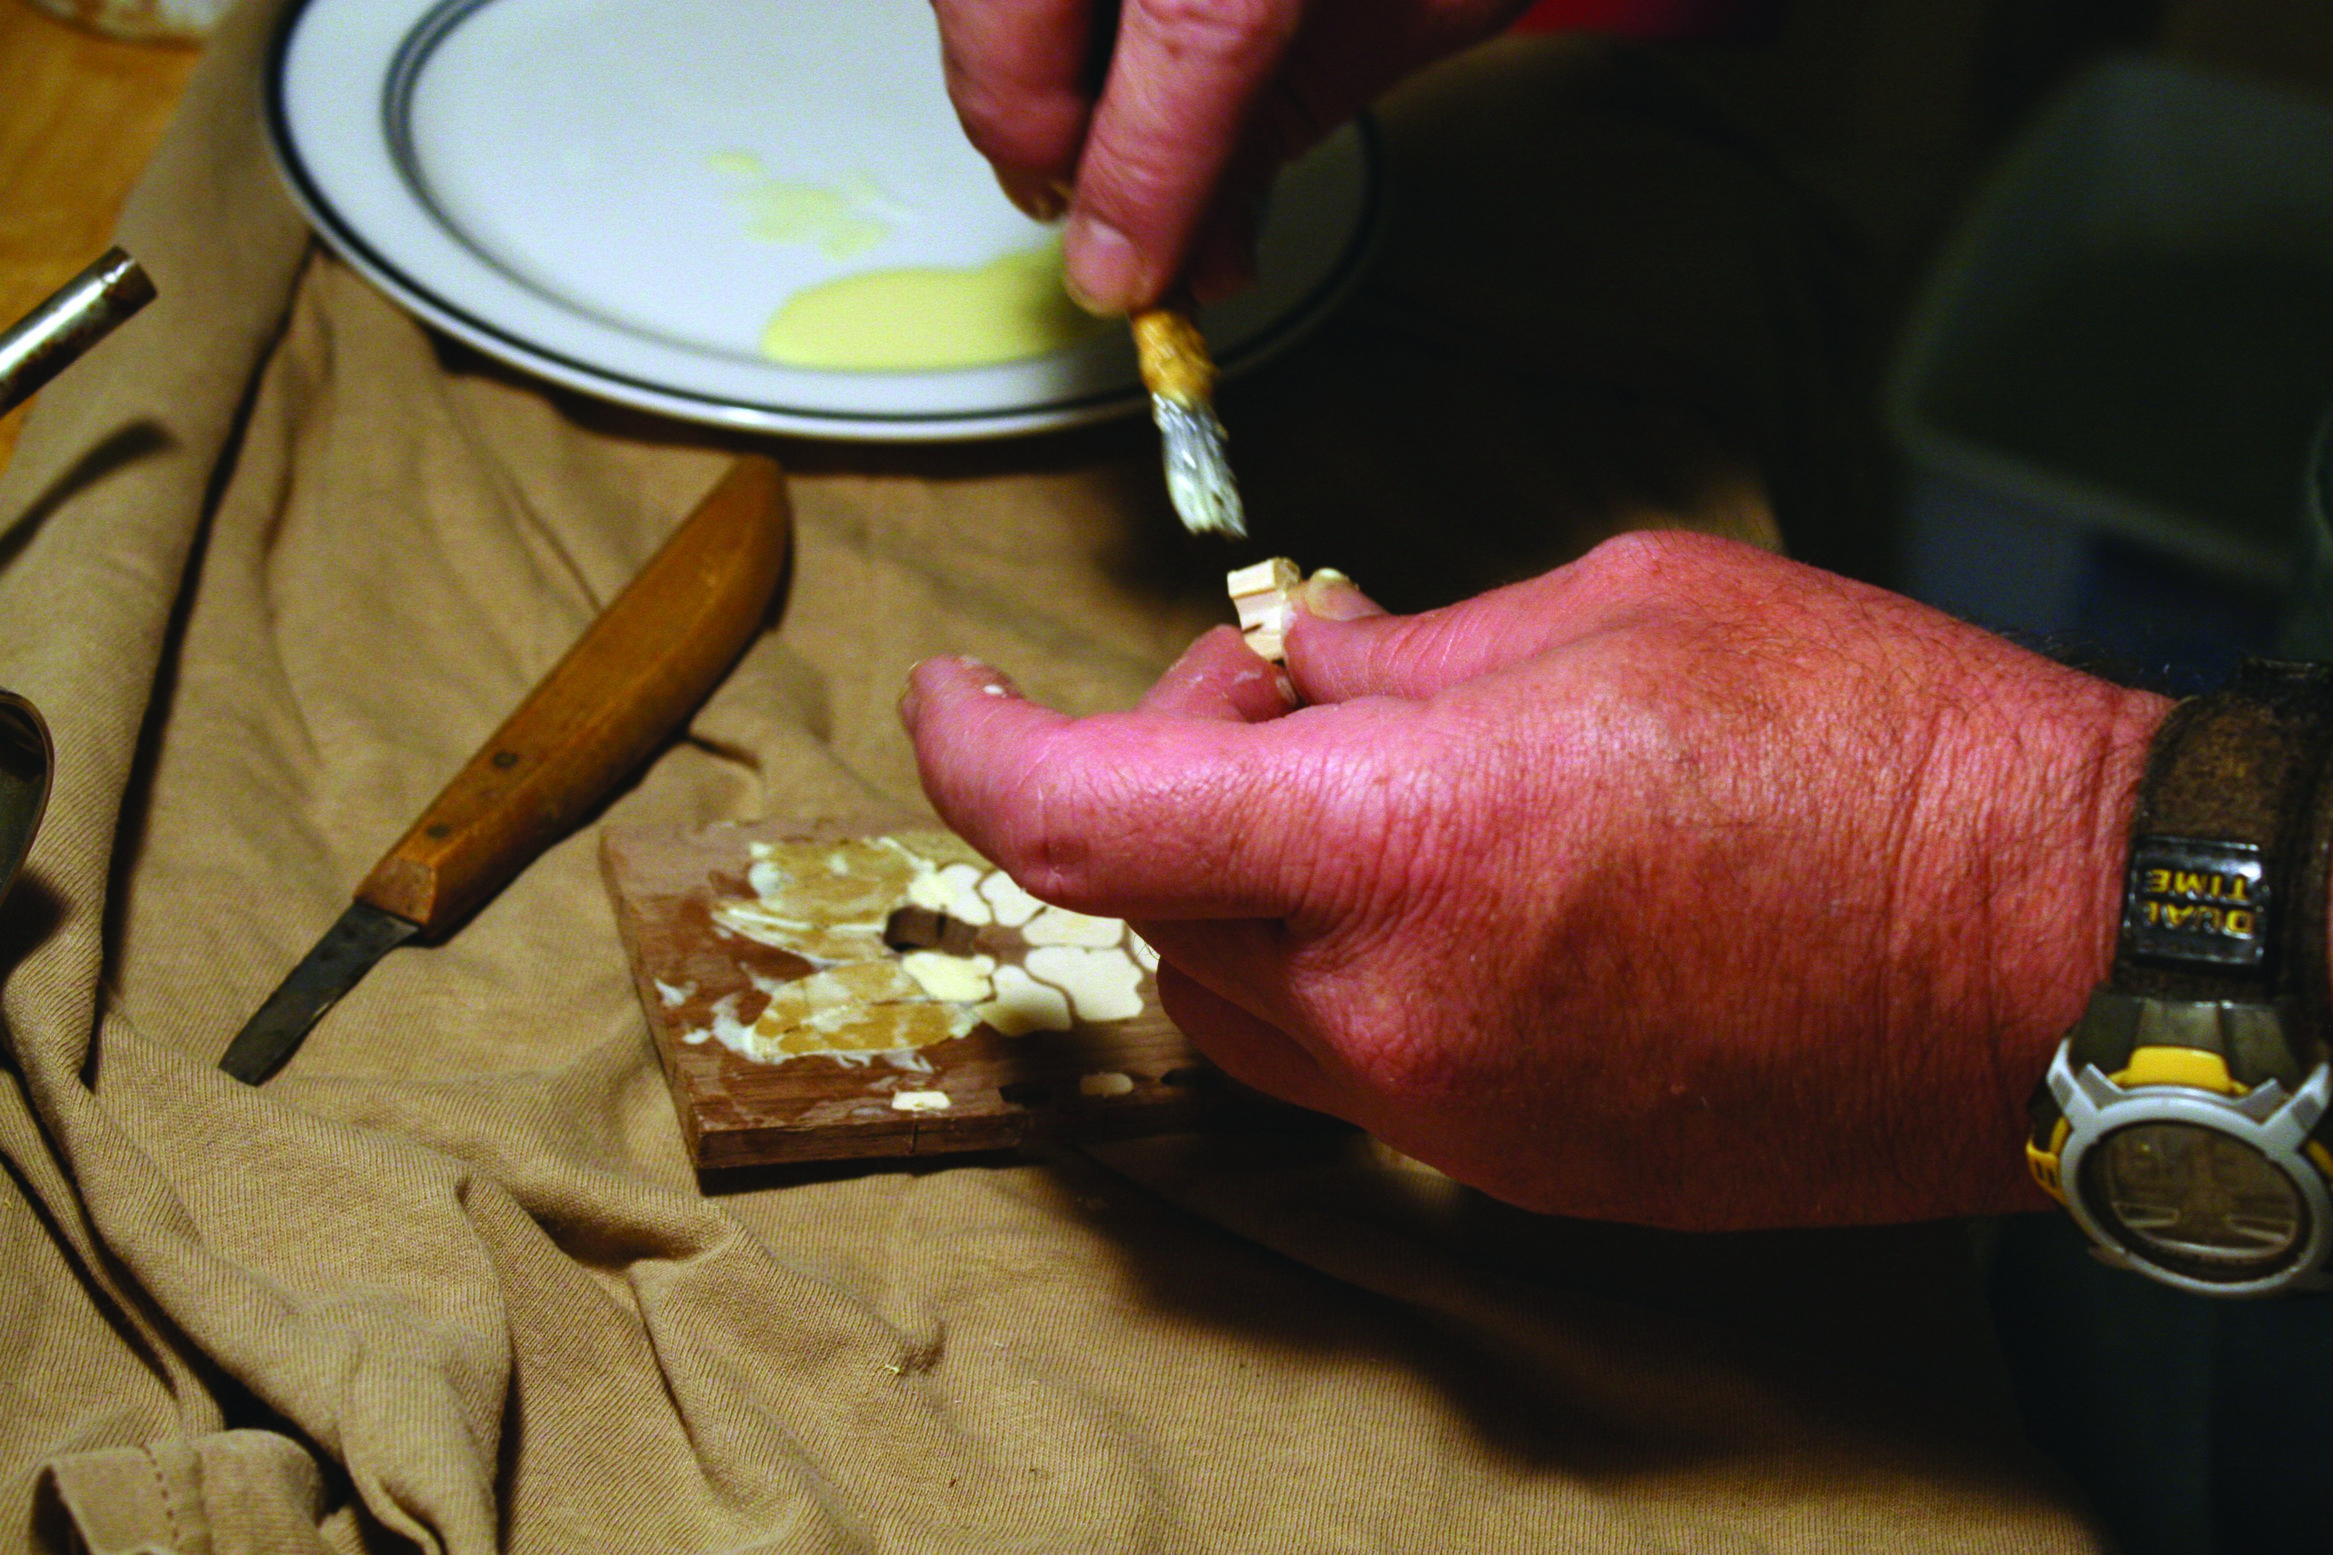
9. Glue the inlay sections in place. Remove the pieces one-by-one and apply glue to the edges with an artist’s brush. Work from one side to the other. Allow the glue to dry for three hours. This provides support to the thin sections of the walnut.

10. Cut the centers of the flowers. Sand the back of the walnut and attach the satinwood with double-sided tape. Repeat the steps above to drill the blade-entry holes at an angle, cut the satinwood inlays, and glue the centers of the flowers in place.
11. Finish the magnet. After the glue is completely dry, make sure the saw table is square with the blade, and cut around the perimeter of the magnet. Sand both sides of the project with progressively finer sandpaper up to 220 grit and apply your finish of choice. Glue a magnet or pin to the back.
Materials & Tools
Materials:
- Double-sided tape
- Assorted grits of sandpaper up to 220 grit
- Wood glue
- Finish of choice
- Magnets or pin hardware
Floral Bouquet:
- 1/4″ x 2 5/8″ x 6 5/8″ walnut or dark wood of choice
- 1/4″ x 2 5/8″ x 6 5/8″ aspen or white wood of choice
- 1/4″ x 2 5/8″ x 6 5/8″ poplar or medium-dark wood of choice
- 1/4″ x 2 5/8″ x 6 5/8″ satinwood, yellowheart, or yellow wood of choice
Earth:
- 1/4″ x 3 1/8″ x 3 1/8″ butternut or medium-tone wood of choice
- 1/4″ x 3 1/8″ x 3 1/8″ basswood, aspen, or white wood of choice
Acanthus Leaves:
- 1/4″ x 3 1/2″ x 5″ walnut or dark wood of choice
- 1/4″ x 3 1/2″ x 5″ poplar or medium-dark wood of choice
Tools:
- Metal file
- #60 drill bit
- #5 skip-tooth blade
- Locking C-clamp
- Flat needle files
- Sander
- Bench knife
- Artist’s paintbrush
Patterns:
Pattern Notes
The earth is a stylized design. If you don’t adhere tightly to the pattern lines, no one will know. Trace the pattern onto a piece of tracing paper. Redraw the perimeter after the inlays are glued in place.
The acanthus leaves are adapted from a Dover clip-art image found in Printer’s Ornaments and Dingbats. I’ve indicated the best place to drill your pilot holes. Cut the fragile veining in the interior first.
About the Author
Jim Collins lives in Rhode Island in an apartment turned art studio. Visit Jim’s Website at www.featherwoodcrafts.com, or contact him on the Scroll Saw Woodworking & Crafts message board. His user name is JimSawyer.
Discuss this material on the Scroll Saw Woodworking & Crafts forums.
Read more about techniques for beginners!