Practice this basic technique to produce crisp, sharp corners
by Dave Van Ess
Step-by-Step Photos by Ben Fink and Scott Kriner
Cutting tight corners is an acquired skill and it intimidates many new scrollers. Some scrollers turn in the waste area or approach the corner from multiple directions. However, these techniques will not work with some designs.
With a little practice you can master cutting sharp corners without cutting into the waste wood.
 |
 |
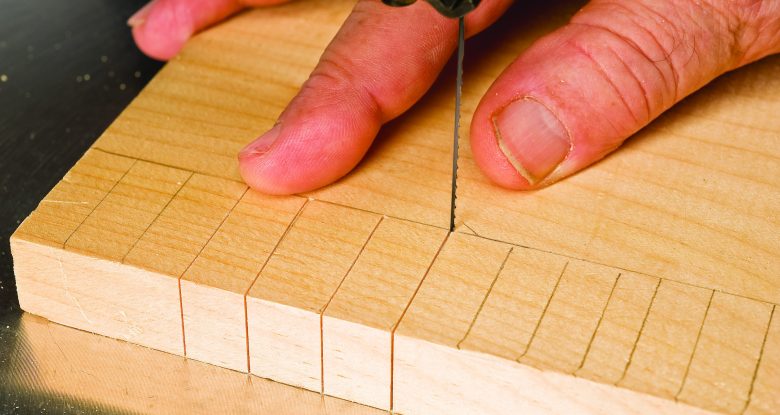
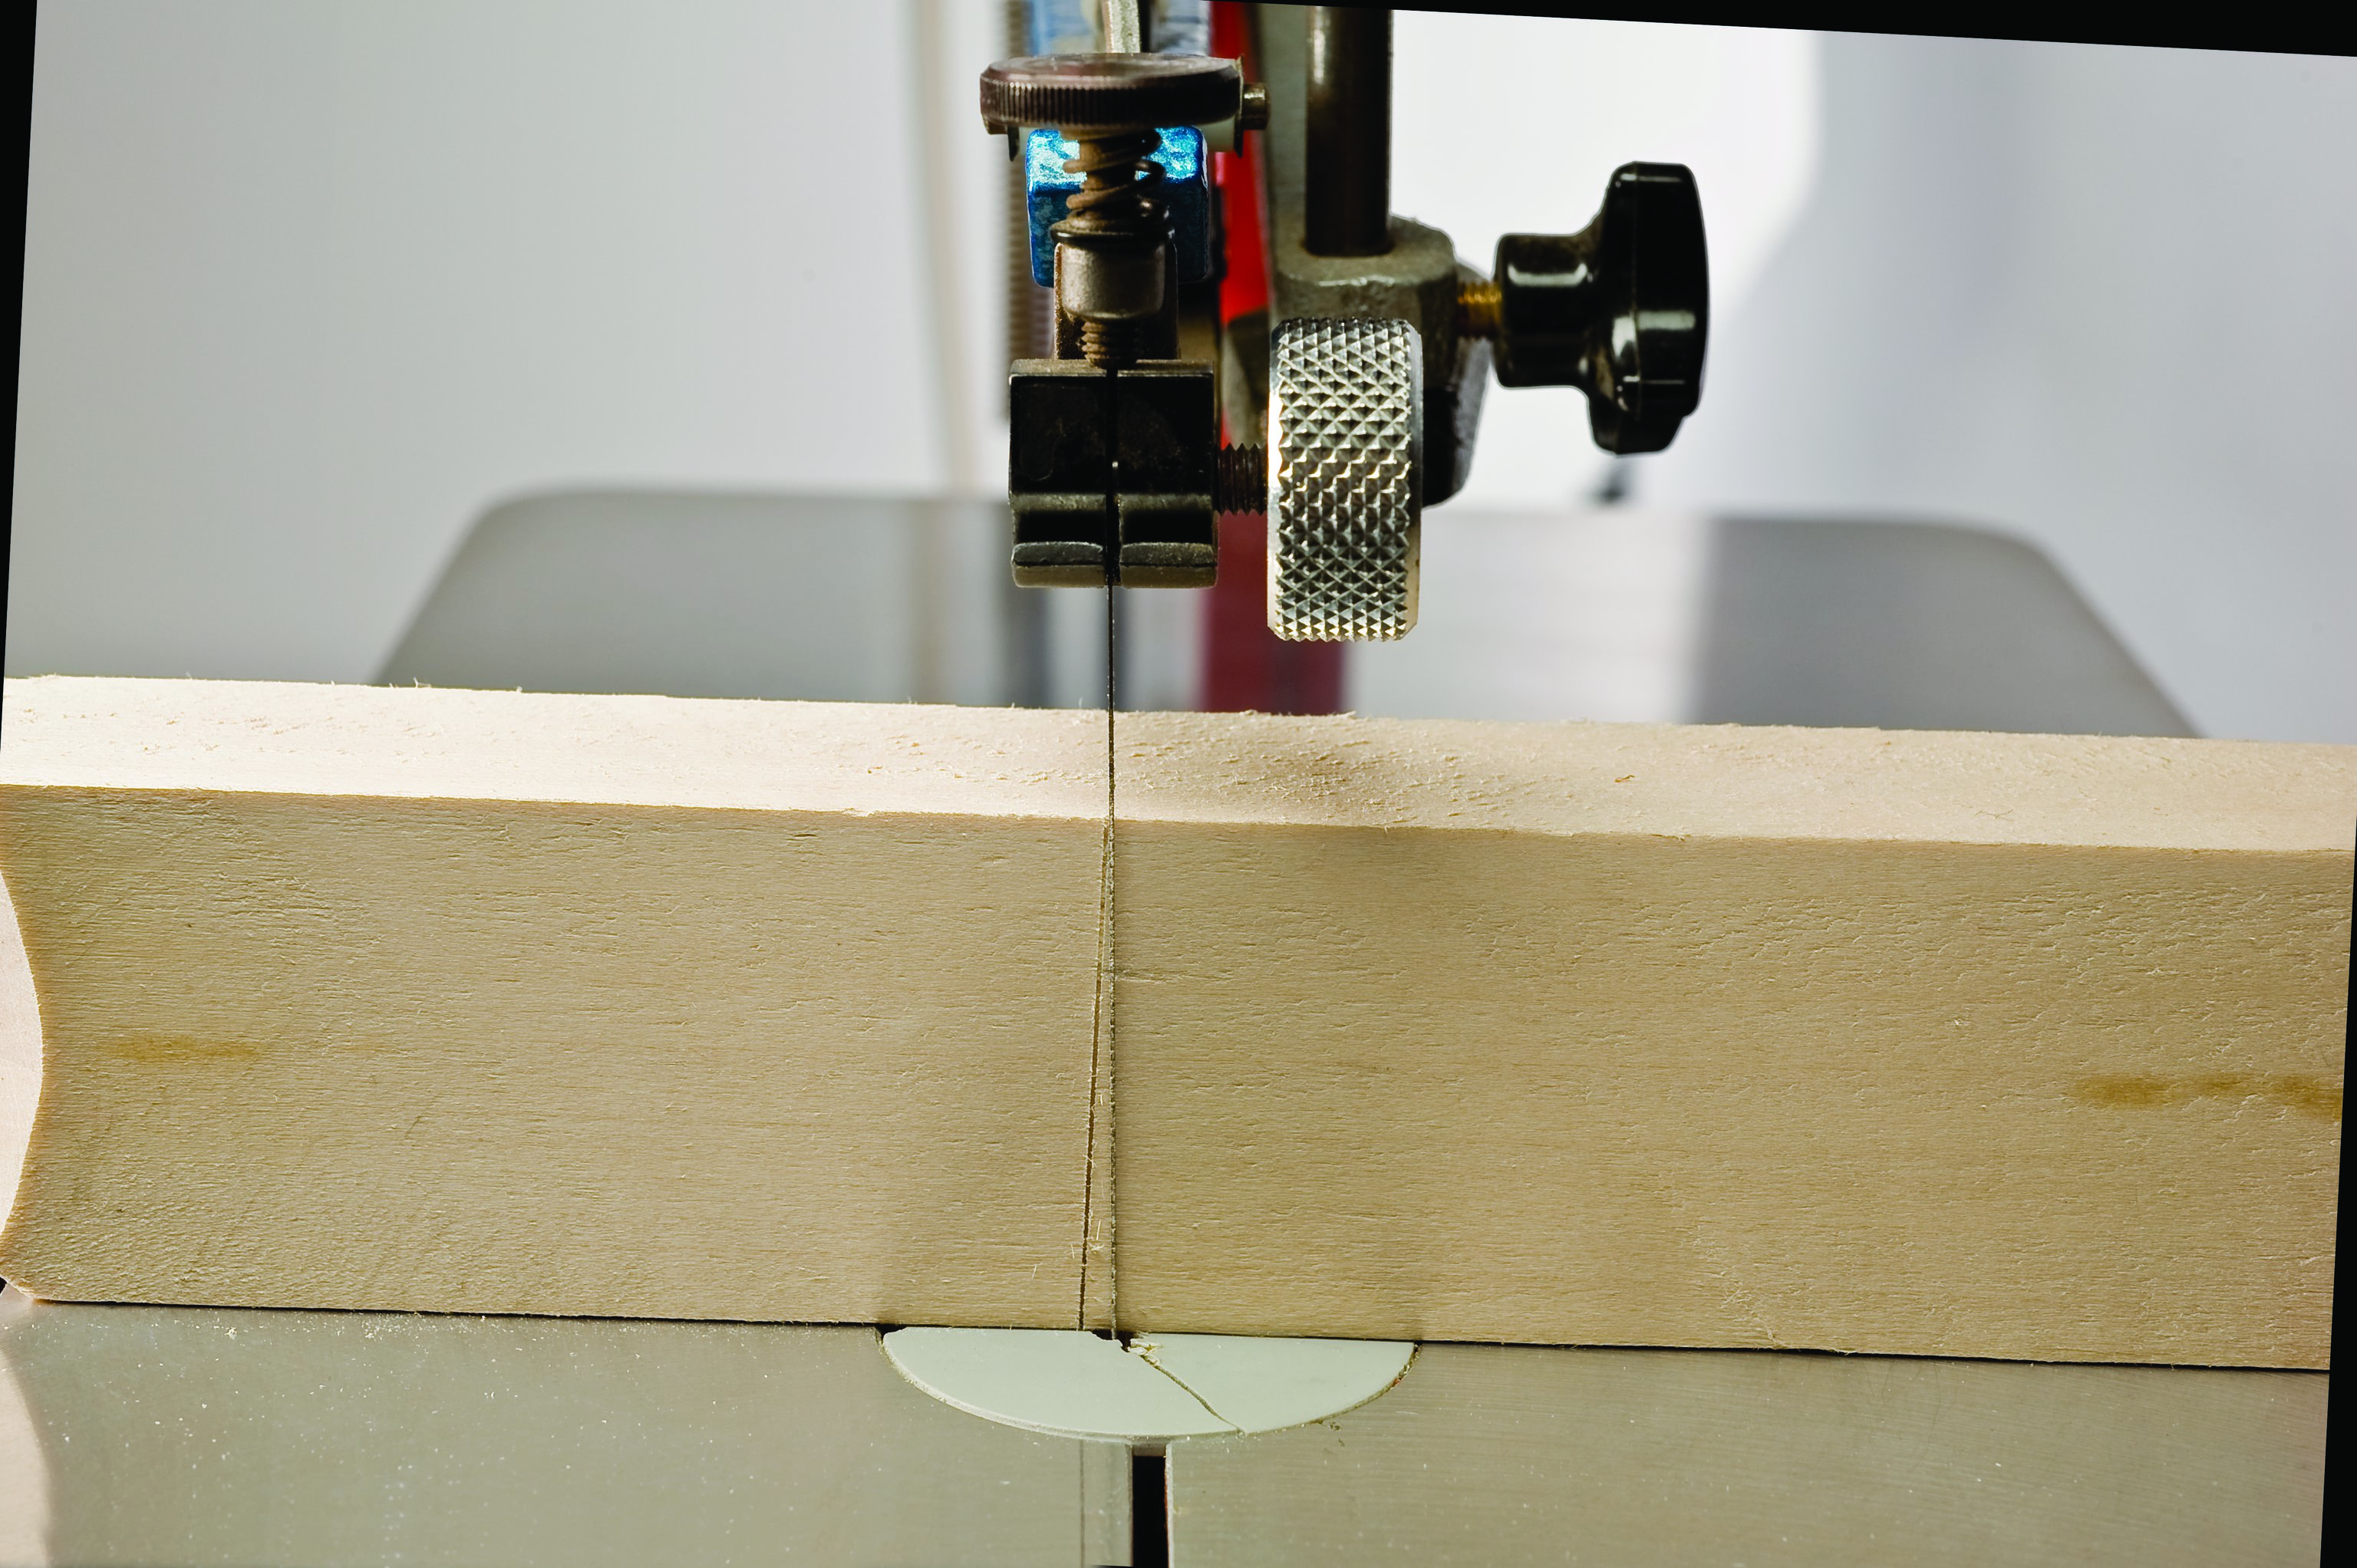
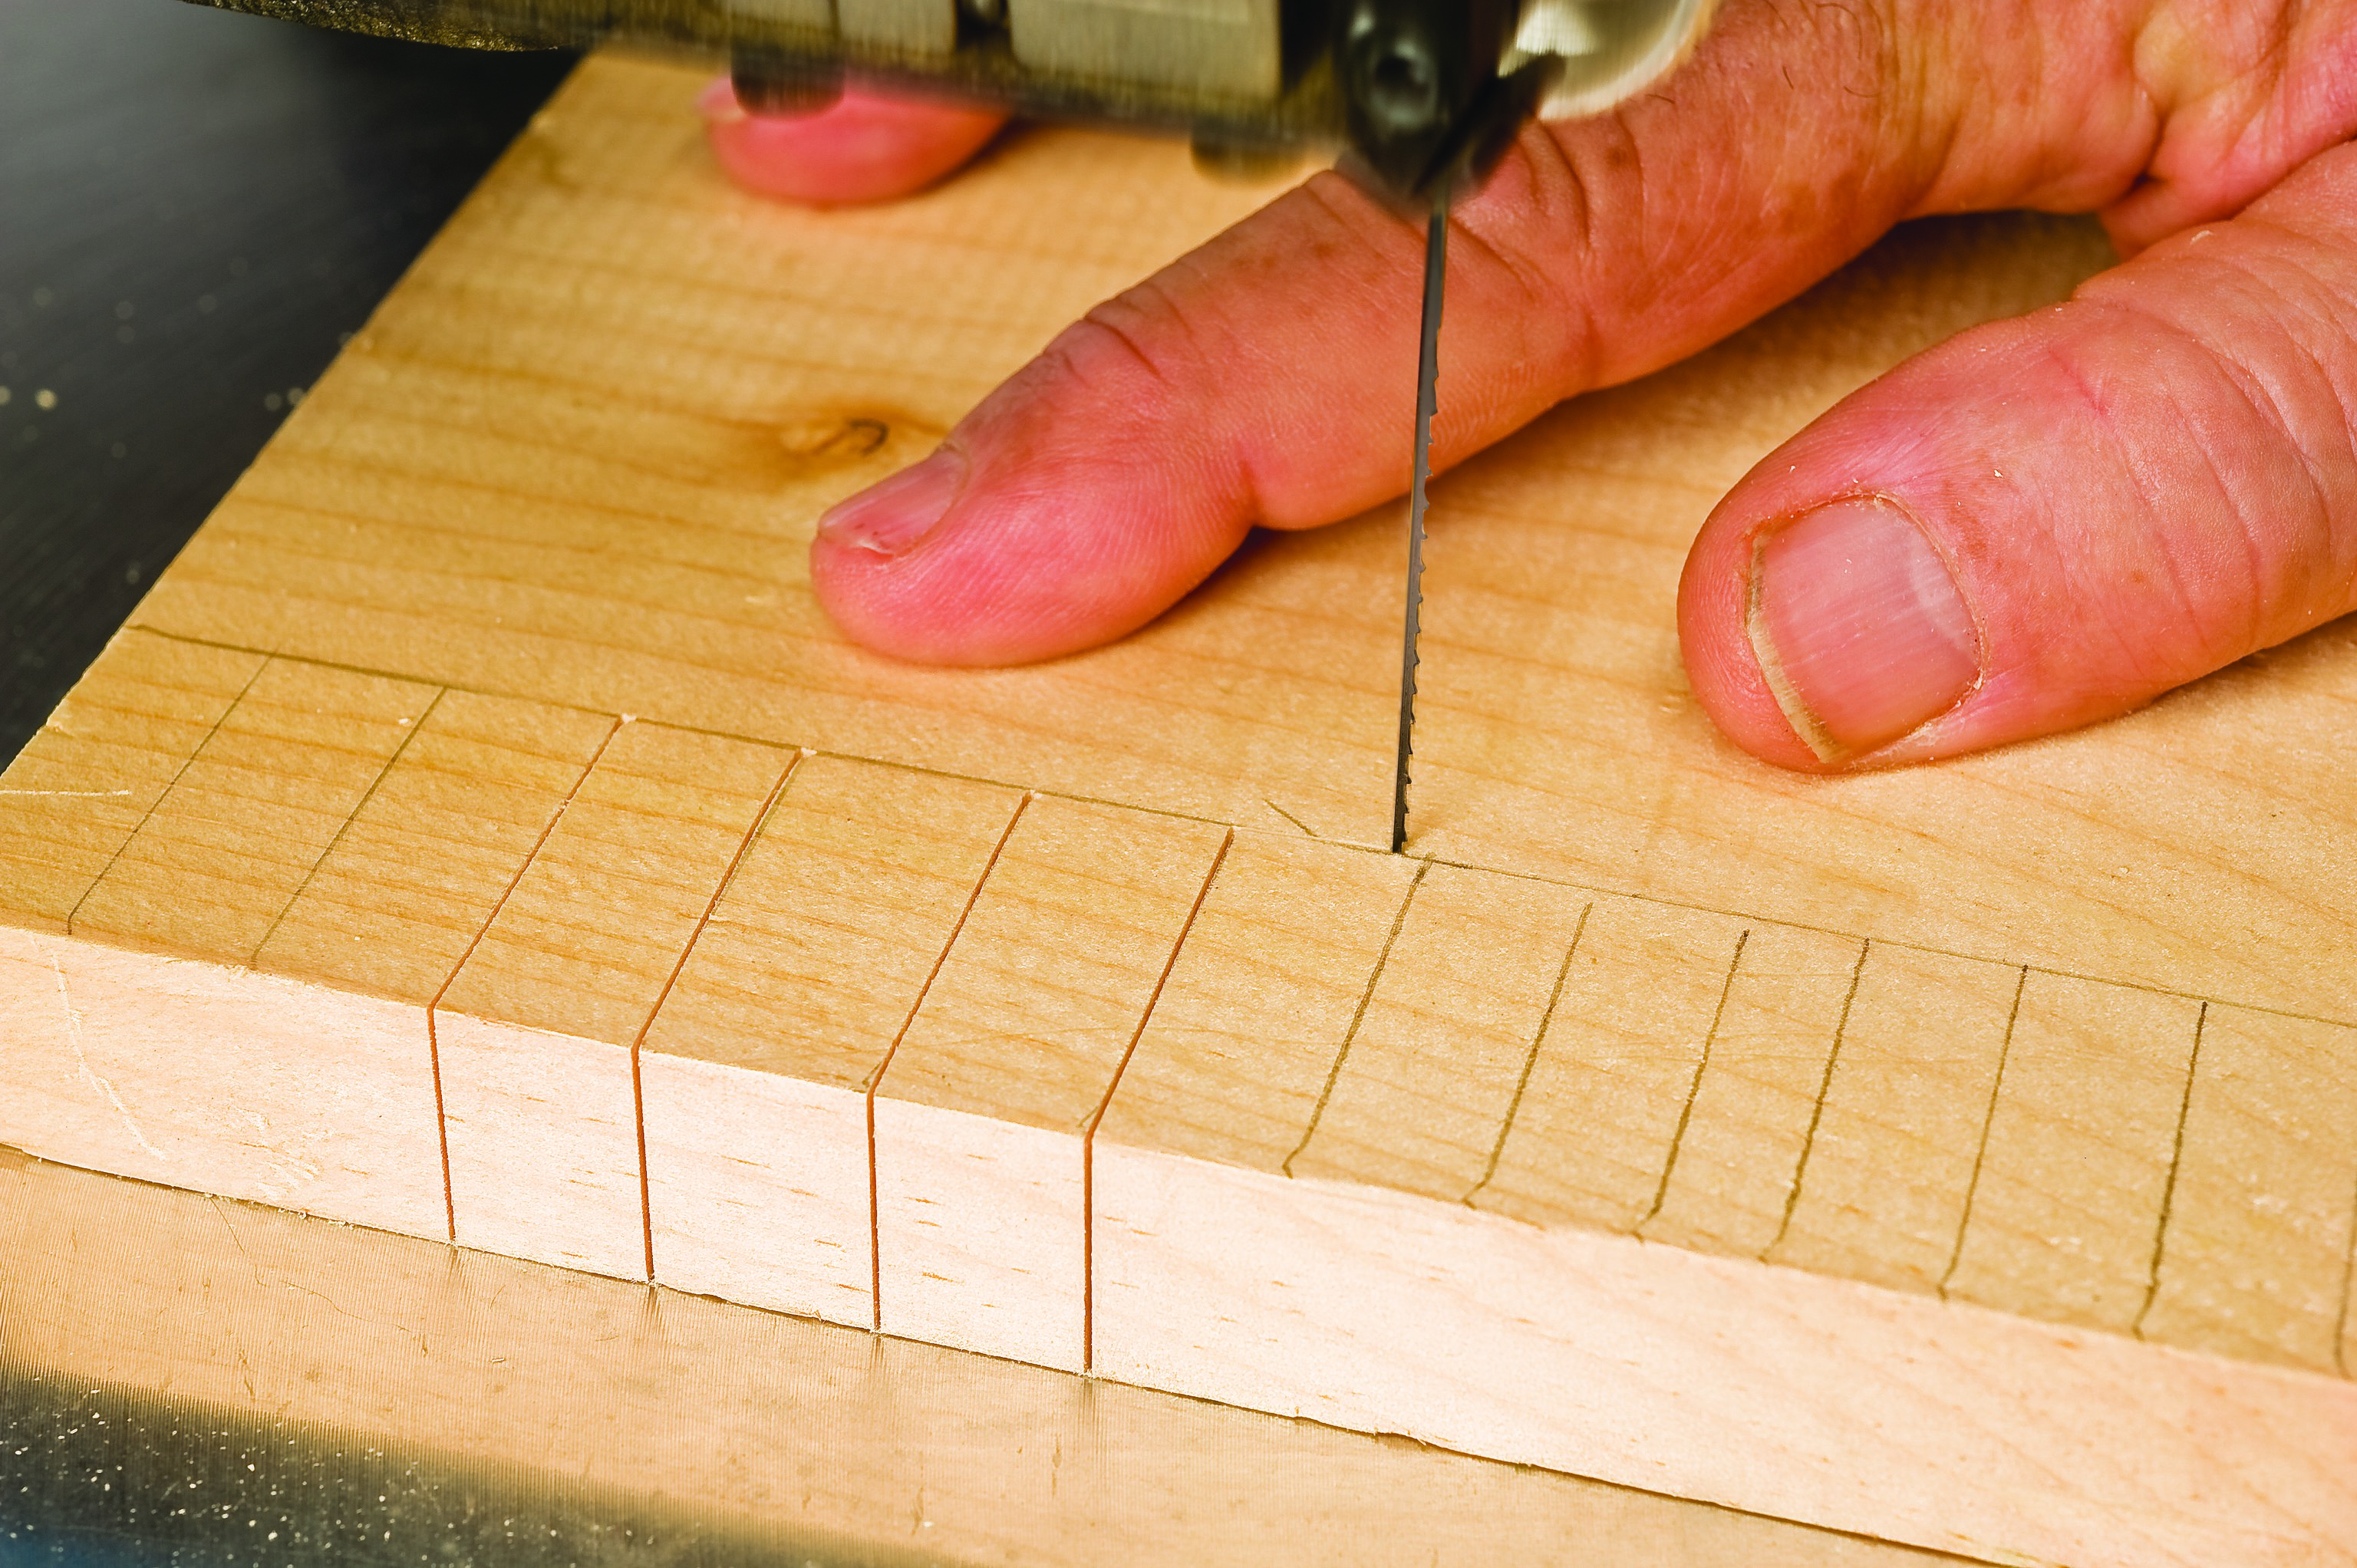
| 1. Square your blade. It’s impossible to cut sharp corners if your saw table and blade are not perfectly square. Make a shallow cut in the thickest wood block that fits on your saw. Back the blade out of the cut and spin the block so the cut you just made is aligned with the back of the blade. If the cut doesn’t line up with the blade, adjust the tilt of the table by half the difference of the angle between the blade and the cut. Continue testing the angle until the blade and cut line up perfectly. | 2. Practice stopping your cuts. You must come to a full stop before turning. Tension on the blade will make a sloppy corner. Draw a line parallel with the grain about 1″ (25mm) from the edge of a pine blank. Make a series of hash marks perpendicular to the line. Cut in along the hash mark until you reach the line. Pull the blade back 1/8″ (3mm). Then move the blade back to the corner and pause to let the blade catch up. This gets you in the habit of automatically pulling back the small amount needed to cut a tight corner. |
 |
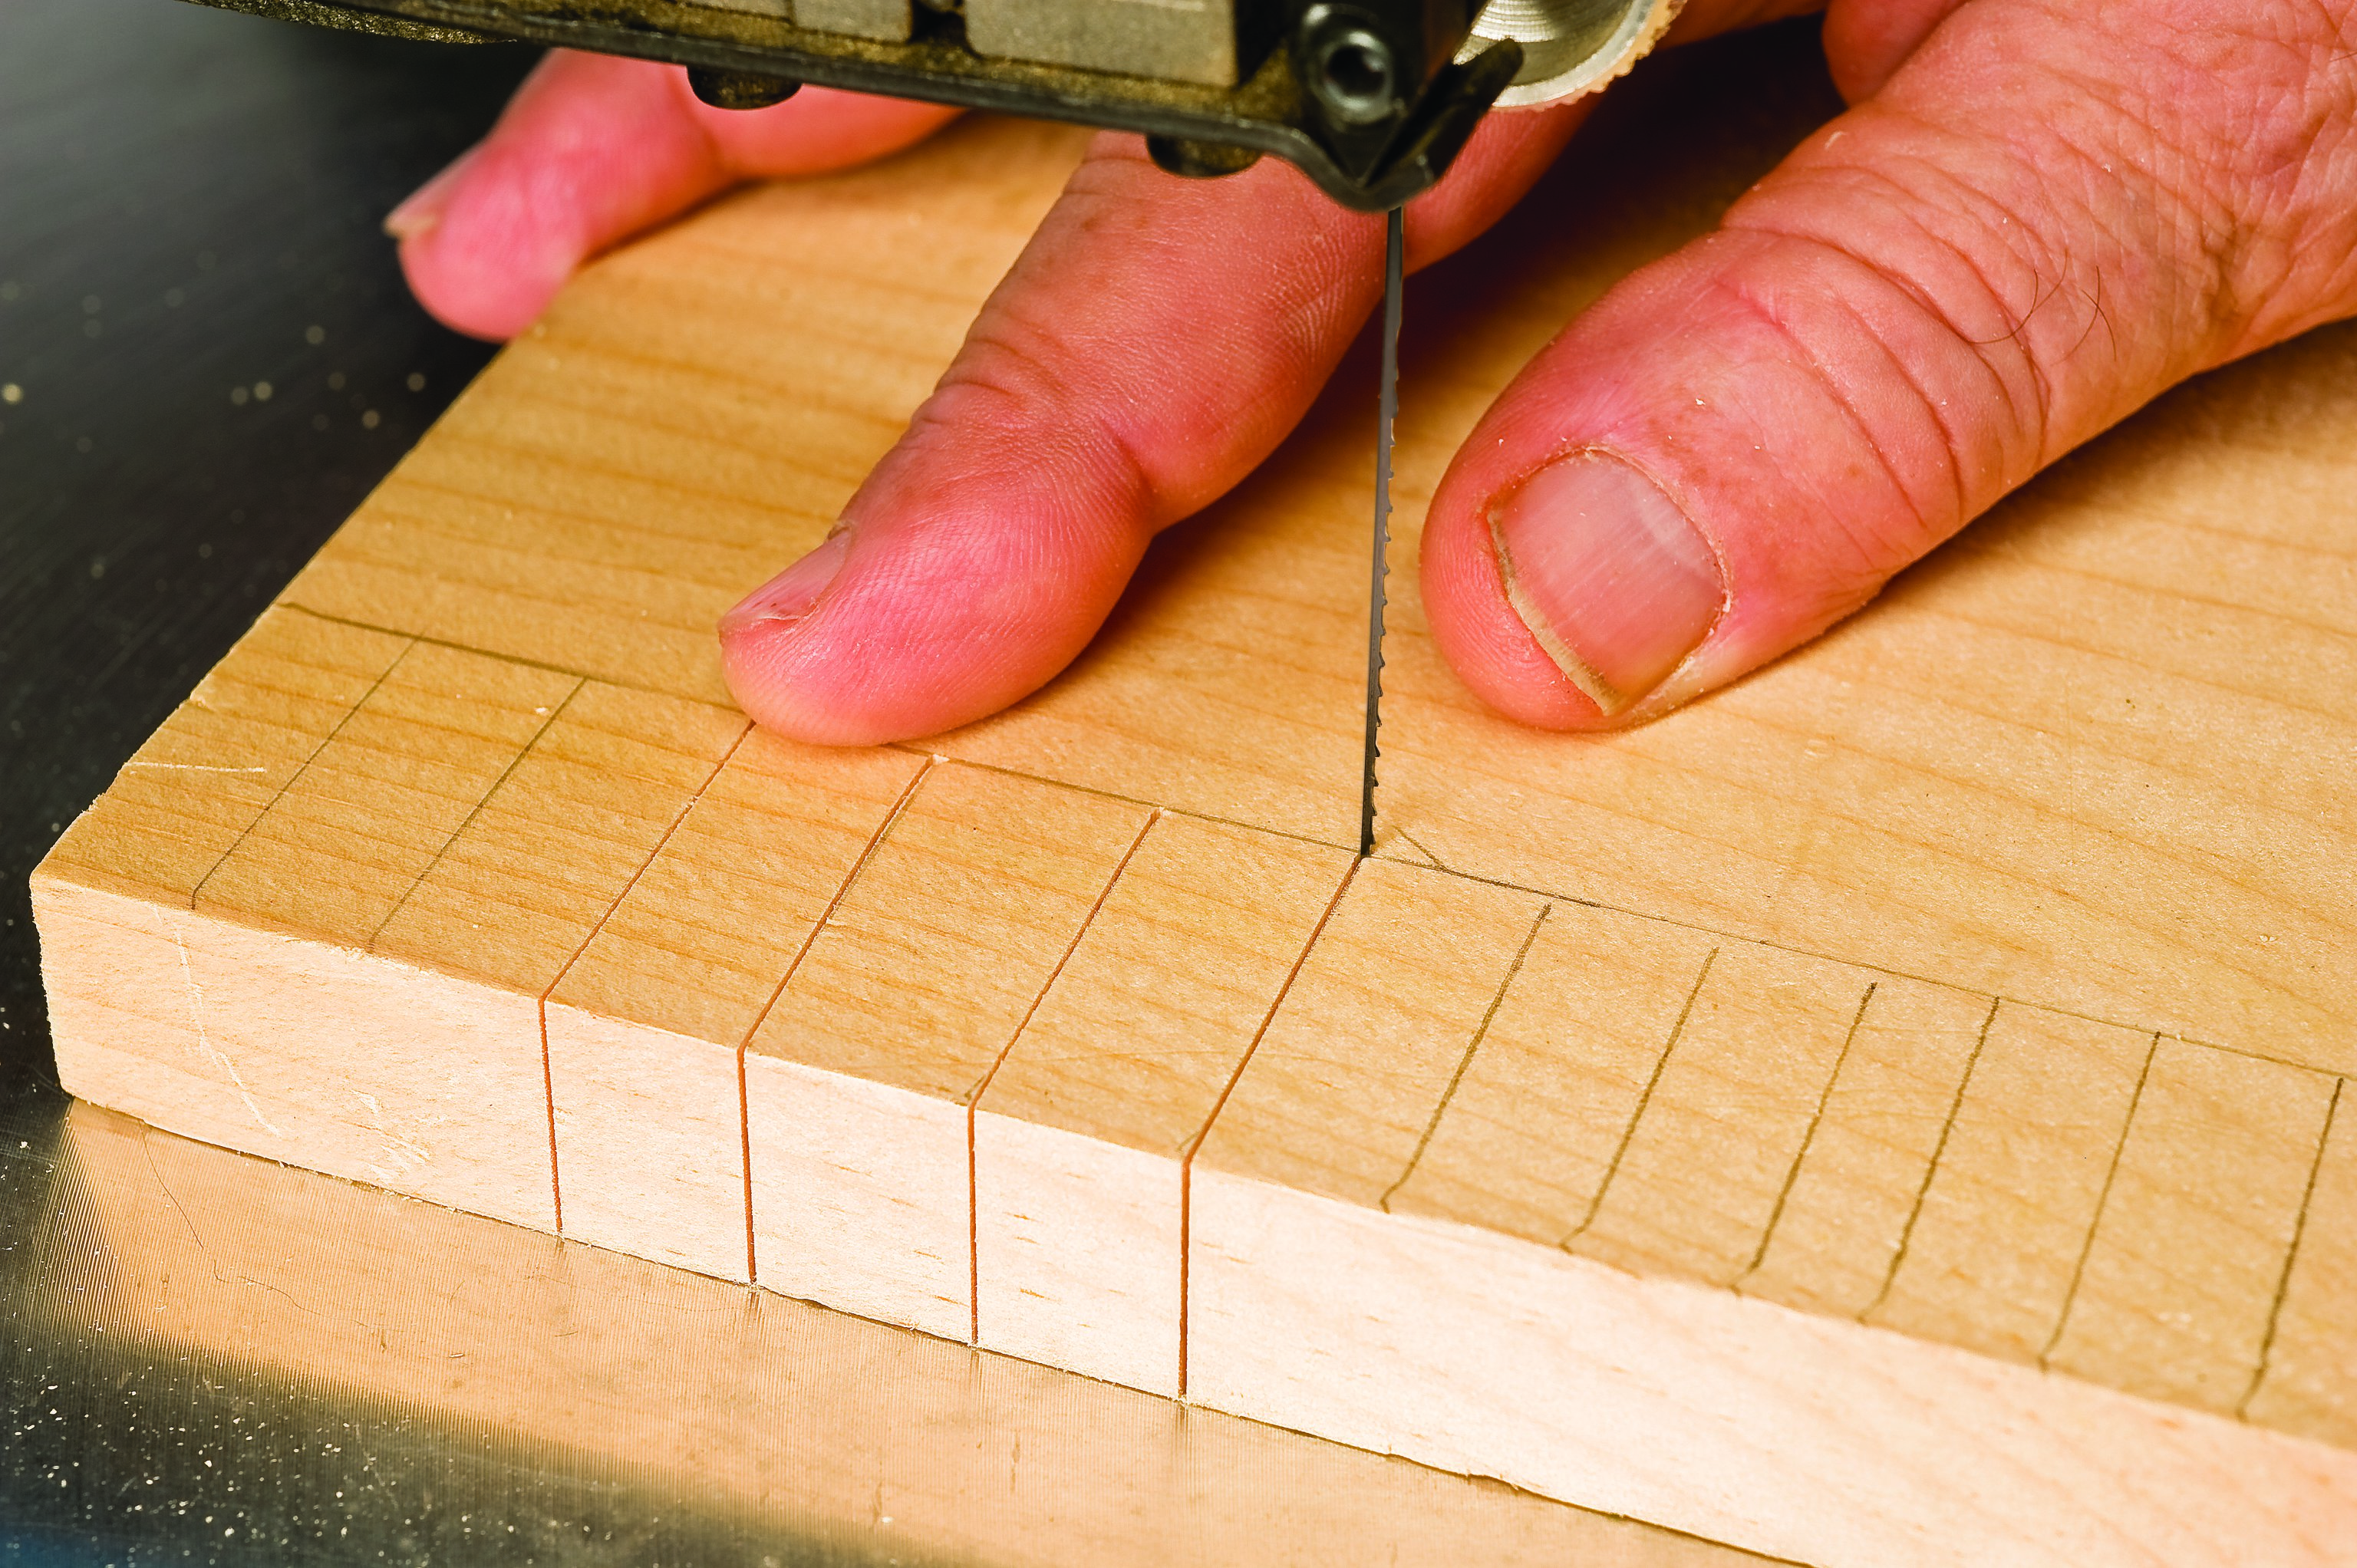 |
| 3. Practice spinning the blank. Cut in along a hash mark, pull back slightly, and move back to the corner. Apply light pressure on the blank near the blade with one finger to create a pivot point. Quickly spin the wood 180° with the opposite hand and cut back down the same hash mark. While the marks left by the spin look large, they will barely be noticeable when you cut a corner. Practice until you are comfortable with your ability to rotate the wood and cut the smallest diameter hole possible. | 4. Practice cutting a corner. Start cutting on a hash mark until you reach the line. Pull back and then return to the corner—this should be almost automatic by now. Using a finger to apply pressure and create a pivot point, rotate the wood 90° and cut along the line parallel to the edge of the blank. At the next hash mark, use the same technique to rotate the wood 90° and cut to the edge of the blank. Practice until you are comfortable cutting sharp corners. |
 |
| Tip: Warm Up Before Cutting
When you first turn on your scroll saw, practice cutting stair steps or a city skyline in a piece of scrap wood. This gets you warmed up and ready to create crisp sharp corners. |
About the Author
 Dave Van Ess of Arlington, Wash., is an engineer and has been woodworking for more than 30 years. He has introduced more than 200 Cub Scout leaders to the joys of scroll sawing.
 This article was first published in Scroll Saw Woodworking & Crafts Summer 2010 (Issue 39).
Discuss this material on the Scroll Saw Woodworking & Crafts forums.