by Bob Duncan
This article was first published in issue 28 of Scroll Saw Woodworking & Crafts.
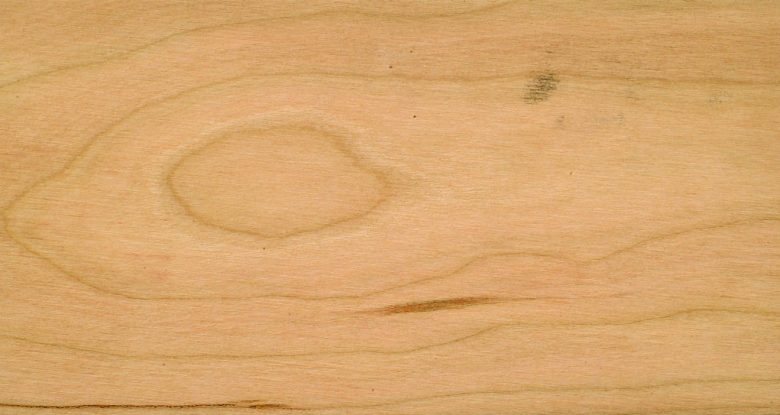
Black cherry is one of the most beautiful and valuable hardwoods. The rich, reddish-brown color of the heartwood looks wonderful with an oil finish. But cherry is not an easy wood to work with. The natural “sugars” in the wood that make it very smooth and soft-looking also make it easy to burn when cutting or routing. Those same compounds make it susceptible to blotching if you apply a stain or dye. In the end, the beautiful grain, rich color, and smooth finish make it well worth the extra work.
Machining
Black cherry is right in the middle of the domestic hardwoods when it comes to hardness. According to the Woodworkers Pocket Reference, cherry weighs in at 950 on the Janka hardness scale, more than twice as hard as basswood. It is close to black walnut, which is at 1010 on the scale.
Cherry cuts cleanly when you use a bladed tool, such as a chisel, knife, or plane, and sands well. When cutting it with a power saw (scroll saw, band saw, or even a table saw), the wood tends to burn when you cut.
There are a few ways to deal with the burning. The first is to use some sort of tape on top of the wood. Many scrollers use clear packaging tape on top of the wood, or on top of the pattern glued to the wood. All tapes have a lubricant applied to the top surface to prevent each successive layer from permanently sticking to the next layer. This helps to lubricate the saw and alleviates burning.
The second way to prevent burning is to use a skip-tooth blade in the largest size that you can comfortably cut the design with. Do not use a reverse-tooth blade. The design of a skip-tooth blade helps to force the sawdust out of the kerf, which cuts down on the heat generated by the cutting process. The up-pointing bottom teeth on a reverse-tooth blade tend to trap the sawdust and increase the heat.
Practice on scrap wood to determine the best saw speed and feed rate for the thickness of wood you are using. If you are not feeding the wood into the blade fast enough, the blade will continue to move up and down in one spot and will burn the wood in that area. But if you feed too fast, you will bow the blade, and the accuracy of your cut will suffer.
Another way to minimize burning is to use the thinnest wood you can. The heat that builds up in a piece of 1/4″-thick wood is less than the heat that builds up in a 1″-thick piece.
The burn marks can be sanded off. Just be sure not to change the shape of your piece when sanding.
Finishing
Cherry sands to a smooth surface, and takes oil or natural finishes well. But staining or dyeing the wood can be difficult. Most of the time, cherry is stained or dyed to disguise the lighter sapwood or to match up several different tones of wood used in one project. The easiest way to avoid the staining problem is to choose wood in the same tone that will not need to be stained. If staining does become necessary, Teri Masaschi, author of Foolproof Wood Finishing, offers a few tips.
With any finishing procedure, always make a start-to-finish sample in a piece of wood cut from the same wood you are finishing. That will tell you in advance if you are going to experience any difficulties. Be sure to choose a big enough sample that you can see if any problems will happen.
The best way to prevent blotching in any wood is to use a size of some sort. According to Teri, the two easiest sizes to use are a glue size and a shellac size or sealcoat.
Glue sizes work with oil-based stains. Shellac works with oil or water-based stains, and water or alcohol-based dyes. To make a glue size, combine one part white glue with three parts warm water. Brush the size onto the sample and let it dry. Then apply your stain of choice according to the manufacturer’s instructions. The watered-down glue soaks into the wood a little bit and provides a barrier that restricts the absorption of the stain—so all the parts of the wood absorb stain evenly.
Shellac seal coats are usually done with one pound of de-waxed shellac flakes mixed with 8oz of denatured alcohol. Brush the shellac mixture onto the wood, allow it to dry, and sand it lightly with 300-grit sandpaper. Then apply your stain or dye of choice according to the manufacturer’s instructions. The shellac also seals the wood to prevent the stain from absorbing at different rates in different areas.
At a Glance
Cherry is a rich wood with a beautiful color and grain that sands well. It is more difficult to cut and finish, but the end results are worth the extra effort.
Discuss this material on the Scroll Saw Woodworking & Crafts forums.


