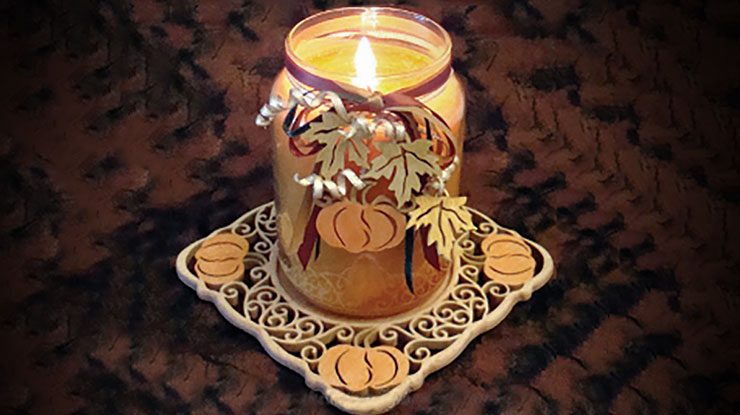
Size these swirling designs to make ornaments, plaques, window hangings, trivets, and more!
By Keith Fenton
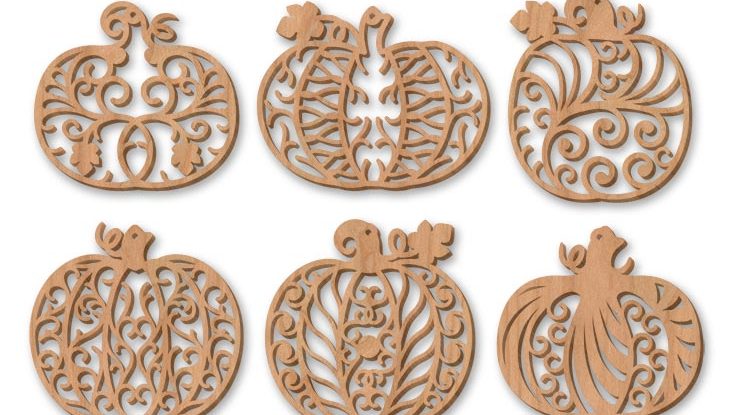
These challenging filigree ornaments make great decorations for this Halloween season. If you don’t feel confident cutting them ornament-size, enlarge the patterns as desired to make window hangings or wall plaques.
Making the Pumpkins
Experienced cutters can make these ornaments from thin, 1/8″ (3mm)-thick hardwood, but they would be delicate. For more durable ornaments, use Baltic birch plywood or hardwood at least 1/4″ (6mm) thick. Sand the boards with 100- and then 150-grit sandpaper (I use a random orbital sander). Remove the sanding dust.
Stack the boards (see “Stack Cutting”), cover the top of the stack with blue painter’s tape, and attach the pattern to the tape with spray adhesive. Drill the blade-entry holes. Cut thinner stacks with a #2/0 blade. For stacks of three or four boards, use a #1 or #2 blade. Start with the inner cuts (the “frets”), and then cut the perimeter of the pieces.
Separate the stack, remove the tape and pattern, and sand the ornaments with 150- and then 220-grit sandpaper. Remove any “fuzzies” left by the saw blade with a sharp knife or a sanding stick.
I finish hardwood ornaments with mineral oil (available at pharmacies and most large retailers) to bring out the natural grain patterns. Dunk the ornaments in the oil or apply a thorough coat with a bruch, allow it to soak in for a few minutes, and then wipe off the excess. Allow the ornaments to dry overnight, and then apply a coat of shellac or lacquer if desired. Tie a hanging cord to the top.
Stack Cutting
Stacking wooden boards and cutting several at once allows you to cut more than one project at a time, creates resistance that makes it easier to follow the lines, and supports the fragile fretwork to keep it from breaking. Simply place the boards on top of each other and wrap clear packaging tape or blue painter’s tape around the edges to hold the pieces together.
Materials:
• Tight-grained hardwood, such as birch, 1/8″ to 1/4″ (3mm to 6mm) thick: 3 1/2″ x 19″ (8.9cm x 48.3cm)
• Sandpaper: 100, 150, 220 grits
• Tape: blue painter’s or clear packaging
• Spray adhesive
• Mineral oil
• Lacquer or shellac (optional)
• Ribbon or string
Tools:
• Scroll saw blades: #2/0 or #1 to #2
• Drill press with bits: assorted small
• Random orbital sander
• Paintbrush (optional)
The author used these products for the project. Substitute your choice of brands, tools, and materials as desired.
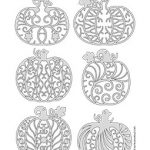
Patterns
 .
.
.
CLICK HERE to download the patterns.
.
.
About the Author
 Keith Fenton has been designing scroll saw patterns for several years alongside his partner, Sheila Landry. Together they have contributed patterns and articles to several woodworking and painting magazines and e-zines. You can visit their website at www.sheilalandrydesigns.com to see their entire selection of patterns including free samples.
For more fun scroll saw projects, subscribe to Scroll Saw Woodworking & Crafts magazine. CLICK HERE for more information.