By Sam Willcox
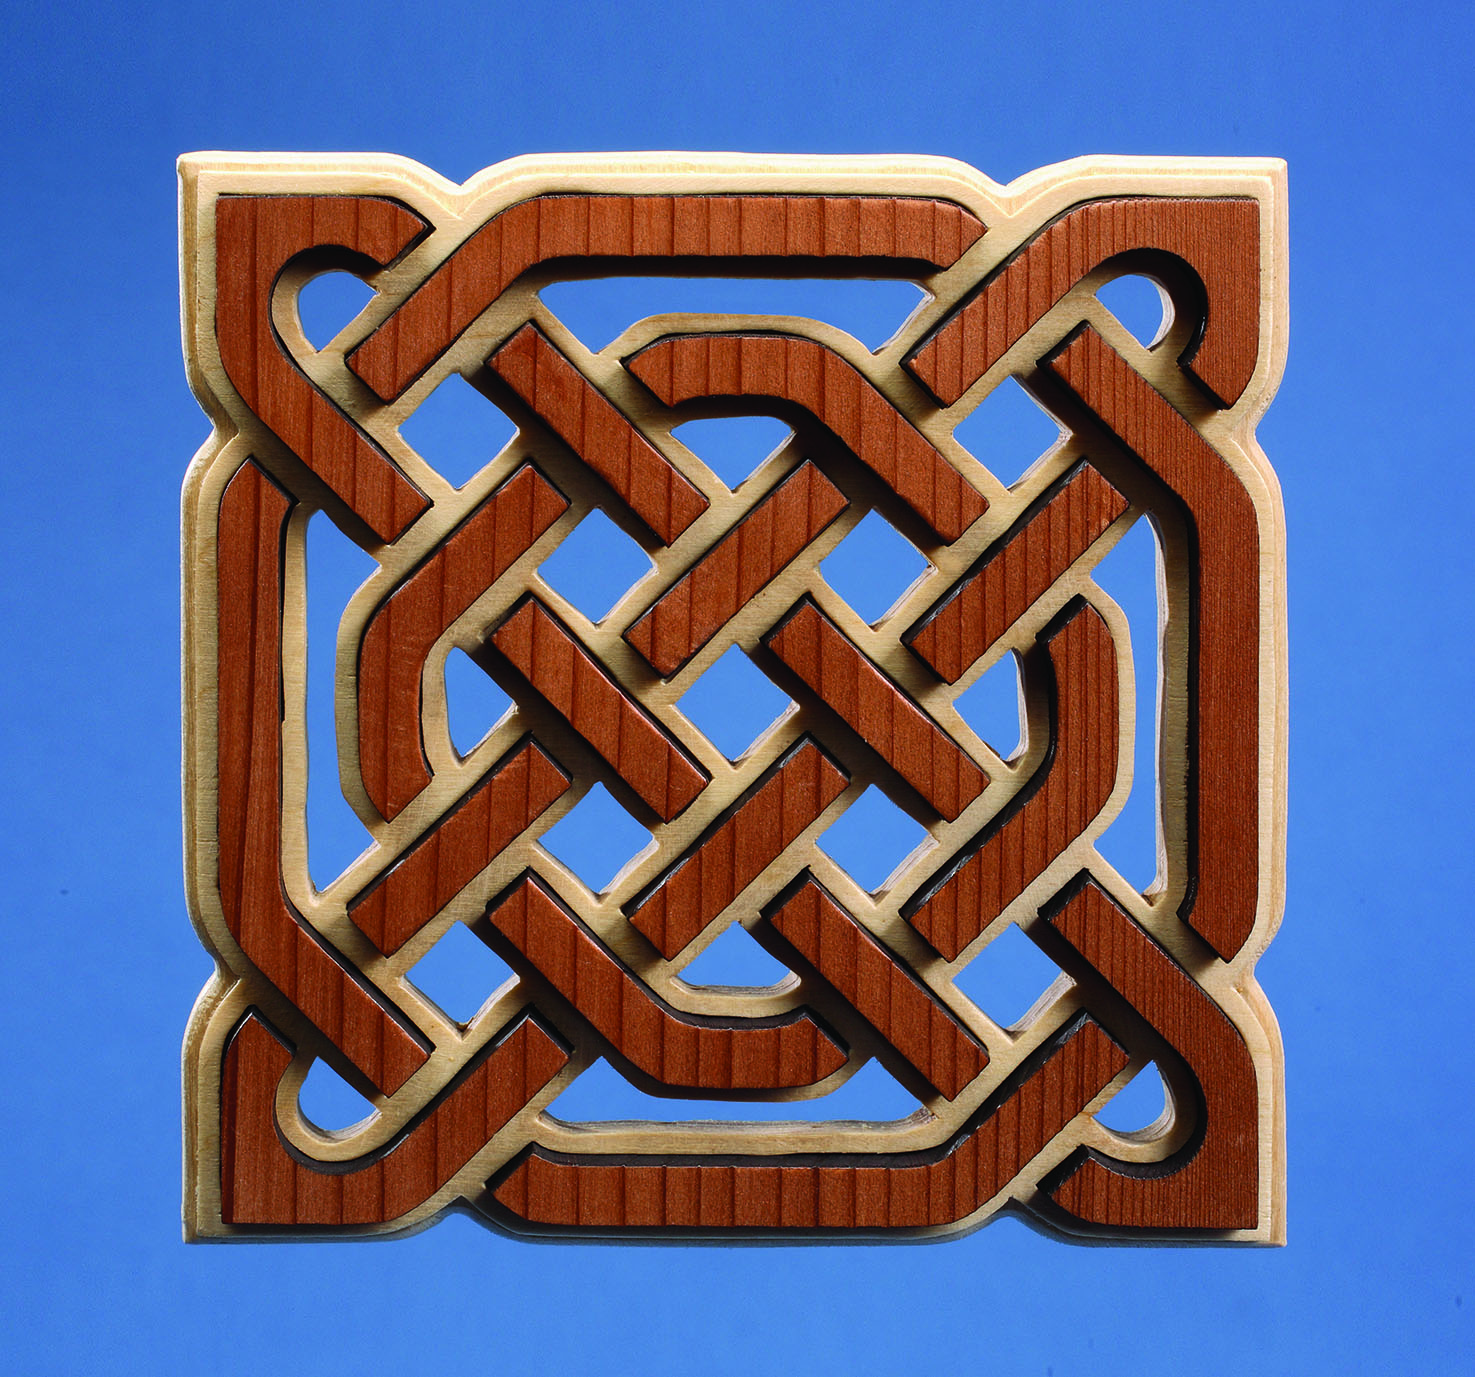
The Celtic Knotwork Trivet is a fun project that uses two forms of stack cutting to create a decorative or functional art piece. These fundamental techniques work together to make a very attractive project, but more importantly, the techniques can be used in many other projects.
In this project, stack cutting is used to create perfectly aligned layers and for duplication of pieces. To stack cut for aligned layers, a color coded pattern is used to control the order the layers in the project are cut. The Celtic Knotwork project uses a two layer stack and two colors in the pattern. This stack will be separated during cutting.
How is the “stack” cut?
Most cuts are made as a 90˚-vertical cut. Blades (size & teeth) are selected depending on the materials as well as the thickness of the stack.
A note on the pattern
The red shaded areas are cut out in both layers (the 1/8”-thick layer and the 1/4”-thick layer) to give you negative space. Cut this while the two layers are stacked together. Then the outside red line is cut while the layers are stacked to give you the final shape of the piece.
The blue shaded areas are cut out on just the 1/8”-thick layer. This gives you the sockets to insert the hardwood strips in. The blue outside line is also cut in just the 1/8”-thick layer to highlight the design.
Prepare the stack. Use double-sided tape between the 1/8”-thick plywood and the 1/4”-thick plywood or tape the edges of the two layers together with masking tape. Transfer the pattern to the 1/8”-thick layer using your method of choice (spray adhesive, transfer paper, or carbon paper).
Drill blade-entry holes for the red pattern. Then cut all the red lines using a #3 blade. Cut the red border last. Separate the stack. Make a mark on the wood in the same spot on both layers to make it easy to re-assemble the two.
Drill blade-entry holes for the blue pattern. Cut out all the blue lines. The blue lines are only cut in the 1/8” plywood.
Round and smooth the edges of the two layers. I use a rotary power carver and a sanding drum, but you can also round the edges over by hand with fine-grit sandpaper.
Cut out the knot-inlay pieces. Use double-sided tape to secure the 1/4” dark wood layers together for stack cutting and transfer the pattern to the top piece. Make sure your scroll saw table is square to the blade and cut out the pieces using a #5 blade. This method of stack cutting reduces total cutting time by creating four identical pieces for each section cut. Check to make sure the cut out pieces match—the top and bottom piece from each section should be identical.
Glue the layers together with wood glue. Start with the two layers of plywood. Use your marks (from Step 2) to make sure you are assembling it properly. Apply a thin layer of glue to the bottom of the top layer, clamp the two together and allow it to dry. Then test fit the knotwork inlay and sand as necessaary to allow them to fit into the 1/8”-thick plywood. Darken the edges with a permanent marker, if desired, before gluing the pieces into the pockets. Sand the front and back with fine-grit sandpaper and apply your finish of choice.
Materials:
Plywood, multiple-ply Finnish birch: 1/4″ x 5 1/2″ x 5 1/2″ (6mm x 140mm x 140mm)
Plywood, multiple-ply Finnish birch: 1/8″ x 5 1/2″ x 5 1/2″ (3mm x 140mm x 140mm)
Wood, dark: 1/4″ x 2 1/2″ x 4 1/2″ (6mm x 64mm x 114mm) (4 each)
Tape, double-sided
Tape, masking
Sandpaper, assorted grits
Glue, wood
Finish
Tools:
Blade, reverse-tooth: #3 and #5
Pen
Pencil
Click below to download the celtic knotwork trivet pattern.