 Lighting
By Jon Deck
Temperature
This does not refer to the heat created by a bulb, but the hue or color of the light produced from a light source. The most common problem I find in a series of photos is that the color will shift dramatically from shot to shot. The culprit is the light (or lights) that illuminates your subject. All workshops have a variety of light sources. Overhead fluorescent and incandescent bulbs, halogen worklights, CFLs, and most recently LEDs can all reside in the same workspace. Each source creates a different value of light and can result in a green, yellow-orange or bluish cast to your photos. If there’s a window in your shop, you’re also dealing with natural light (which varies continuously). Unless it lets in enough light to shoot by, I would shade your window during photo sessions.
The best way to overcome these variances is to limit the light you’re shooting under to one type. When considering bulbs for your fixtures, look for their Kelvin measurement. A Kelvin value of 5000K or more will produce a cooler or bluish light. Bulbs with a 2700-3000K value produce warm light. Bulbs classified as “daylight” fall in the mid-range and produce a clean, more natural light. The goal is to have all your source lighting to share the same K-value.
Intensity and Direction
The amount of light cast onto your subject is a major factor affecting photo quality. I strongly suggest shooting by “available light” as your camera’s flash can cause unpredictable flaws (shadows and hot spots) in your images. Lighting that’s too harsh causes deep shadows and hot flares. Repositioning lights farther away from the subject and diffusing the light source will correct this problem. An image that’s dim with little contrast needs more light. You should choose a brighter light source (higher wattage) or add more lights. If your light falls off and doesn’t cover your entire subject, you need a broader light source. Many times another light is not necessary, but a white card or a card covered with aluminum foil (dull-side out) will kick light in from the main source. This can also be used to correct the shadow side of your subject and provide a fill light to lessen shadows and define edges.
The position of your lights affect highlights and shadows. Lower light positions cast longer shadows. Side lighting creates depth, while bringing the lights to the front will flatten the subject. If your subject is shiny or reflective in nature, you’ll want to pay close attention to the placement of the lights to minimize hard highlights and flares. When using multiple lights, make sure one is the dominant source and the other(s) are lesser. This will subdue cross-shadows under your subject and prevent the shot from looking flat.
Lighting Your Workshop Studio
Define an area in your shop to be camera-friendly, and outfit it with light sources of equal temperature. Choose a space large enough to accommodate the subject you intend to shoot and the lights needed to illuminate your set. Make your lighting fixtures as portable as possible. If your shop’s like mine, you can’t dedicate space for a full-time workshop studio. When you’re not shooting, you can stow your portable lights, and use your workbench for its original purpose. Also, at times you’ll need to shoot a subject in your shop which cannot be moved to your photo area (like a table saw). Take your photo lights there, and reduce any ambient light coming from other lights in the area to maintain the integrity of your shoot.
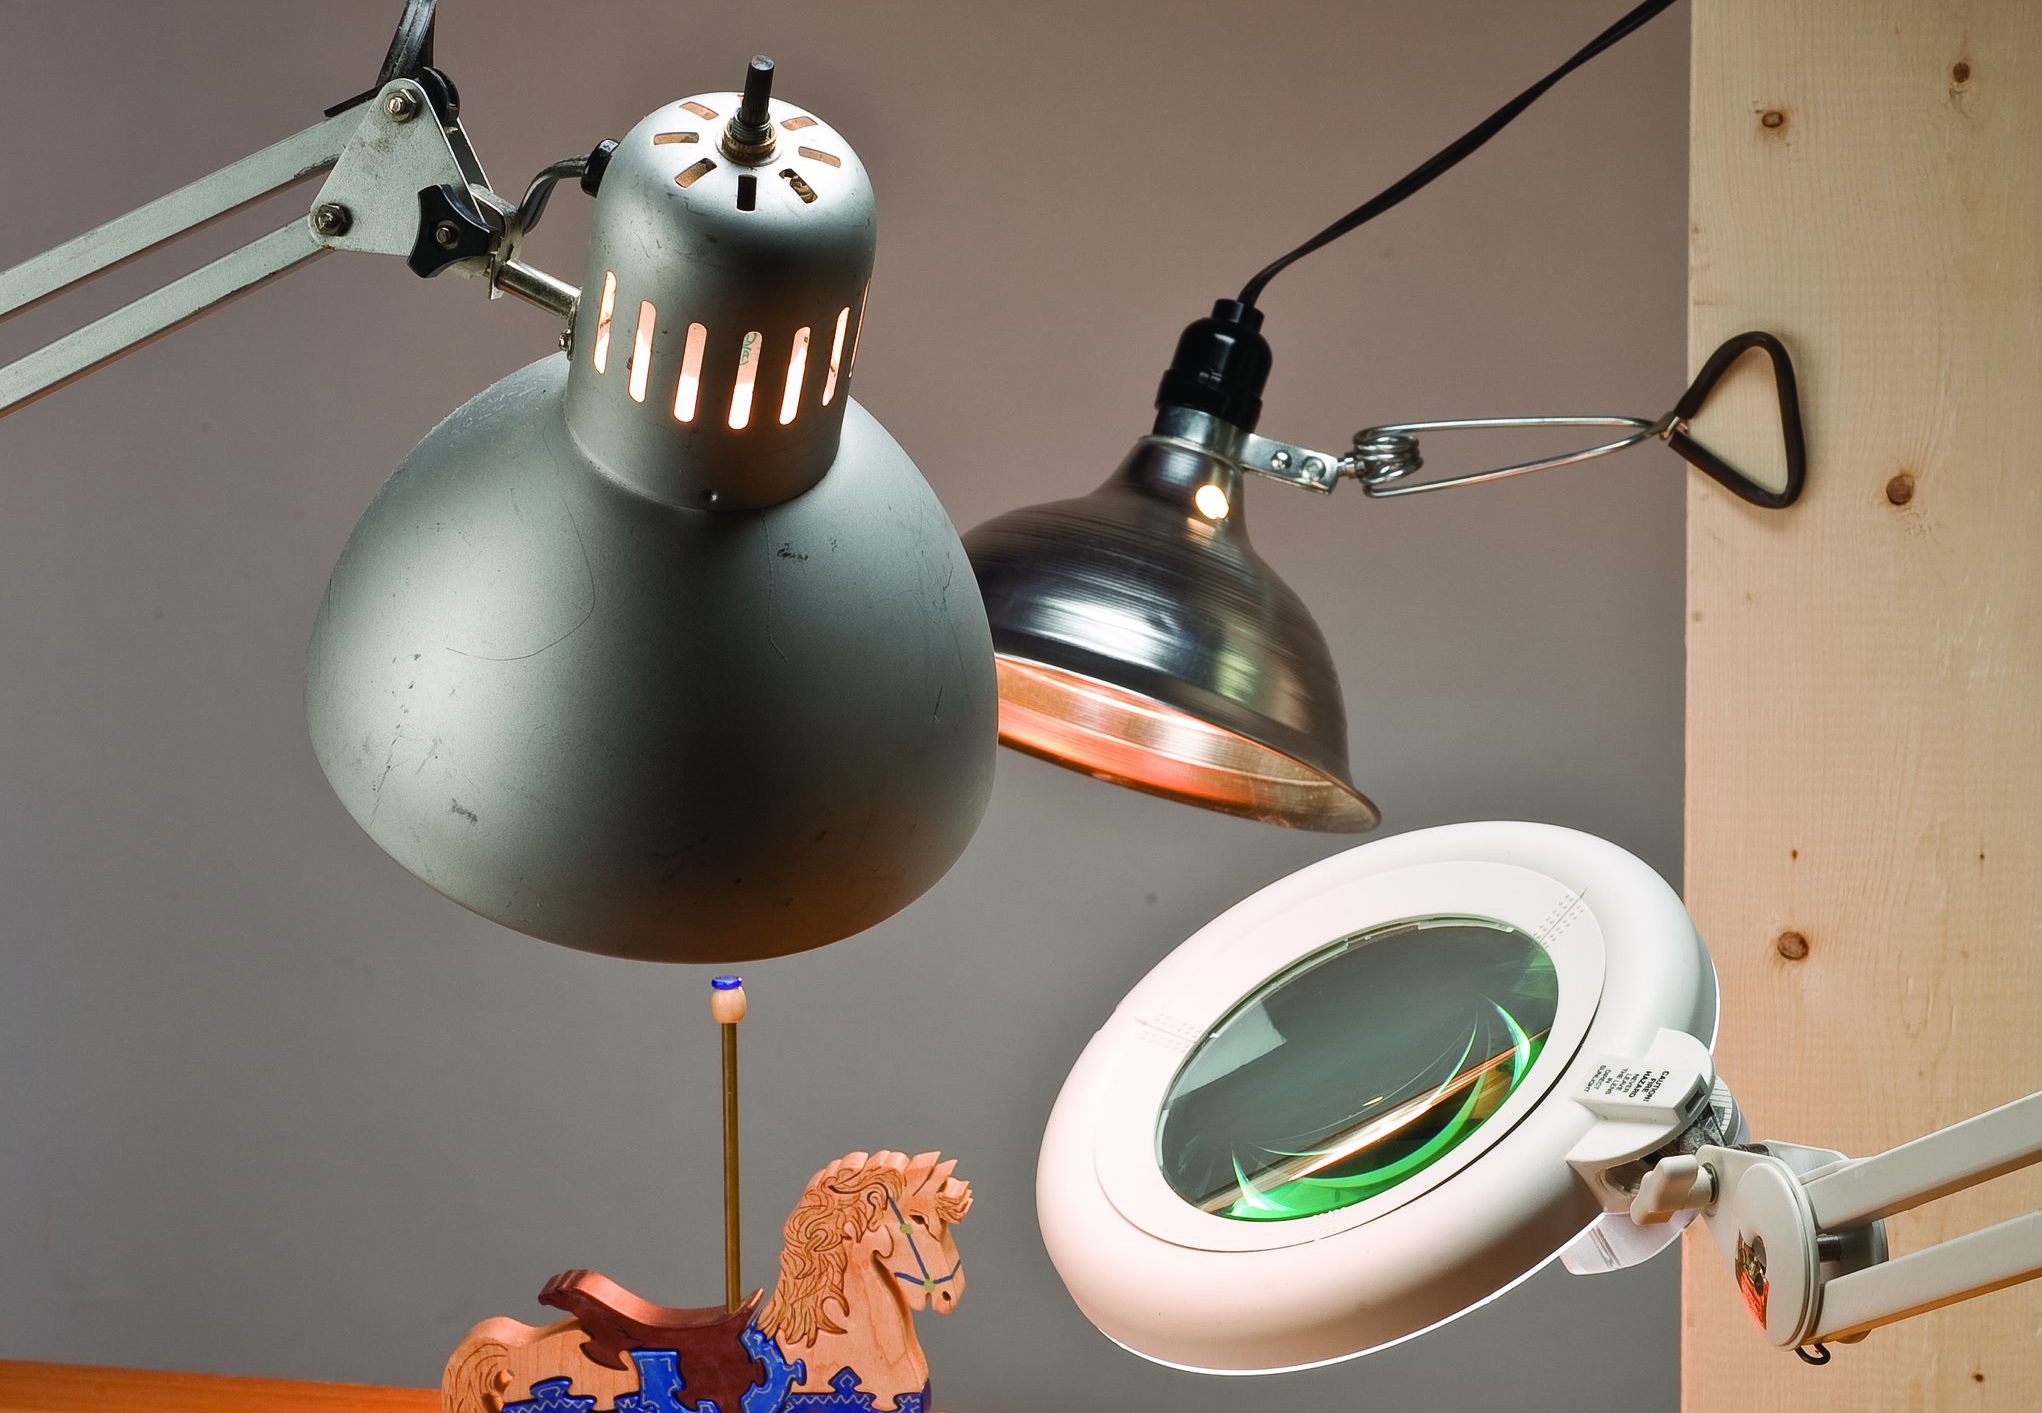
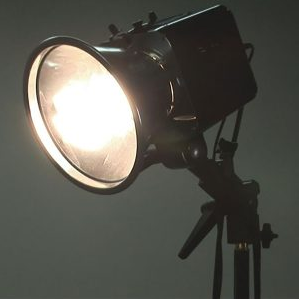
Homemade Photo Lights
If you’ve ever visited a professional photo studio, the one thing that staggers the amateur is the array of lighting equipment on display. You don’t need to invest thousands, or even hundreds of dollars on studio lights. The lights that can be built from inexpensive items found at any home improvement store will prove to be more than adequate. A great start is the clamp-on worklights with an attached aluminum reflector. These can be used as stand-alone fixtures, or provide the base for more specialized lighting, like a soft box. I’ve seen great tutorials on-line for building a good size soft box from one of these worklights, a Styrofoam ice chest, and a diffusing material. Diffusing material can be a translucent paper or cloth, such as waxed paper, tracing paper, cheesecloth or other lightweight white fabric (sheeting, sheer curtains, etc.). The bulbs should be a rather high wattage, but be aware of the heat they generate. Halogen worklamps produce a lot of light and usually require diffusion, but the heat from these lights make them hazardous to use as a confined light (like a soft box). If you need that much light and want to diffuse it, you can build a frame out of ¾” PVC pipe and fill the frame with a diffusion material. I learned from an on-line video that a fitted baby crib sheet will exactly fit onto a 2’ x 4’ frame. The other option is to point the halogen lamp away from your subject and bounce its light onto your set with a large white card. Either way, be sure there is an adequate margin of space between the card/diffuser and the halogen lamp.
With standard DIY electrical skills, you can build a dimmer box with a dimmer switch controlling an adjoining outlet that supplies power to your studio lights. This would allow you to dial in the exact amount of light you need from dimmable light sources (most fluorescents and many LEDs are not dimmable).
Light stands can be built from light framing lumber or PVC piping. If your set is small enough, you can construct a frame around the set area, and be able to clamp any number of lights or diffusers from it—from overhead or from either side. Make sure your studio has plenty of spring clamps in various sizes to secure your lights to frames or stands.