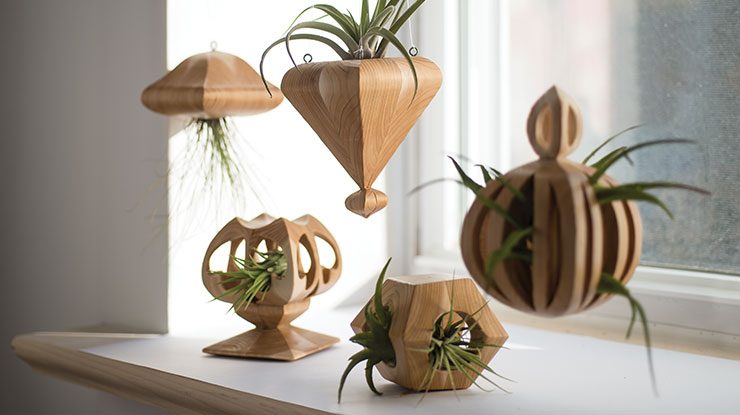
Compound-cut cool cubbies for these popular plants
By Sue Mey
Exotic air plants seemingly thrive on oxygen alone, so they can be tucked into all kinds of cool containers. Show off your scrolling skills by making custom wooden holders for these popular plants.
Because large pieces of wood won’t fit in a scroll saw, I cut four smaller pieces and glue them together into one large piece. The success of the project depends on two factors: precisely cutting or sanding the blanks to size before applying the patterns, and carefully and consistently cutting on the pattern lines. If the clearance on your saw does not allow you to cut the almost 2″ (51mm)-thick material, reduce the size of the pattern slightly and use the largest wood your saw will accommodate.
About Air Plants
Tillandsia is the largest genus in the Bromeliad family, accounting for approximately 550 of the more than 2,500 species of Bromeliads. Commonly known as air plants, they are found in both jungle rain forests and arid desert environments, from sea level to high mountain regions. These hardy plants are tolerant to a wide range of environmental conditions and require minimal care. The three most important requirements are bright light (although not direct sun), good air circulation, and water. Remember, if humidity is very low, watering one to two times weekly is necessary for healthy, thriving plants. For more on air plants, visit airplantsupplyco.com.
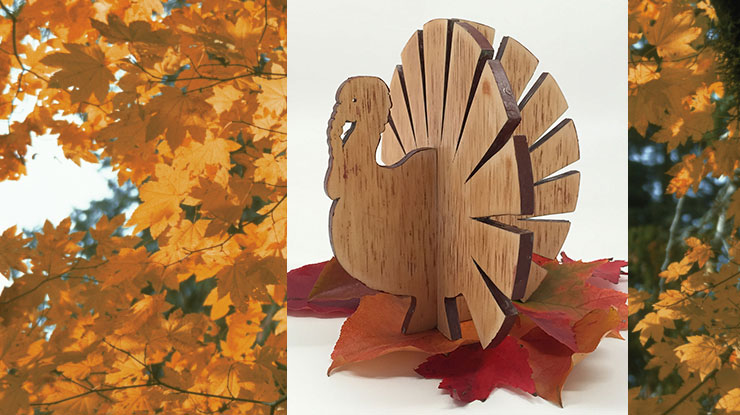
Our editorial assistant, Kaylee, loved this project so much that she made her own air plant holder from a piece of walnut.
Getting Started
To make these large 3-D projects, make four copies of each pattern. Use a table saw to cut the blanks to size. You can also cut them with a saw of your choice and use a disc sander or belt sander to sand the blanks to the exact dimensions. Cover the blanks with masking tape or blue painter’s tape. Fold the patterns on the centerlines, apply adhesive to the backs of the patterns, align the folds with the corners of the blanks, and press the patterns into place.
Making the Holders
Drill 1/8″ (3mm)-diameter blade-entry holes in both sides for the frets (where applicable). Using a #9 blade, cut the frets on one side, and then cut the perimeter. Saw all the way through the wood but stop just before cutting the paper free, leaving the pattern intact, which makes it easier to cut the other side. Vacuum away the dust and tape the waste pieces back in place. Rotate the blank and cut the second side. Carefully remove the completed section from the waste, and peel off any remaining pattern or tape. After making the final cuts, save the outer waste pieces.
Carefully match the outer waste pieces and the inner pieces—this will give you square sides to clamp to; rubber bands work well as clamps. Glue and clamp together two pieces, each representing a quarter of the completed project. Make sure the pieces line up nicely. Use great care not to get any glue on the outer pieces. Assemble the other half using the same technique. Allow the glue to dry. Then, glue and clamp the two halves together. When the glue has dried, remove clamps or rubber bands, and put aside the outer waste pieces to be used later when drilling. Hand-sand the outside surfaces and remove any irregularities.
Drilling the Plant Openings
Drill the openings for the plants where indicated on the patterns (if applicable). Match the outer waste—this will give you square sides to hold onto while drilling (although placing the project in a holding jig for drilling is still recommended). Use a drill press for this step. It’s challenging and unsafe to drill a straight hole with a Forstner bit with a handheld drill.
Make sure the drill press table and the drill bit are perpendicular, both side to side and front to back. Set the drill to the slowest possible speed. Flatten both the top and bottom of the project with a belt or disc sander. Mark the center of the hole with a punch or awl. For some projects, drilling to the proper depth may require an extension for the Forstner bit. Before adding the extension, drill to the maximum depth possible with a standard bit. Drill in 1/2″ (13mm) increments. After each increment, back the bit completely out of the work piece and remove all wood shavings and dust before resuming. Soften the drilled edges with sandpaper if needed.
Sealing the Project
Apply several thin coats of clear spray varnish, or a finish of your choice, to seal the wood. Remember, these holders will be getting wet, so choose a waterproof finish. For hanging holders without a fret opening at the top, insert screw eyes or screw bolts to thread a string or cord through.
Adding the Air Plants
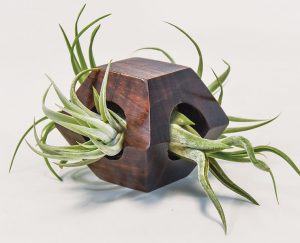
Arrange an air plant in the holder. Many look very nice just sitting or hanging in the holder with no mounting at all and can be removed from the holder for watering.
To secure a plant in the upside-down holders, choose a strong, waterproof adhesive, such as E6000, which is colorless, extremely strong, waterproof, and nontoxic to plants. Apply a small amount of adhesive near the base of the plant, but not on the bottom. Avoid covering the area where the roots form. Using soft, coated wire, such as telephone wire or floral wire, tie the plant securely in place until the adhesive sets. In case of secured plants, use a waterproof varnish for the holder so you can spray the plants with water.
Download the air plant holder patterns HERE:
MATERIALS:
• Wood, such as basswood: 1-7/8″ (48mm) square: 4 each, sized to fit pattern
• Tape: masking or blue painter’s tape, clear packaging
• Adhesive: temporary bond spray or glue stick
• Sandpaper
• Glue: wood, waterproof adhesive such as E6000
• Waterproof finish, such as clear spray varnish
• Screw eyes: small
• Rubber bands (optional)
TOOLS:
•Table saw OR saw of choice with disc or belt sander
• Scroll saw blades: #9 skip-tooth
• Drill press with bits: 1/8″ (3mm)-dia. twist, 2″ (51mm)-dia. Forstner
• Stiff-bristled paintbrush (to remove sawdust or sanding dust)
• Clamps
About the Author
Sue Mey lives in Pretoria, South Africa. To see more of her work, including a wide variety of patterns and pattern-making tutorials available for purchase, visit scrollsawartist.com. She can be contacted at suem@storage.co.za. Her pattern book, Lighted Scroll Saw Projects, is available from schifferbooks.com and other outlets.

• CLICK HERE to purchase the current issue.
• For more articles like this, subscribe to Scroll Saw Woodworking & Crafts magazine. CLICK HERE for more information.