Three techniques to reduce wood movement and create more cost-effective large boards
by Bob Duncan
This article was first published in issue 54 of Scroll Saw Woodworking & Crafts.
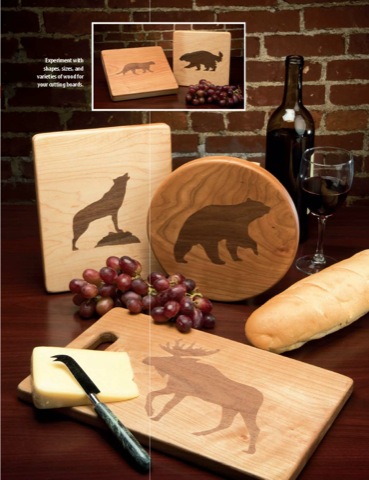
Some scrolling projects, like fretwork, puzzles, and frames, call for wide boards. You can find wide boards in a variety of thicknesses, but there are disadvantages to simply buying wide wood. The wider the board, the more expensive the board will be. The tree a 12″-wide board came from was at least 30″ in diameter and 60 years old. Because there are fewer trees that size, wide boards are getting more expensive. Plus, wide boards warp and twist more than narrow boards.
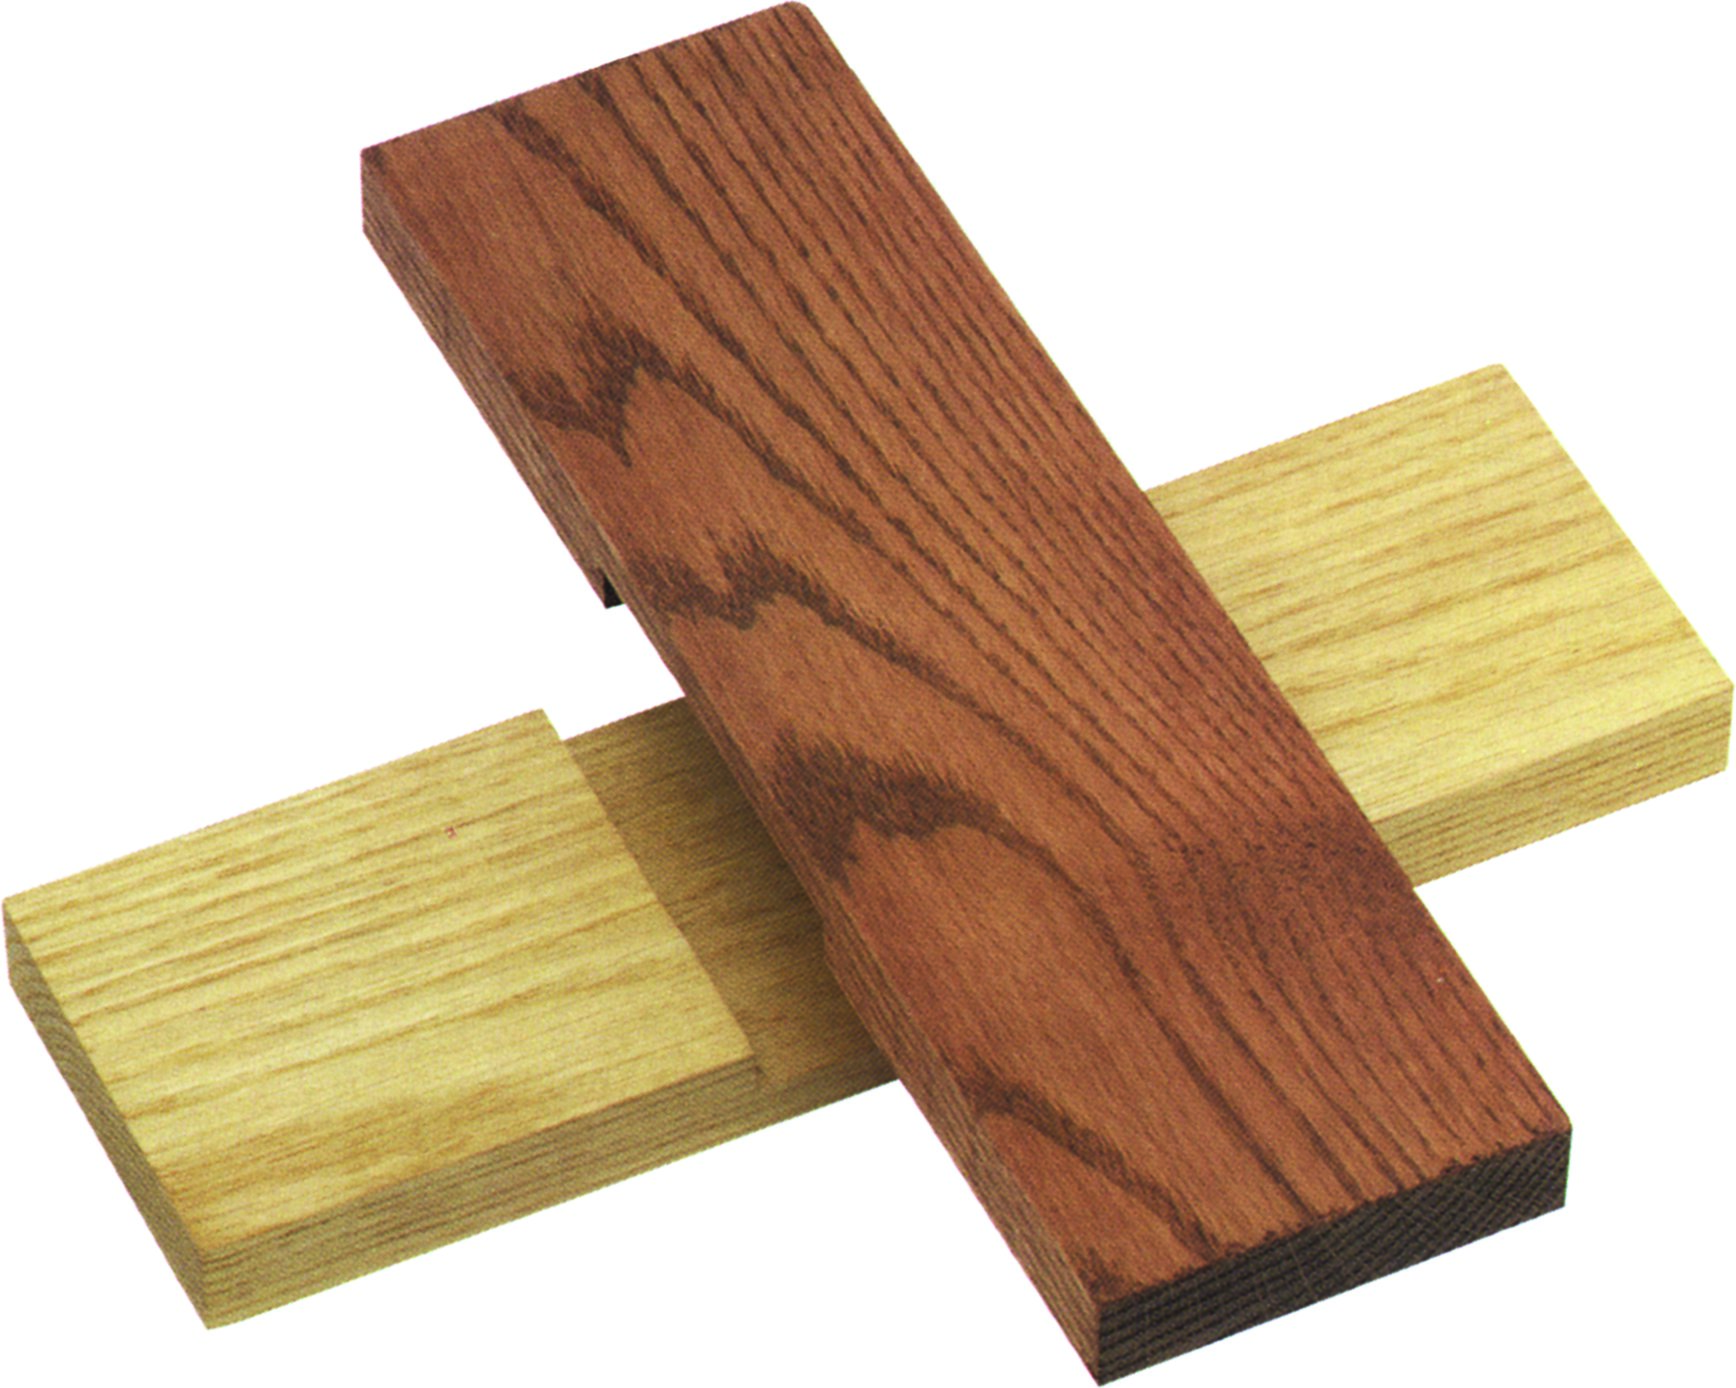
Solve these problems by gluing up panels using narrow boards. Narrow boards cost less, and the glued-up panels will actually be more stable than a single wide board.
There are three parts of a good glue joint: wood preparation, glue coverage, and proper clamping.
Preparing the Wood
For woodworking glue to bond, the joining surfaces need to be as smooth and flat as possible. If you have a jointer (available for around $220), this process is easy, but it’s possible to do with a sharp hand plane. In a pinch, you can use progressively finer grits of sandpaper up to 320 grit in a sanding block.
If this is something you only plan to do occasionally, you can often pay to have the edges of the board surfaced. Ask the person selling the wood, local cabinet shops, or school woodshops. If you plan to glue up boards often, a jointer is a good investment.
Glue Coverage
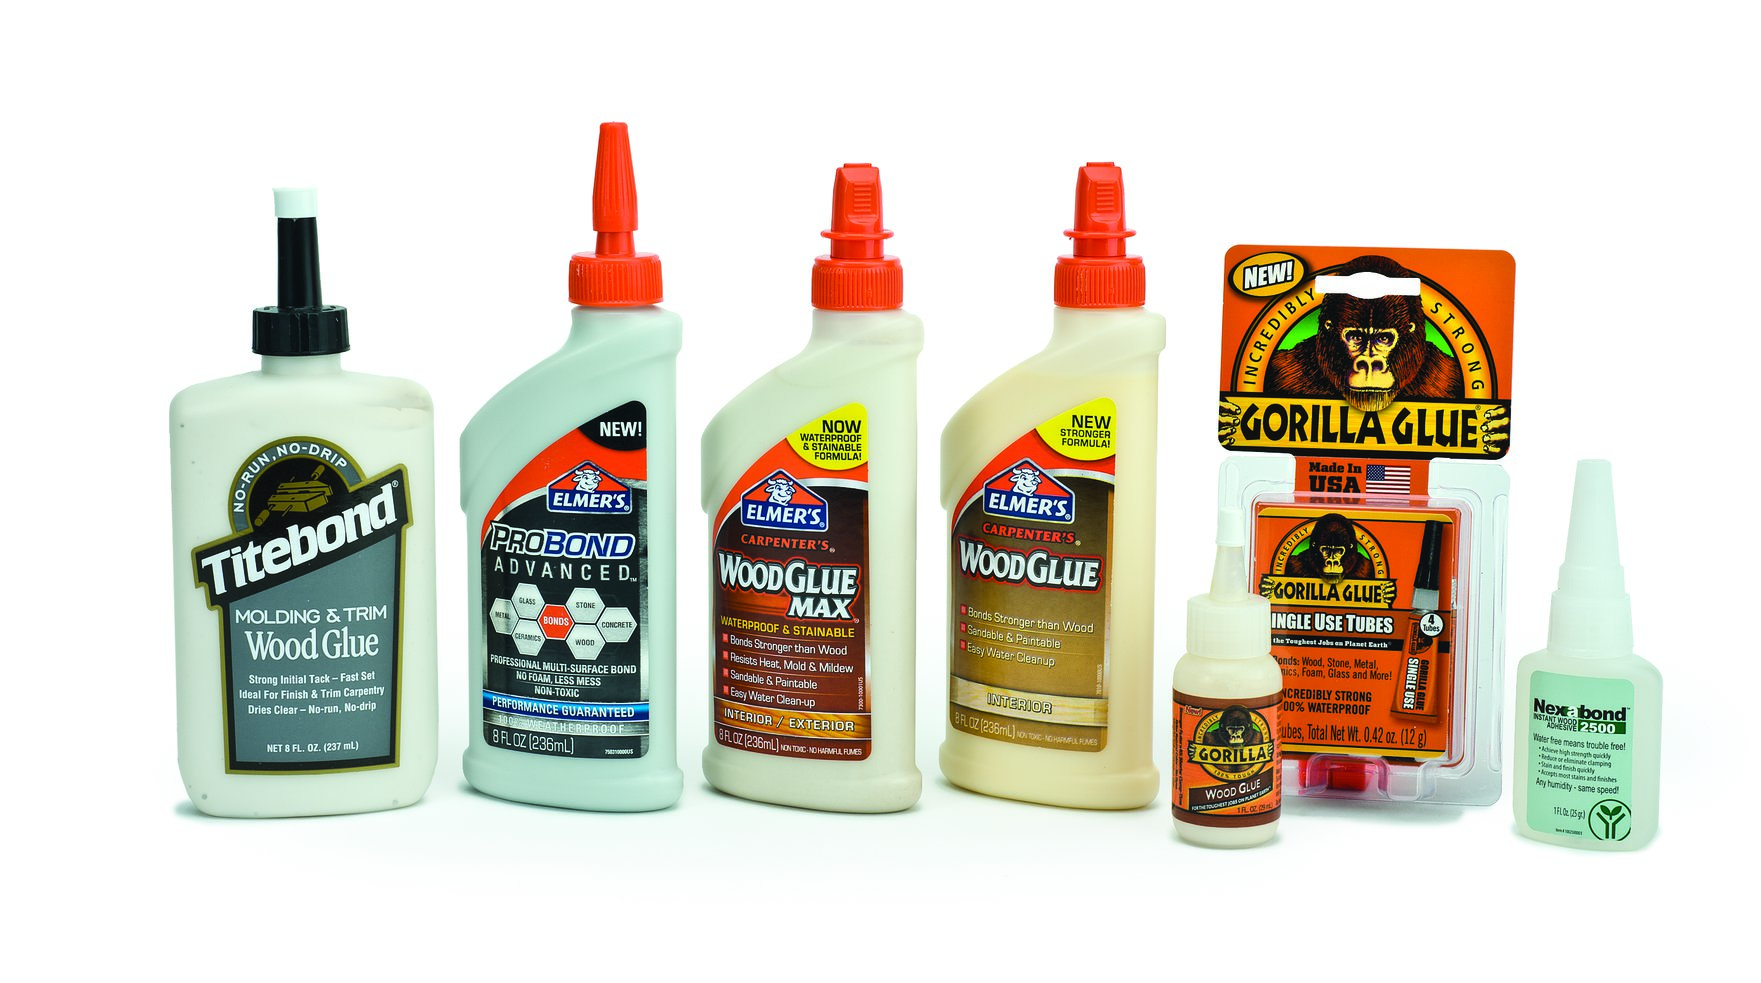
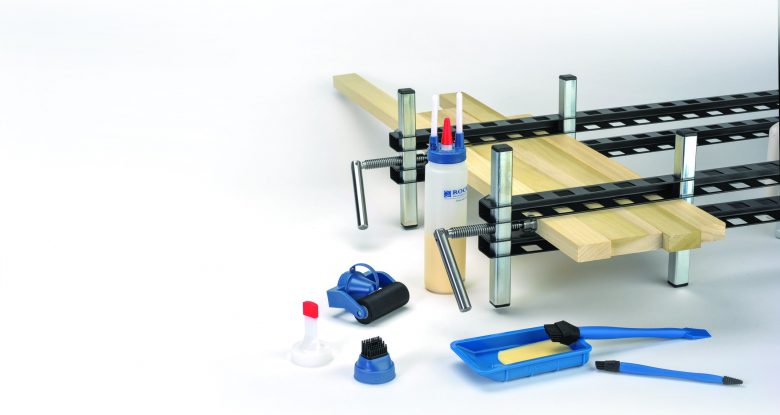
Make sure the glue is fresh; wood glues have a two-year shelf life, and they go bad if exposed to extremely high or low temperatures. Apply the glue down the center of the edges to be joined and spread it with a glue brush if desired (Rockler has nice gluing kits that make this process easy). Because wood glue requires pressure to set up properly, quickly place the boards together on the clamps and tighten. Remove the glue squeeze-out and allow the glue to dry.
Proper Clamping
You can’t have too many clamps when you’re gluing up larger boards. I use a minimum of four clamps for any project, and for longer boards, I suggest using even more. Although many quick-grip trigger-type clamps are available, I suggest using bar or pipe clamps for glue ups.
Bar clamps work well because the flat surface of the bar helps ensure flat panels, but bar clamps are expensive, and you’re limited to a few standard sizes. Pipe clamps use iron pipe, which can be cut to any length. One end of the pipe clamp threads onto the end of the pipe, and the other end of the clamp slides along the pipe. Unfortunately, pipes are round, so you have to be careful to make sure the glued-up panels are flat. To be cost effective, I use bar clamps on the ends and pipe clamps in the middle of the panel. Alternate between clamping from the top and bottom for best results.
A few companies, such as Damstom, make specialty clamps that allow you to apply pressure not just to the edges, but also the top and bottom, to ensure flat panels.
Although you will need to invest in clamps to glue up large panels from narrow boards, the practice will save money and reduce warping in your projects. Give it a try!
Discuss this material on the Scroll Saw Woodworking & Crafts forums.