By John A. Nelson
Cut by David Penman
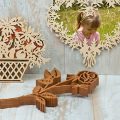
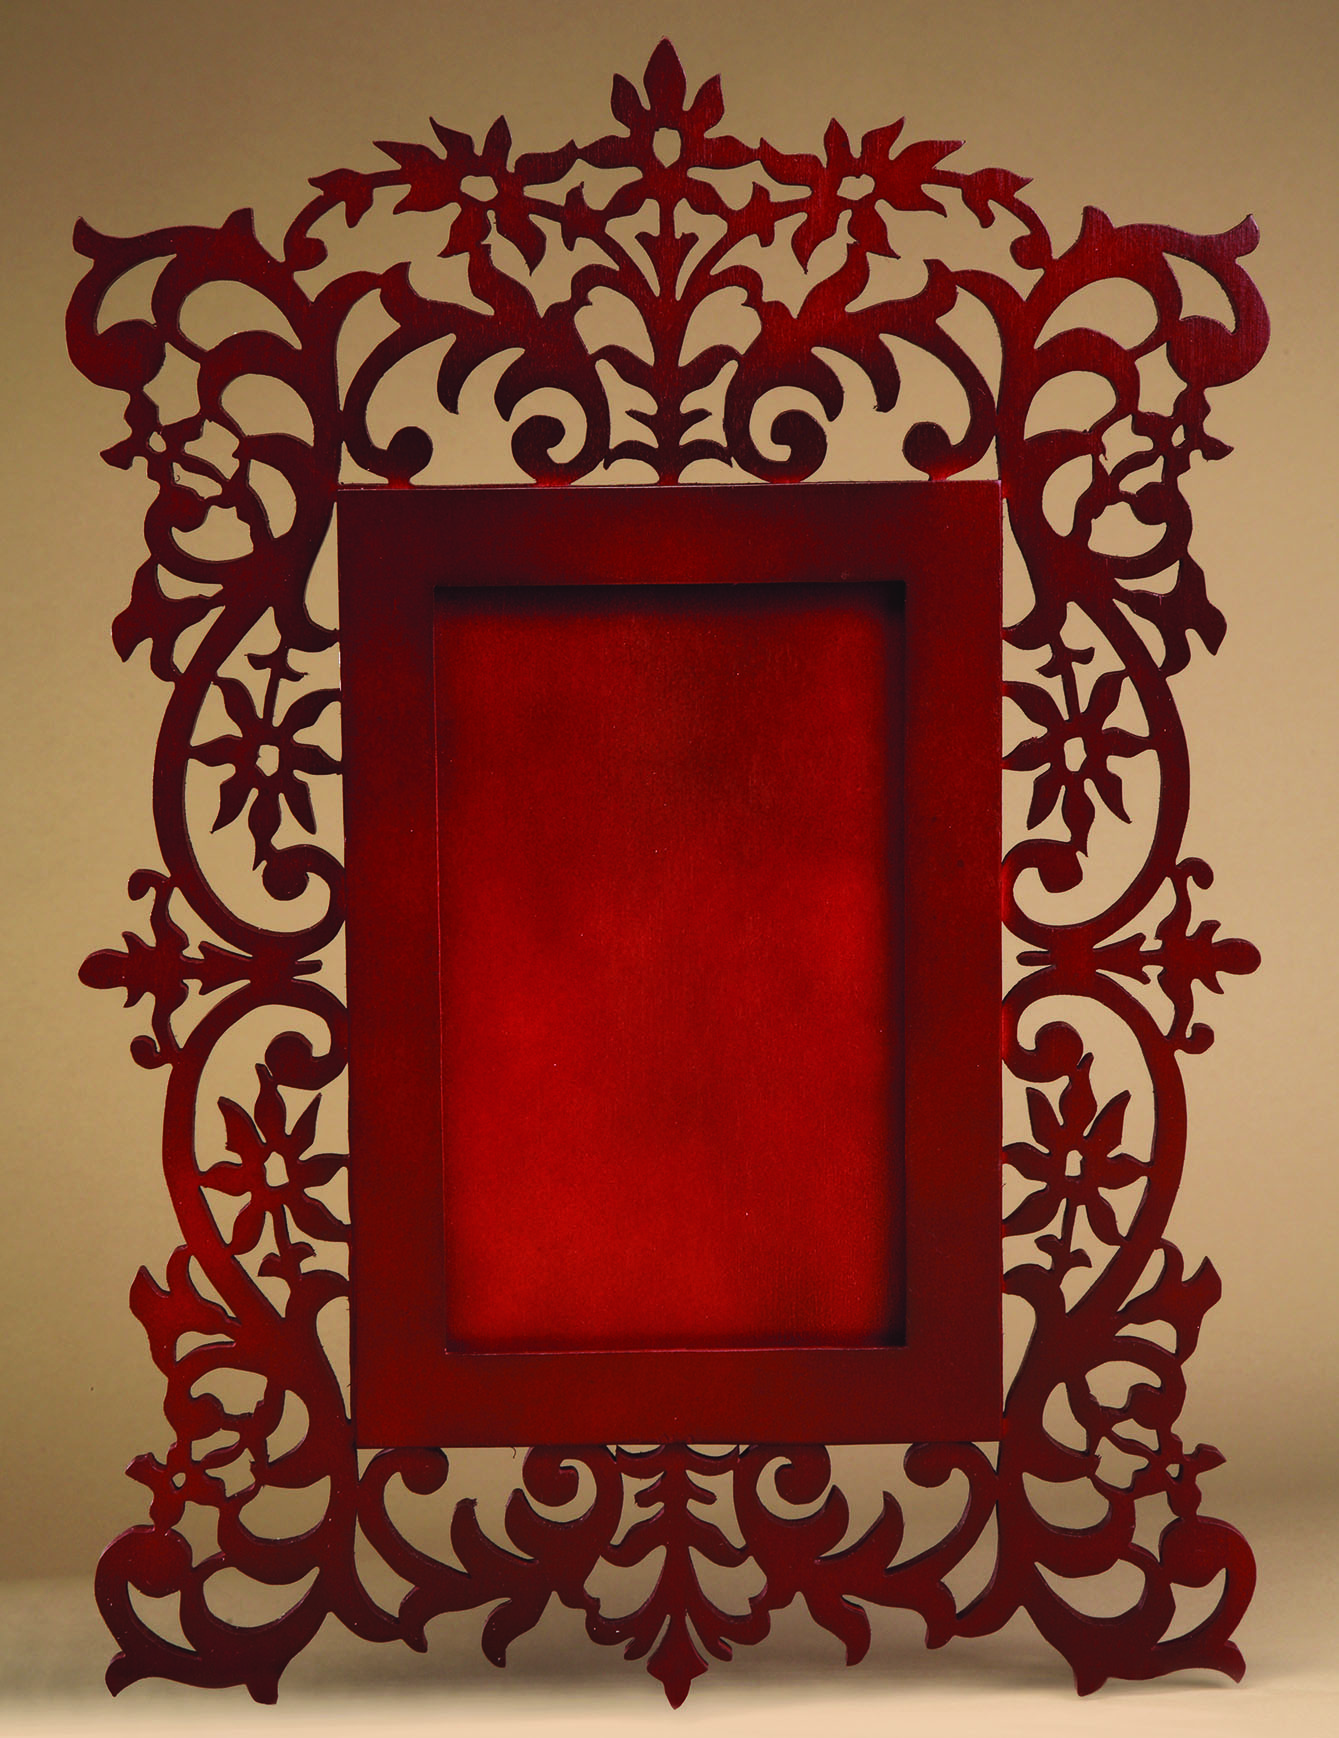
Spring is in the air! Scroll this classy, floral-themed frame to showcase those special snapshots. Or cut the frame out and add a mirror for a stunning decorative element. Adjust the frame to fit any photo by increasing or decreasing the size of the pattern. By stack cutting, you can have a matched mirror and photo frame set, or pair of photo frames.
For strength and stability, it is best to glue up several 1/4″-thick boards to get the required width. The frame is much more likely to warp or cup if you use a single board. Test cutter David Penman uses Baltic birch plywood for most of his projects, and he applied a mahogany stain to this one. Achieving a flawless finish when staining Baltic birch may take a little trial and error, so experiment on a piece of scrap wood first. The results are well worth the effort.
Assemble the stack, using your method of choice. I use brads in the waste areas and wrap the entire stack in blue painter’s tape. Then attach the pattern to the tape, using repositionable spray adhesive.
Drill blade-entry holes for all of the interior cuts. Then cut out the fretwork, using your blade of choice; a #3 reverse-tooth blade is a good choice for the fretwork, but a #5 or #7 reverse-tooth blade is better for the long, straight cuts of the square frame, outer frame, and back piece.
After cutting all of the parts, glue the outer frame onto the frame body. Position the glass, photo, and any cardboard or foam core filler required before screwing the back into place with small brass screws.
For a mirror, substitute mirrored glass or acrylic for the glass. Use cardboard or foam core to fill in the extra space. You could glue the mirror in place, but if it ever gets broken, it will be extremely difficult to replace.
Materials:
Wood, 1/4″ x 10 1/2″ x 15″ (6mm x 267mm x 381mm) (fretwork frame body)
Wood, 1/8″ x 5 7/16″ x 8 1/8″ (3mm x 138mm x 216mm) (outer frame)
Wood, 1/8″ x 5″ x 7 3/4″ (3mm x 127mm x 197mm) (backing board)
Finish
Screws, small brass (4)
Wood glue
Spray adhesive (to attach pattern)
Glass or mirrored glass, 4 1/4″ x 7 1/16″ (108mm x 180mm)
Assorted grits of sandpaper (to remove any rough spots)
Tape, painter’s (optional)
Brads (optional for stack cutting)
Tools:
Blades, reverse-tooth: #3 and #5 or #7
Drill and assorted small drill bits
Click below to view the spring flowers frame pattern.