By Kathy Wise
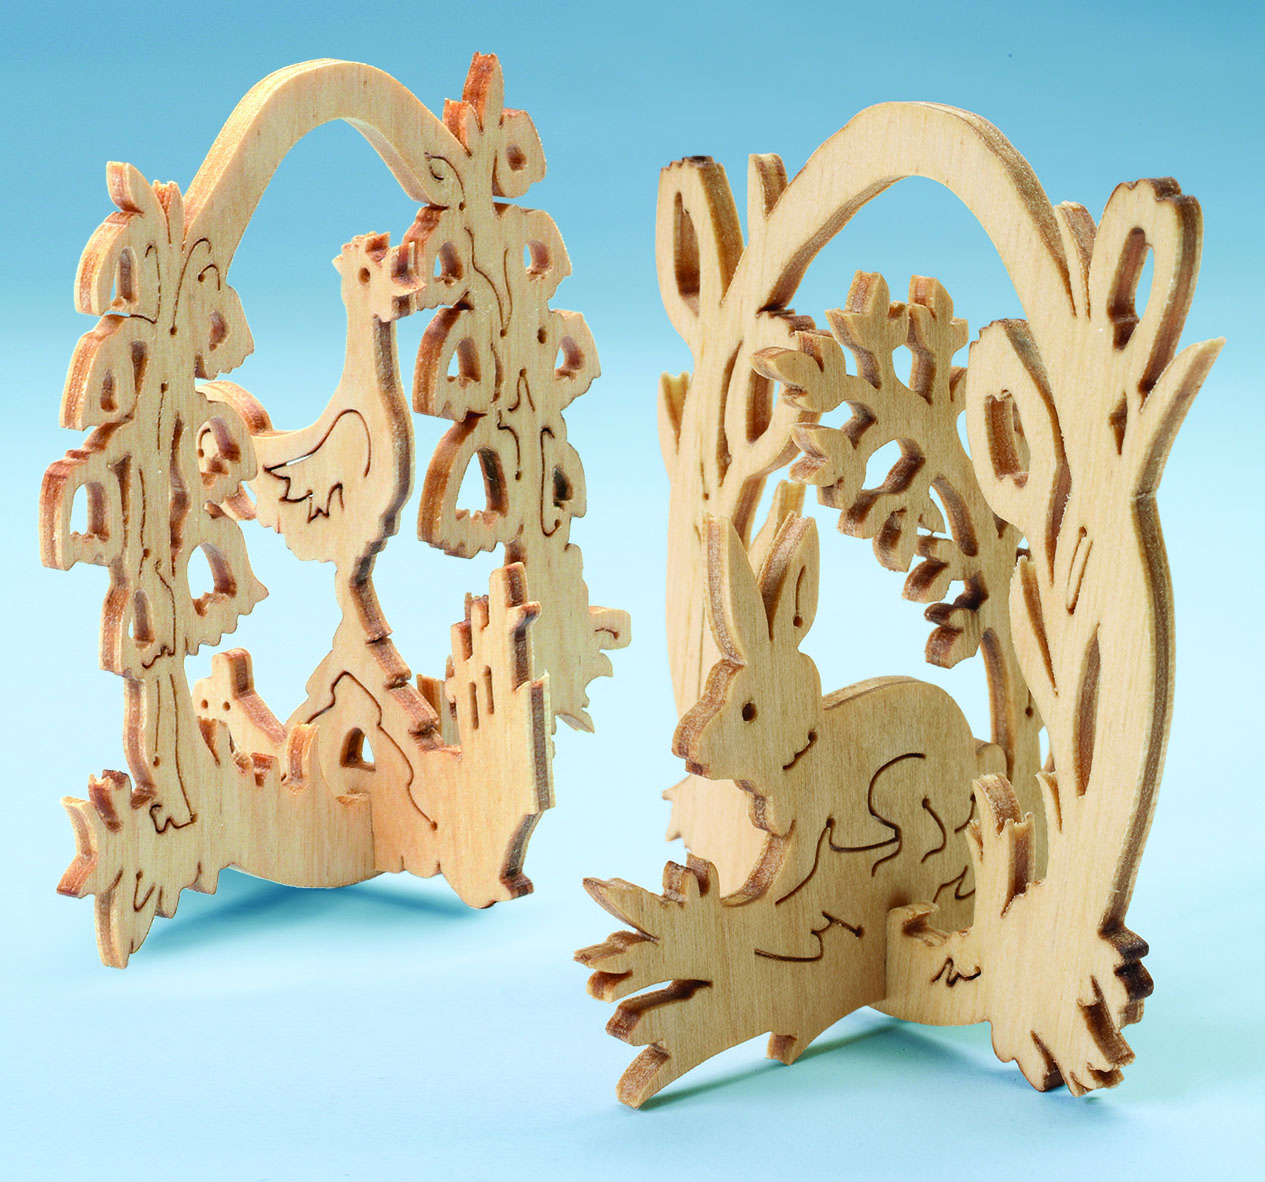
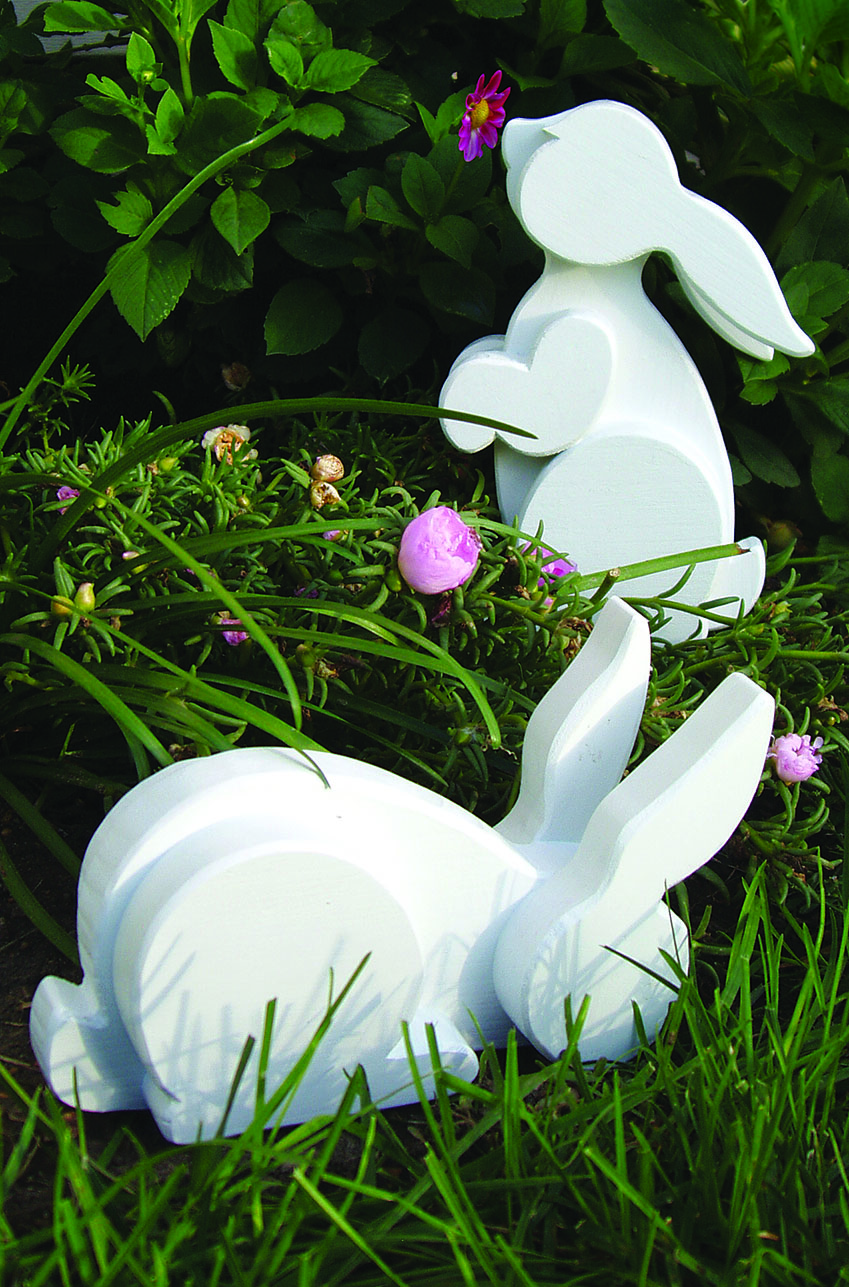
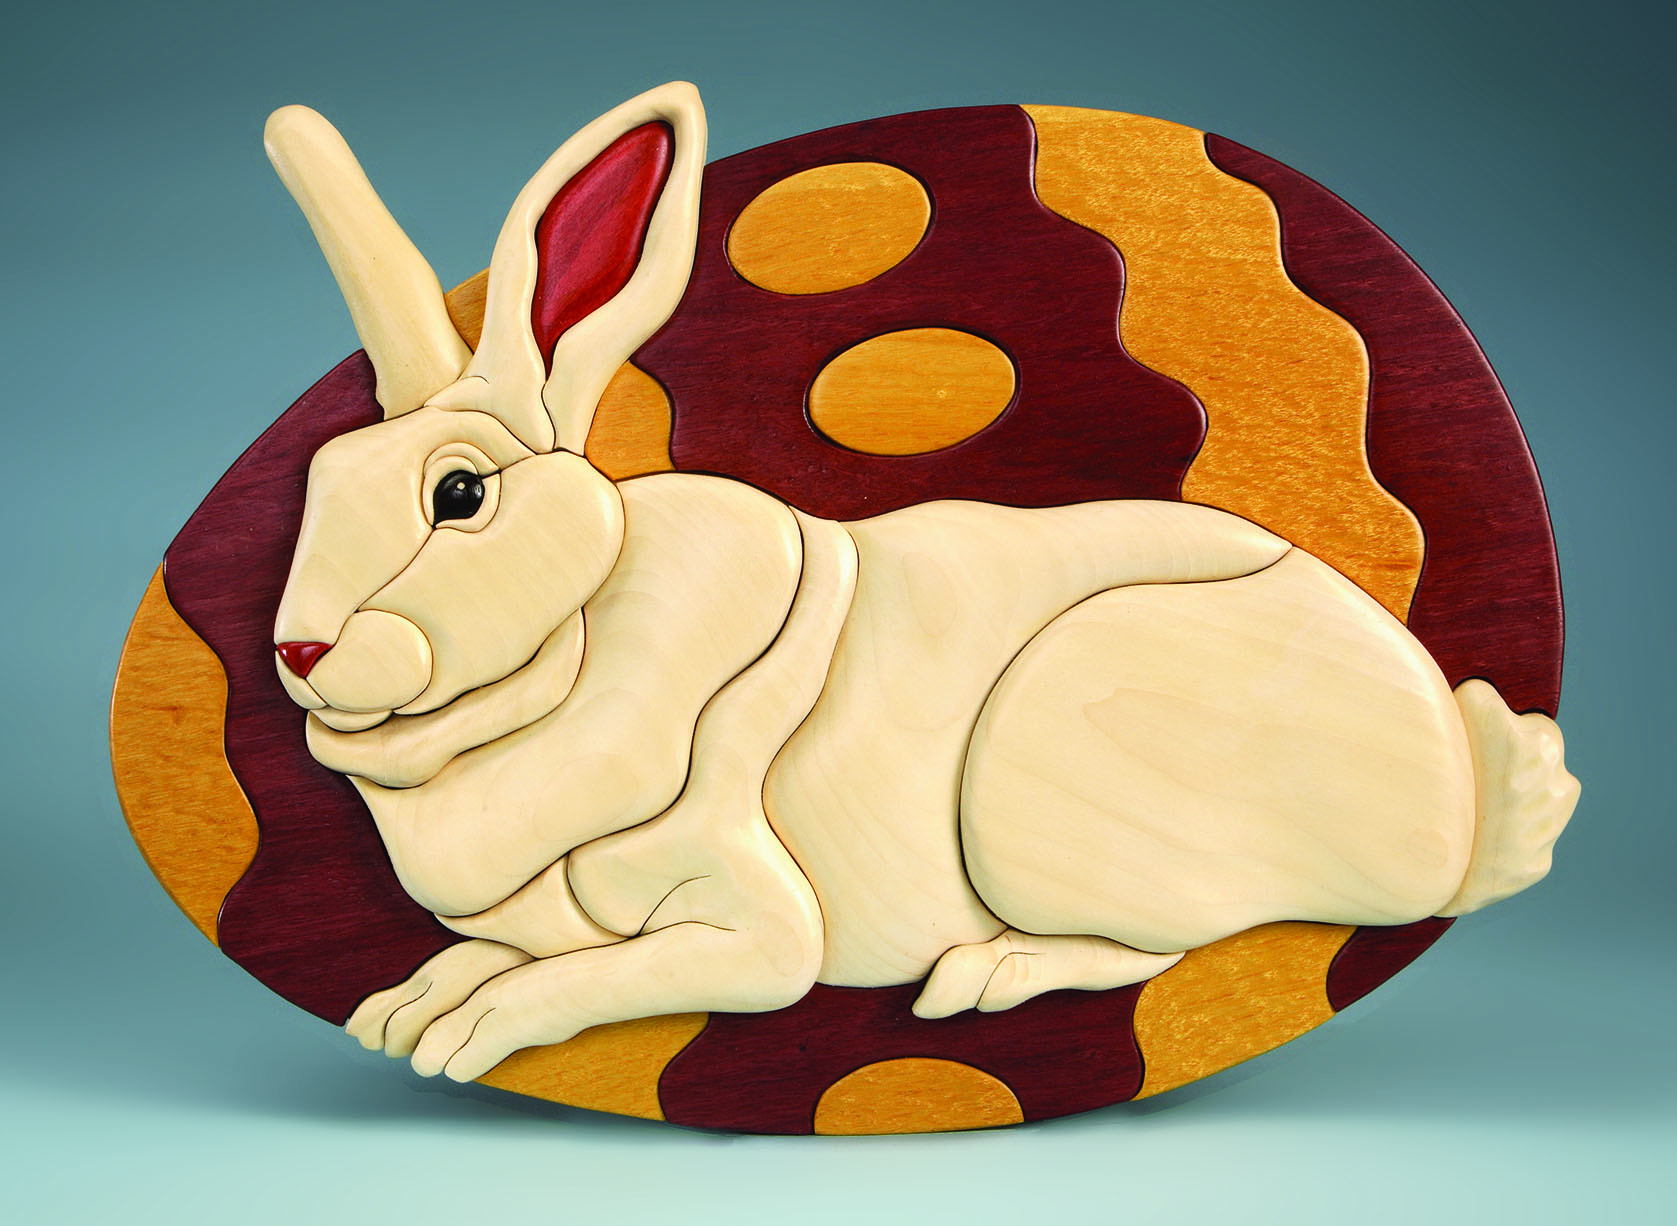
This versatile design can be made a number of different ways. First choose whether your bunny will be a solid color or have spots. Then decide if you will display the bunny on its own, add the simple base or include the Easter egg design.
The project is actually very easy to cut and assemble. In fact, the solid color bunny only has 23 pieces. Try experimenting with different woods or stains to create your very own design.
Materials:
Wood, wenge: 3/4″ x 8″ x 12″ (19mm x 203mm x 305mm)
Wood, poplar: 3/4″ x 8″ x 24″ (19mm x 203mm x 610mm)
Wood, pink ebony: 3/4″ x 3″ x 3″ (19mm x 76mm x 76mm)
Wood, ebony: 3/4″ x 3″ x 3″ (19mm x 76mm x 76mm) (eye)
Wood, yellowheart: 1/4″-1/2″ x 8″ x 12″(6mm x 13mm x 203mm x 305mm) (egg)
Wood, purpleheart: 1/4″-1/2″ x 8″ x 12″ (6mm x 13mm x 203mm x 305mm) (egg)
Wood, bloodwood: 1/4″ -1/2″ x 4″ x 18″ (6mm x 13mm x 102mm x 457mm) (base)
Dowl, white (highlight in eye)
Contact paper, clear
Adhesive, spray
Glue, wood
Glue, silicone
Varnish, natural or spray
Varnish, white-base gel
Hanger
Tools:
Blades, reverse-tooth: #5 reverse-tooth
Drill
Bit: 3/16″-diameter
Sander, pneumatic drum
Carvery, rotary power
Sanding drum: 1/4″(6mm)-diameter
Knife
Click below to download the Easter bunny intarsia pattern.