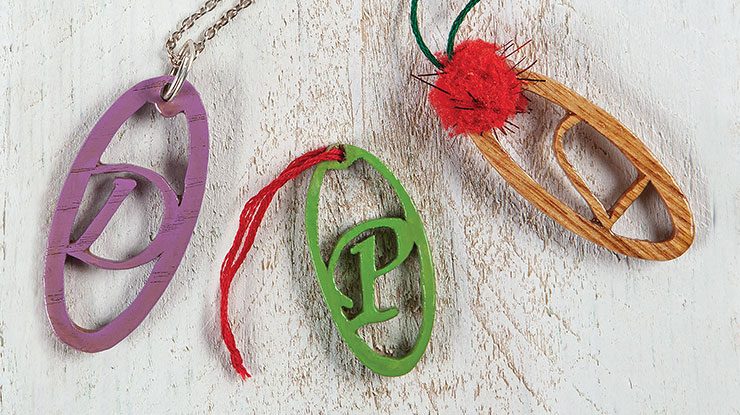
Hang these little letters from the tree, attach them to a keychain, or stick them to household items to add a personal touch
By Bill Miller
Monograms have always been a symbol of uniqueness and stature, like an individual’s coat of arms. Put your own personal stamp on a variety of household items with these little fretwork versions.
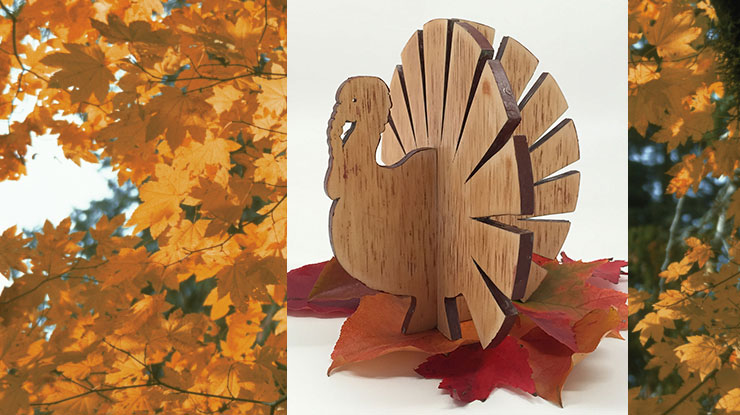
Originally created as keychain decorations, my monograms soon took on a life of their own. Fellow artists made them into earrings and necklace charms; I recently used some to personalize a jewelry box. Enlarge the patterns slightly to make holiday ornaments for your tree—with endless decorative options.
Cutting and Finishing
|
Choose a kind of wood; Baltic birch works if you’re planning on painting the letters or covering them with glitter, but solid hardwood, such as maple or oak, works best if you plan on a natural finish. Cover the blanks with self-adhesive shelf liner, and then attach the patterns with spray adhesive. Drill the blade-entry holes for the frets. Drill a 1/8″ (3mm) hole at the top of each if you plan to hang them. Cut the letters, starting on the inside and working outward. Remove the patterns gently and sand away the fuzzies. Finish the project. You can finish the monograms in a variety of ways; I have applied acrylic paint, lacquer, stain, or natural oil finishes, depending on the wood used. If finishing the project naturally, dip the ornament in lacquer, oil, or polyurethane, and then remove the excess with a can of compressed air to keep it from pooling in the corners. Hang to dry and repeat the process two to three times. If using glitter as part of your finish, I suggest using spray lacquer sparingly to seal the glitter in; too much lacquer will react with the glitter and discolor it. String a small loop of fishing line through the top, hang with a traditional ornament hanger, or use colored yarn or ribbon to complete the look. |
|
MATERIALS Wood, 1/8″ (3mm) thick: approx. 1 1/8″ x 2 3/8″ (2.9cm x 6cm) • Self-adhesive shelf liner • Spray adhesive •Sandpaper: assorted grits •Acrylic paints: assorted (optional) •Finish, such as clear gloss lacquer, polyurethane, or tung oil •Key chain materials, such as split rings and snap swivels (optional) •Ribbon or decorative string (optional) |
TOOLS •Scroll saw with blades: #1 ultra reverse •Drill with bit: 1/16″ (2mm), 1/8″ (3mm)-dia.
|
| About the Author |
| Bill Miller is an avid advocate of woodworking, so much so that he has created a multi-vendor website—WudPal.com—for woodworkers to post and purchase project plans. Visit the website to learn more or contact Bill at projects@wudpal.com. |
 |
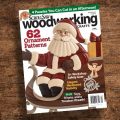
Purchase our winter issue!
Purchase Our Winter Issue Here!
For more articles like these, subscribe to Scroll Saw Woodworking & Crafts magazine. SubscribePlus! Get mini magazines in your e-mail between printed issues with Short Cuts, our e-mail newsletter. |