 Making the table saw jigs
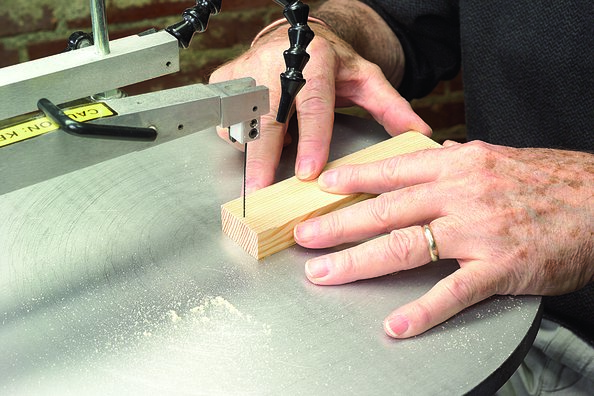
You will need a table saw jig, to make hinges, cut box sides, cut slots in box sides for the box bottom, and to cut the 45 degree beveled box corners. My table saw jig is 20″ x 24″, but, if you have a smaller table saw you will need to adjust the measurements to your saw.
Table Saw Shooting Board
Step 1: Lower your table saw blade below the table saw top. Place the two bottom rails in the miter slots. Make sure that they slide freely in the slots and have no side-to-side play. Also,the rail should stick up an 1⁄8″ above the surface of the table saw top. 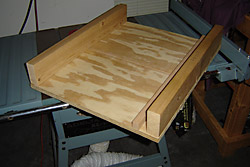
Step 2: Center the plywood base on the rails. With a pencil mark both rail ends with a line thru the plywood base. Put a thin layer of glue on both rails, we don’t want much glue squeezed out on the rails. Place the plywood base on the rails using your pencil lines to line up the base with the rails. Allow the glue to set for four hours.
Step 3: Apply glue to one edge of each of the 11⁄2″ x 31⁄2″ front and back grips. Without disturbing the plywood base, place the grips, glued side down on the front and back of the plywood base. Let the glue dry overnight.
Step 4: Remove the table saw jig, raise the saw blade to it’s highest position at 90° turn the table saw on. Place the table saw jig rails in the miter slots at the front of the table saw. Slowly slide the jig toward the back of the saw until the blade kerf cut is about 1″ from the front grip of the jig. Turn off the table saw. Use a square to mark a pencil line 90° from the saw kerf, about 2” from the front grip for the length of the jig. Glue the 3⁄4″ x 3⁄4″ x 24” work piece support onto the pencil line. Let the glue dry for four hours before using.
Table Saw 90° Jig
Step 1: On your table saw jig place a single sheet of newspaper to the right of the saw kerf. Place one 3⁄4″ x 3⁄4″ x 10″ piece of oak on the work piece support and one 3⁄4″ x 3⁄4″ x 10″ piece of oak on the saw blade kerf cut to form a 90-degree angle. 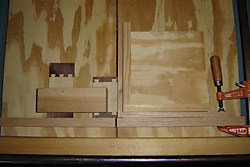
Step 2: Glue and place two pieces of 3⁄4″ x 4″ x 8″ plywood (leftover from building table saw jig), inside the 90-degree angle formed by the oak pieces.
Step 3: Form another 90-degree angle on top of the plywood surface using two 3⁄4″ x 3⁄4″ x 8″ pieces of oak.
Attachments
Table Saw Jig pattern